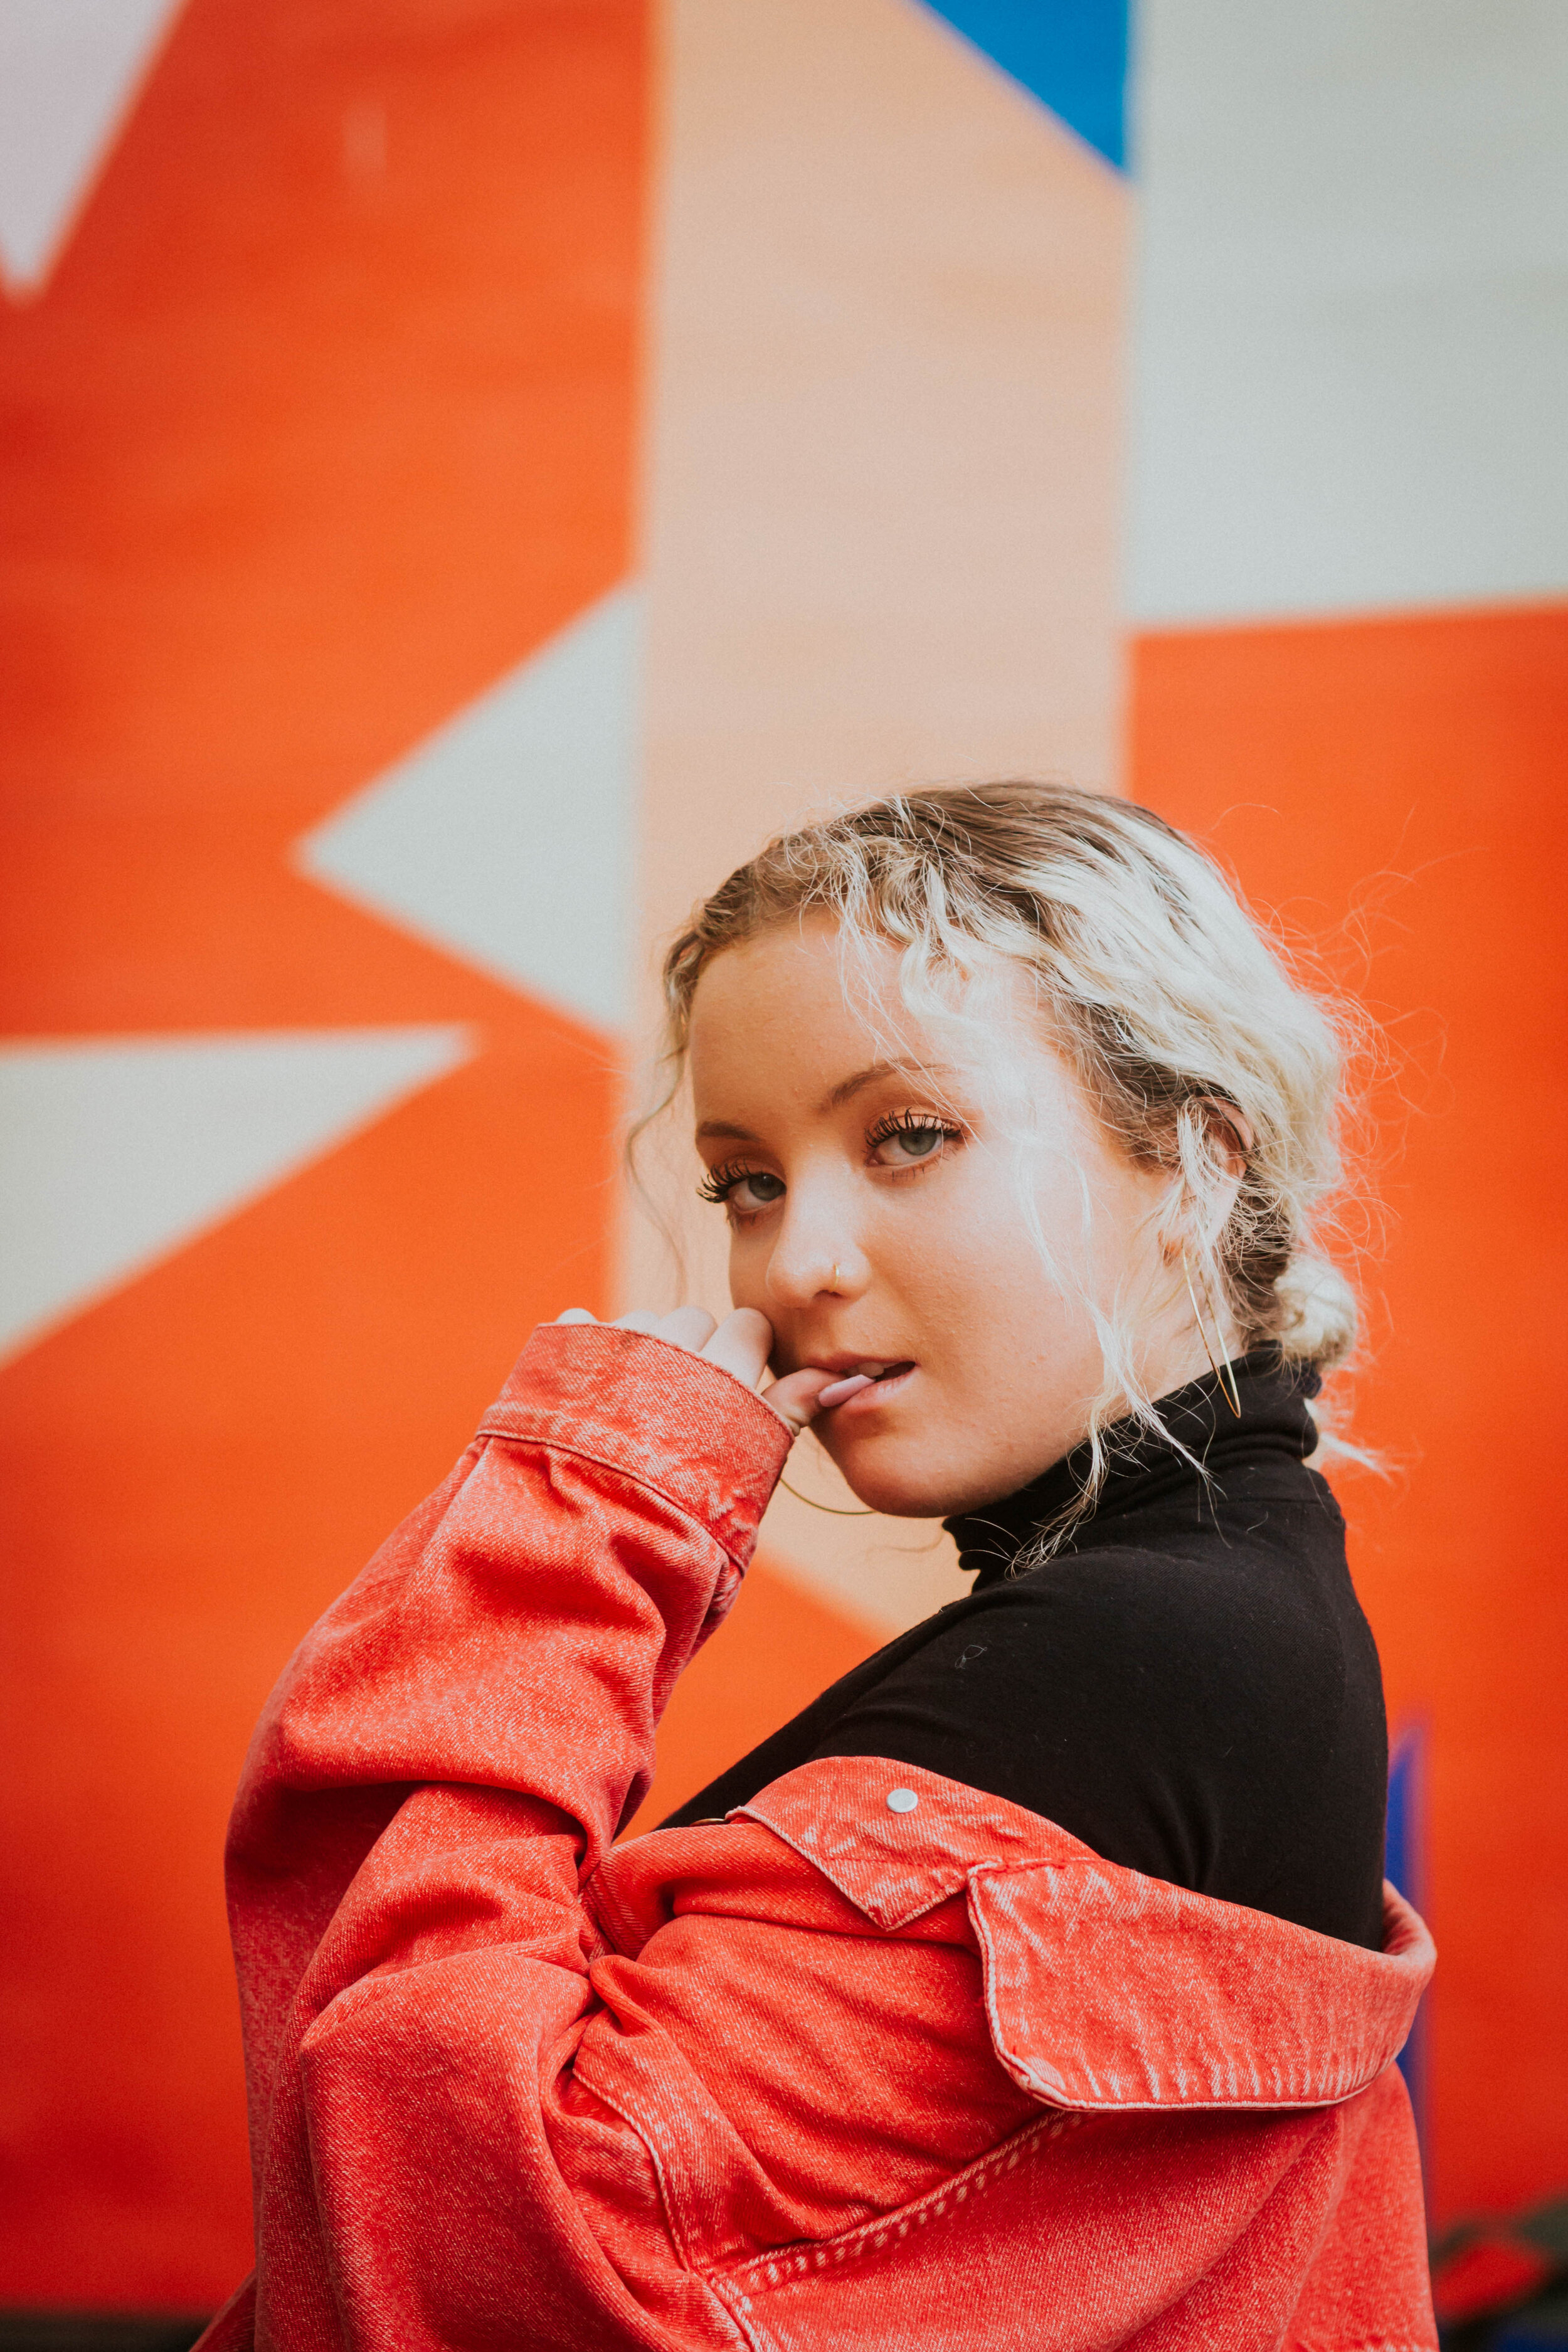
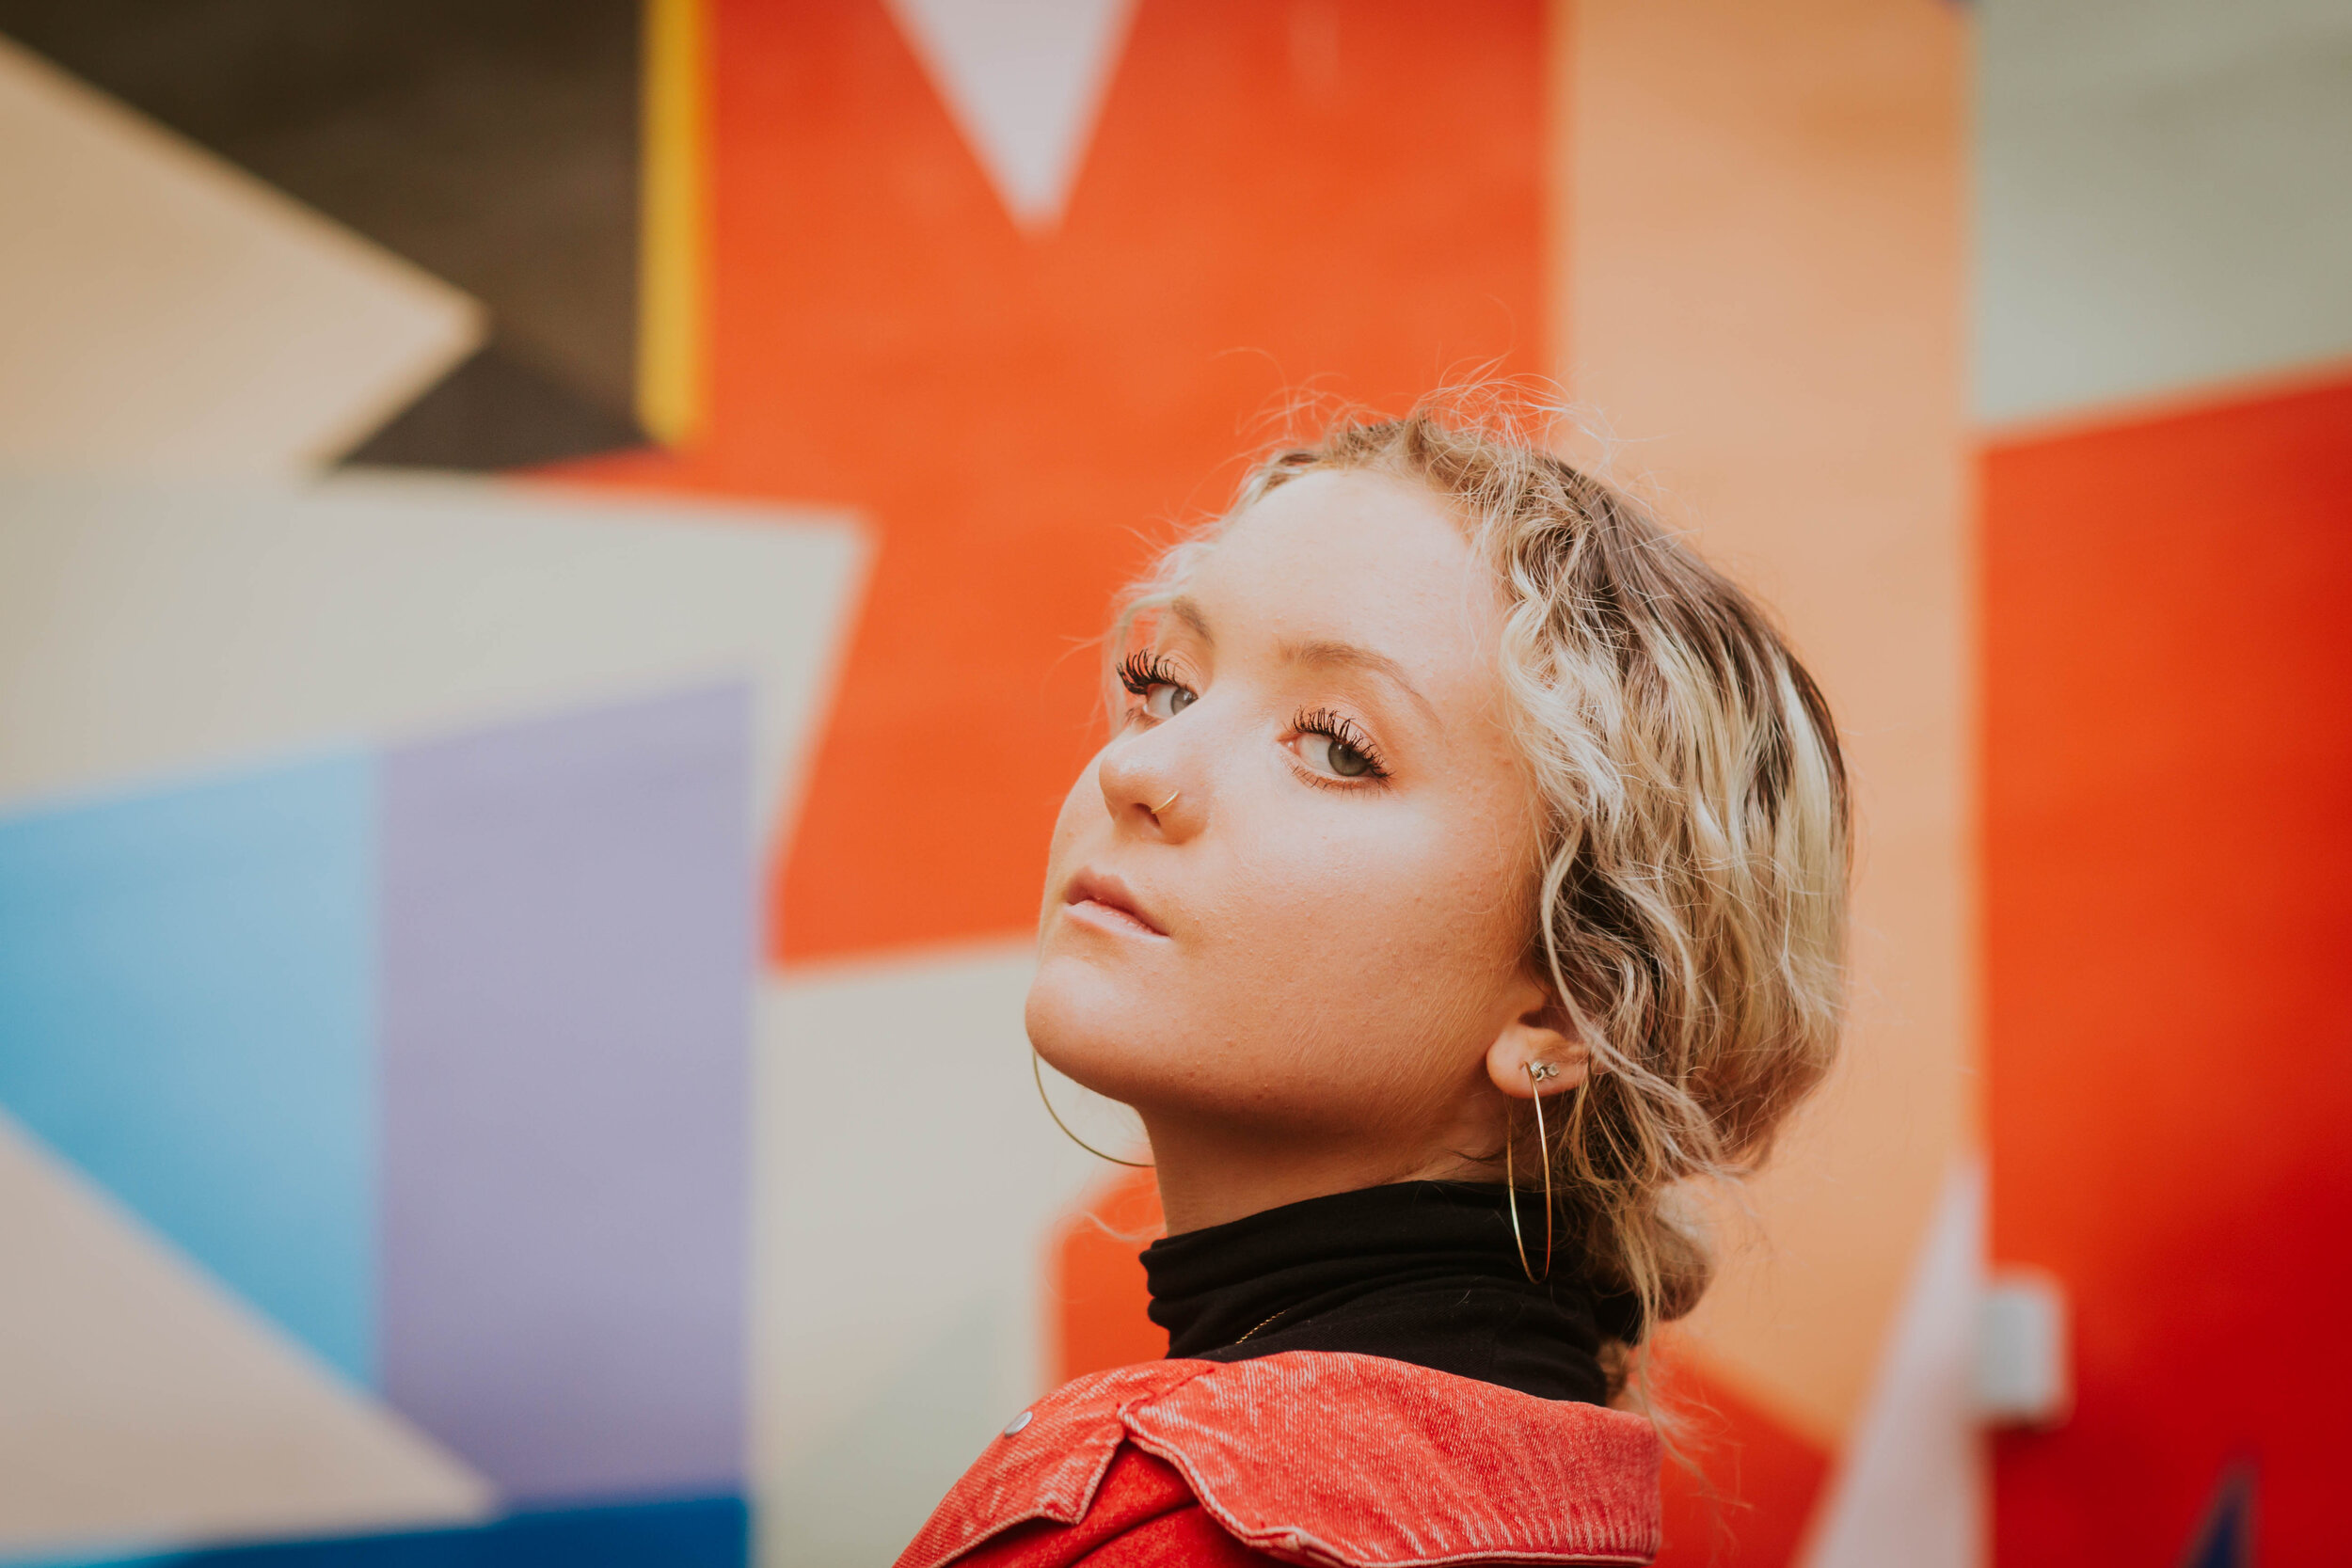
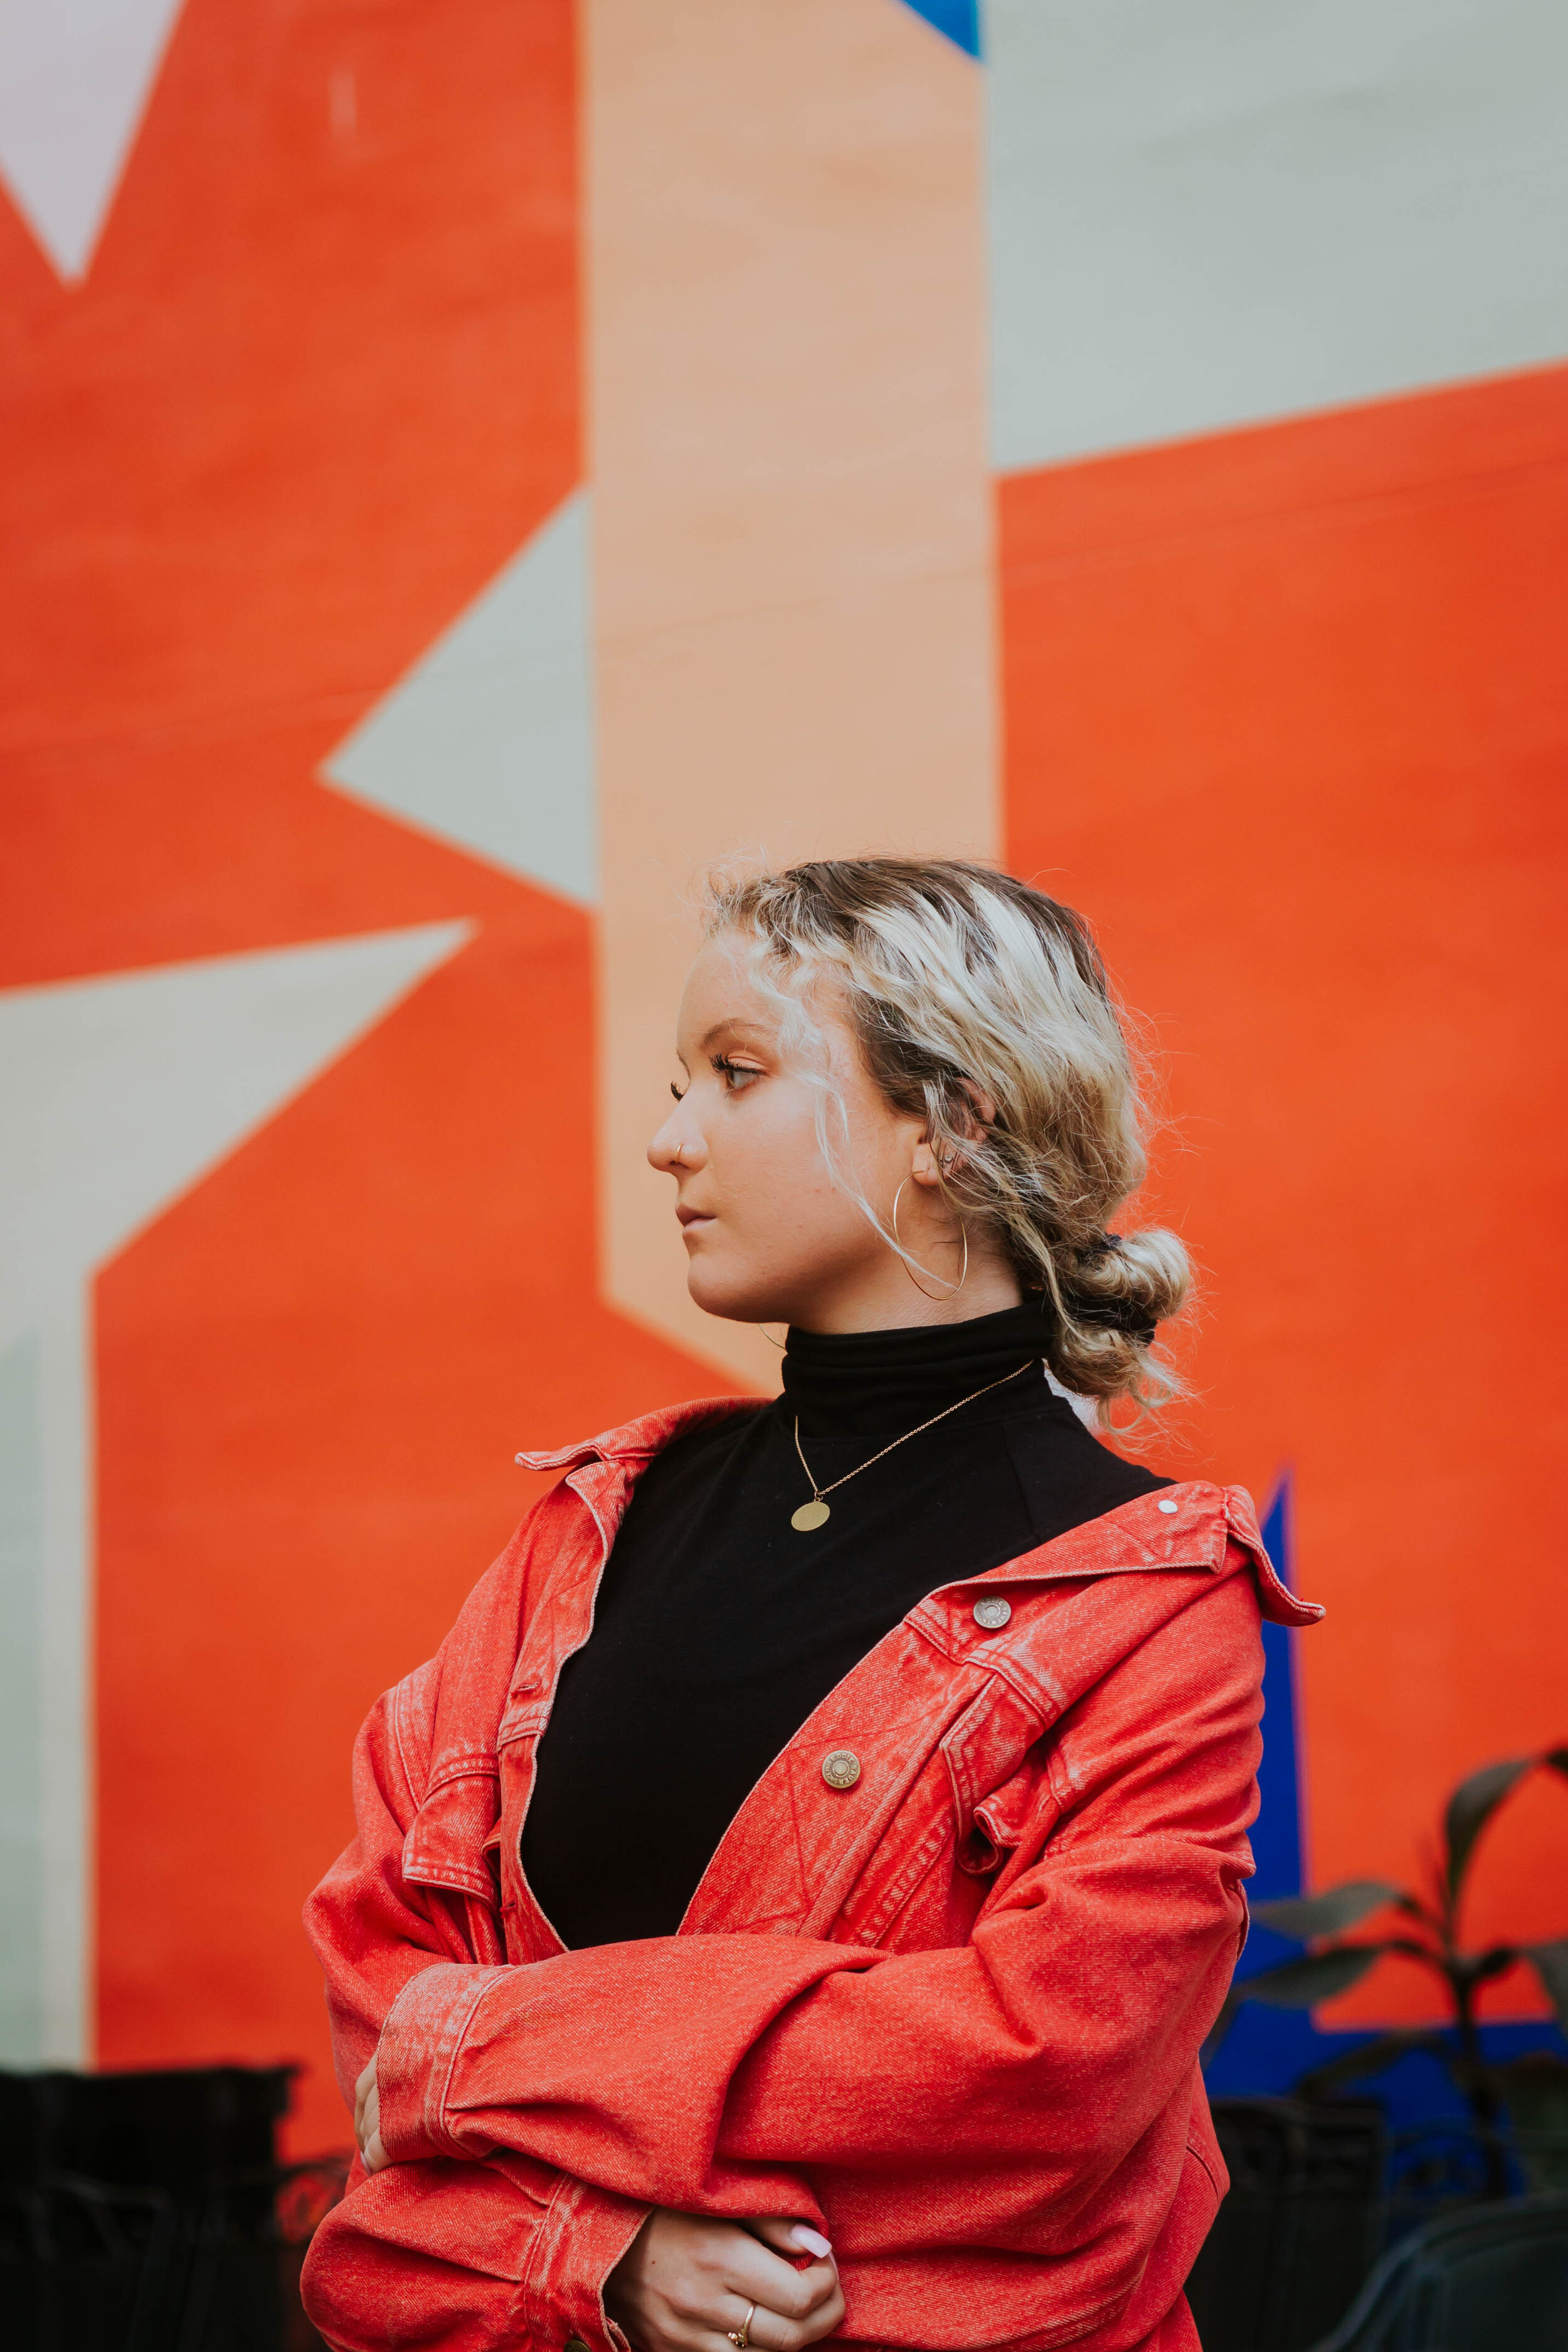
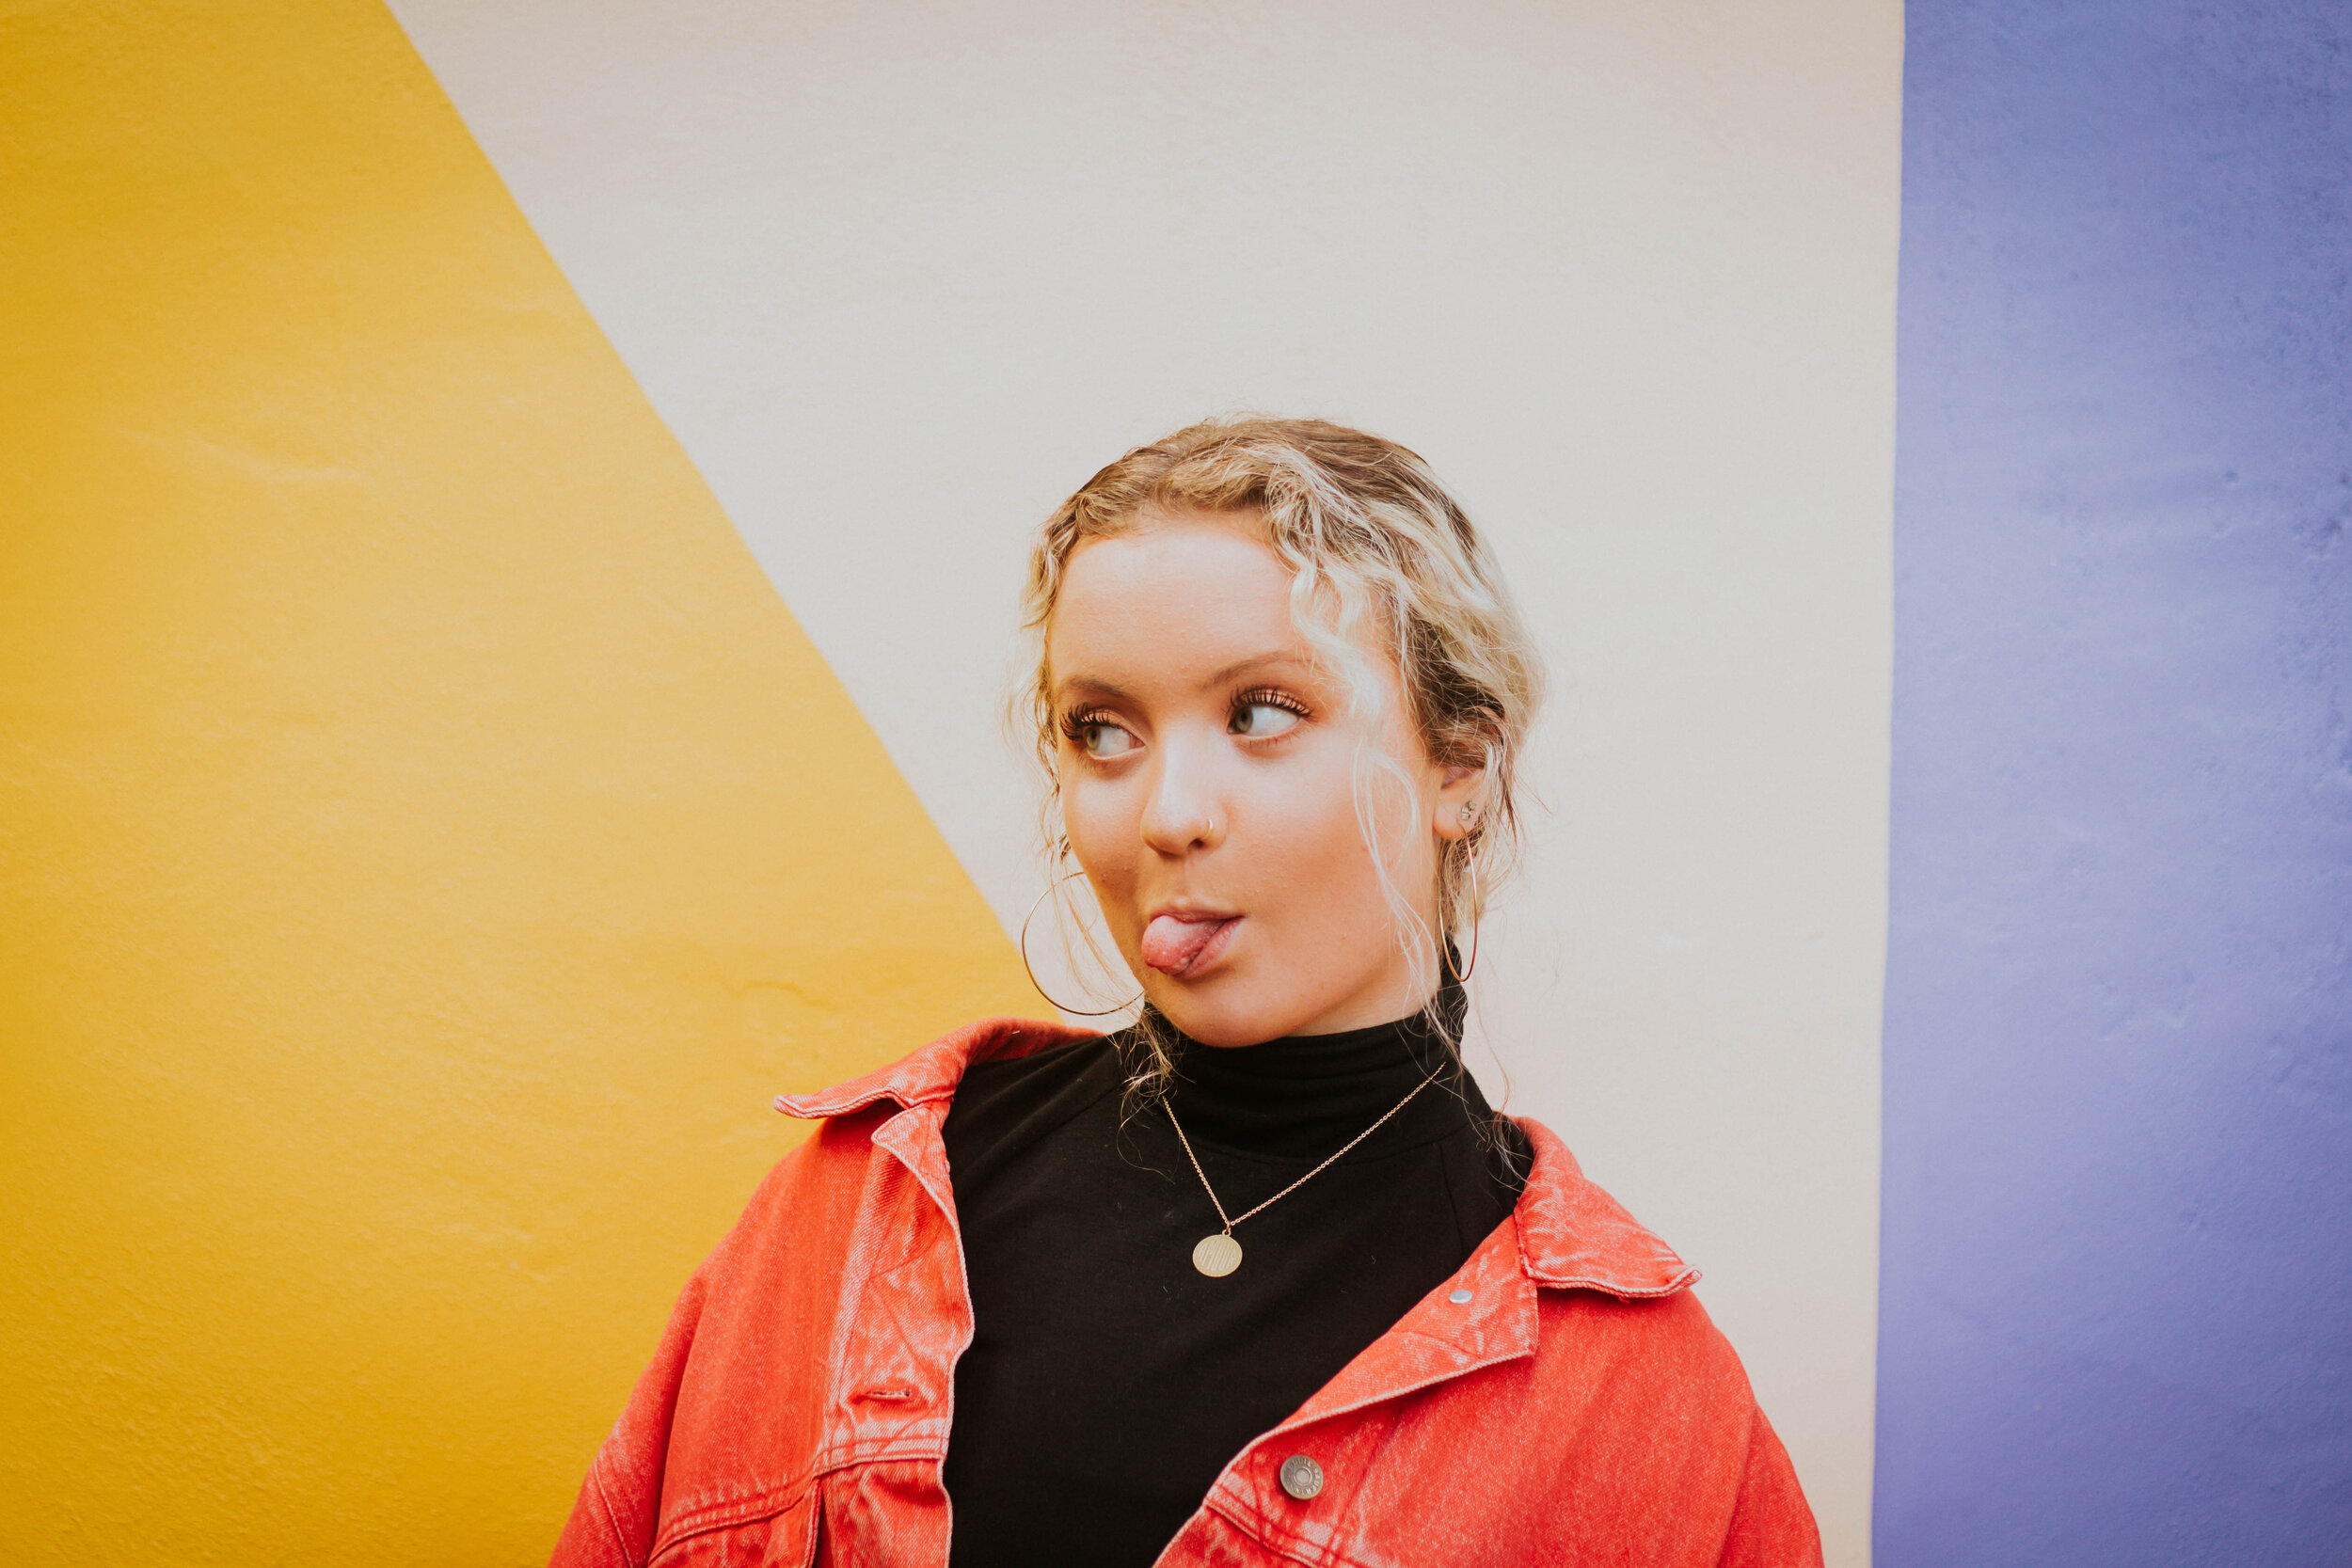
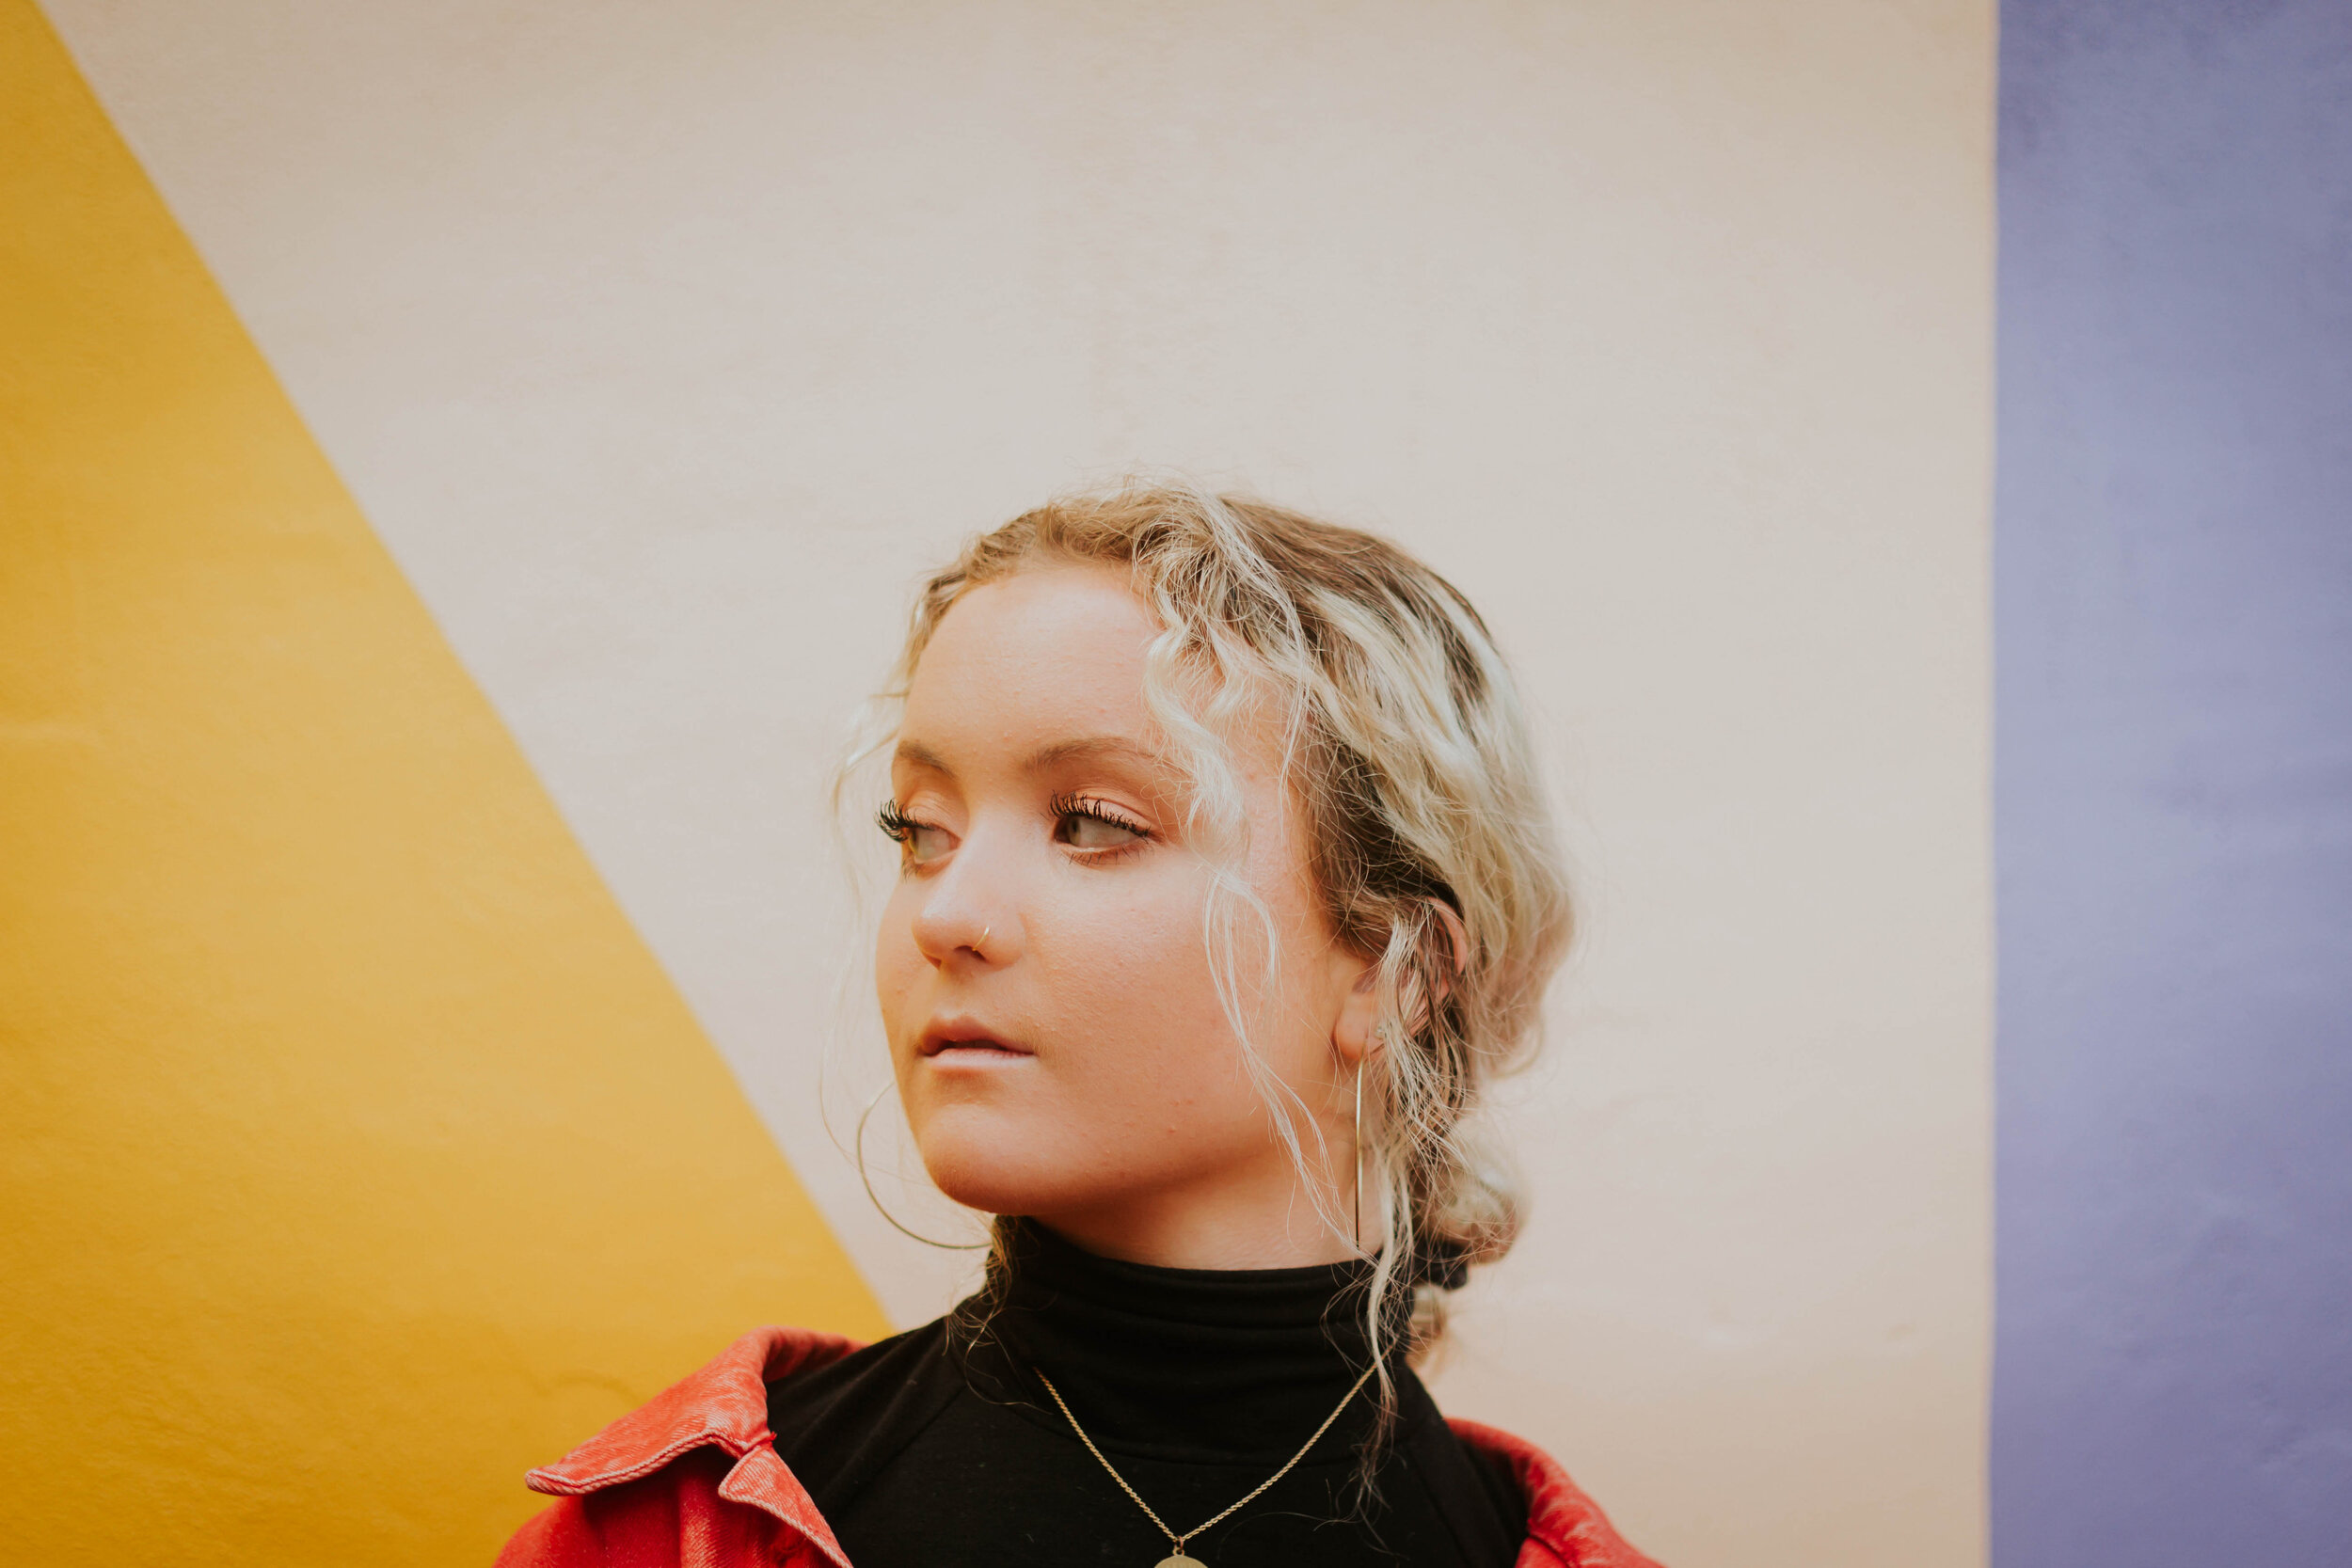
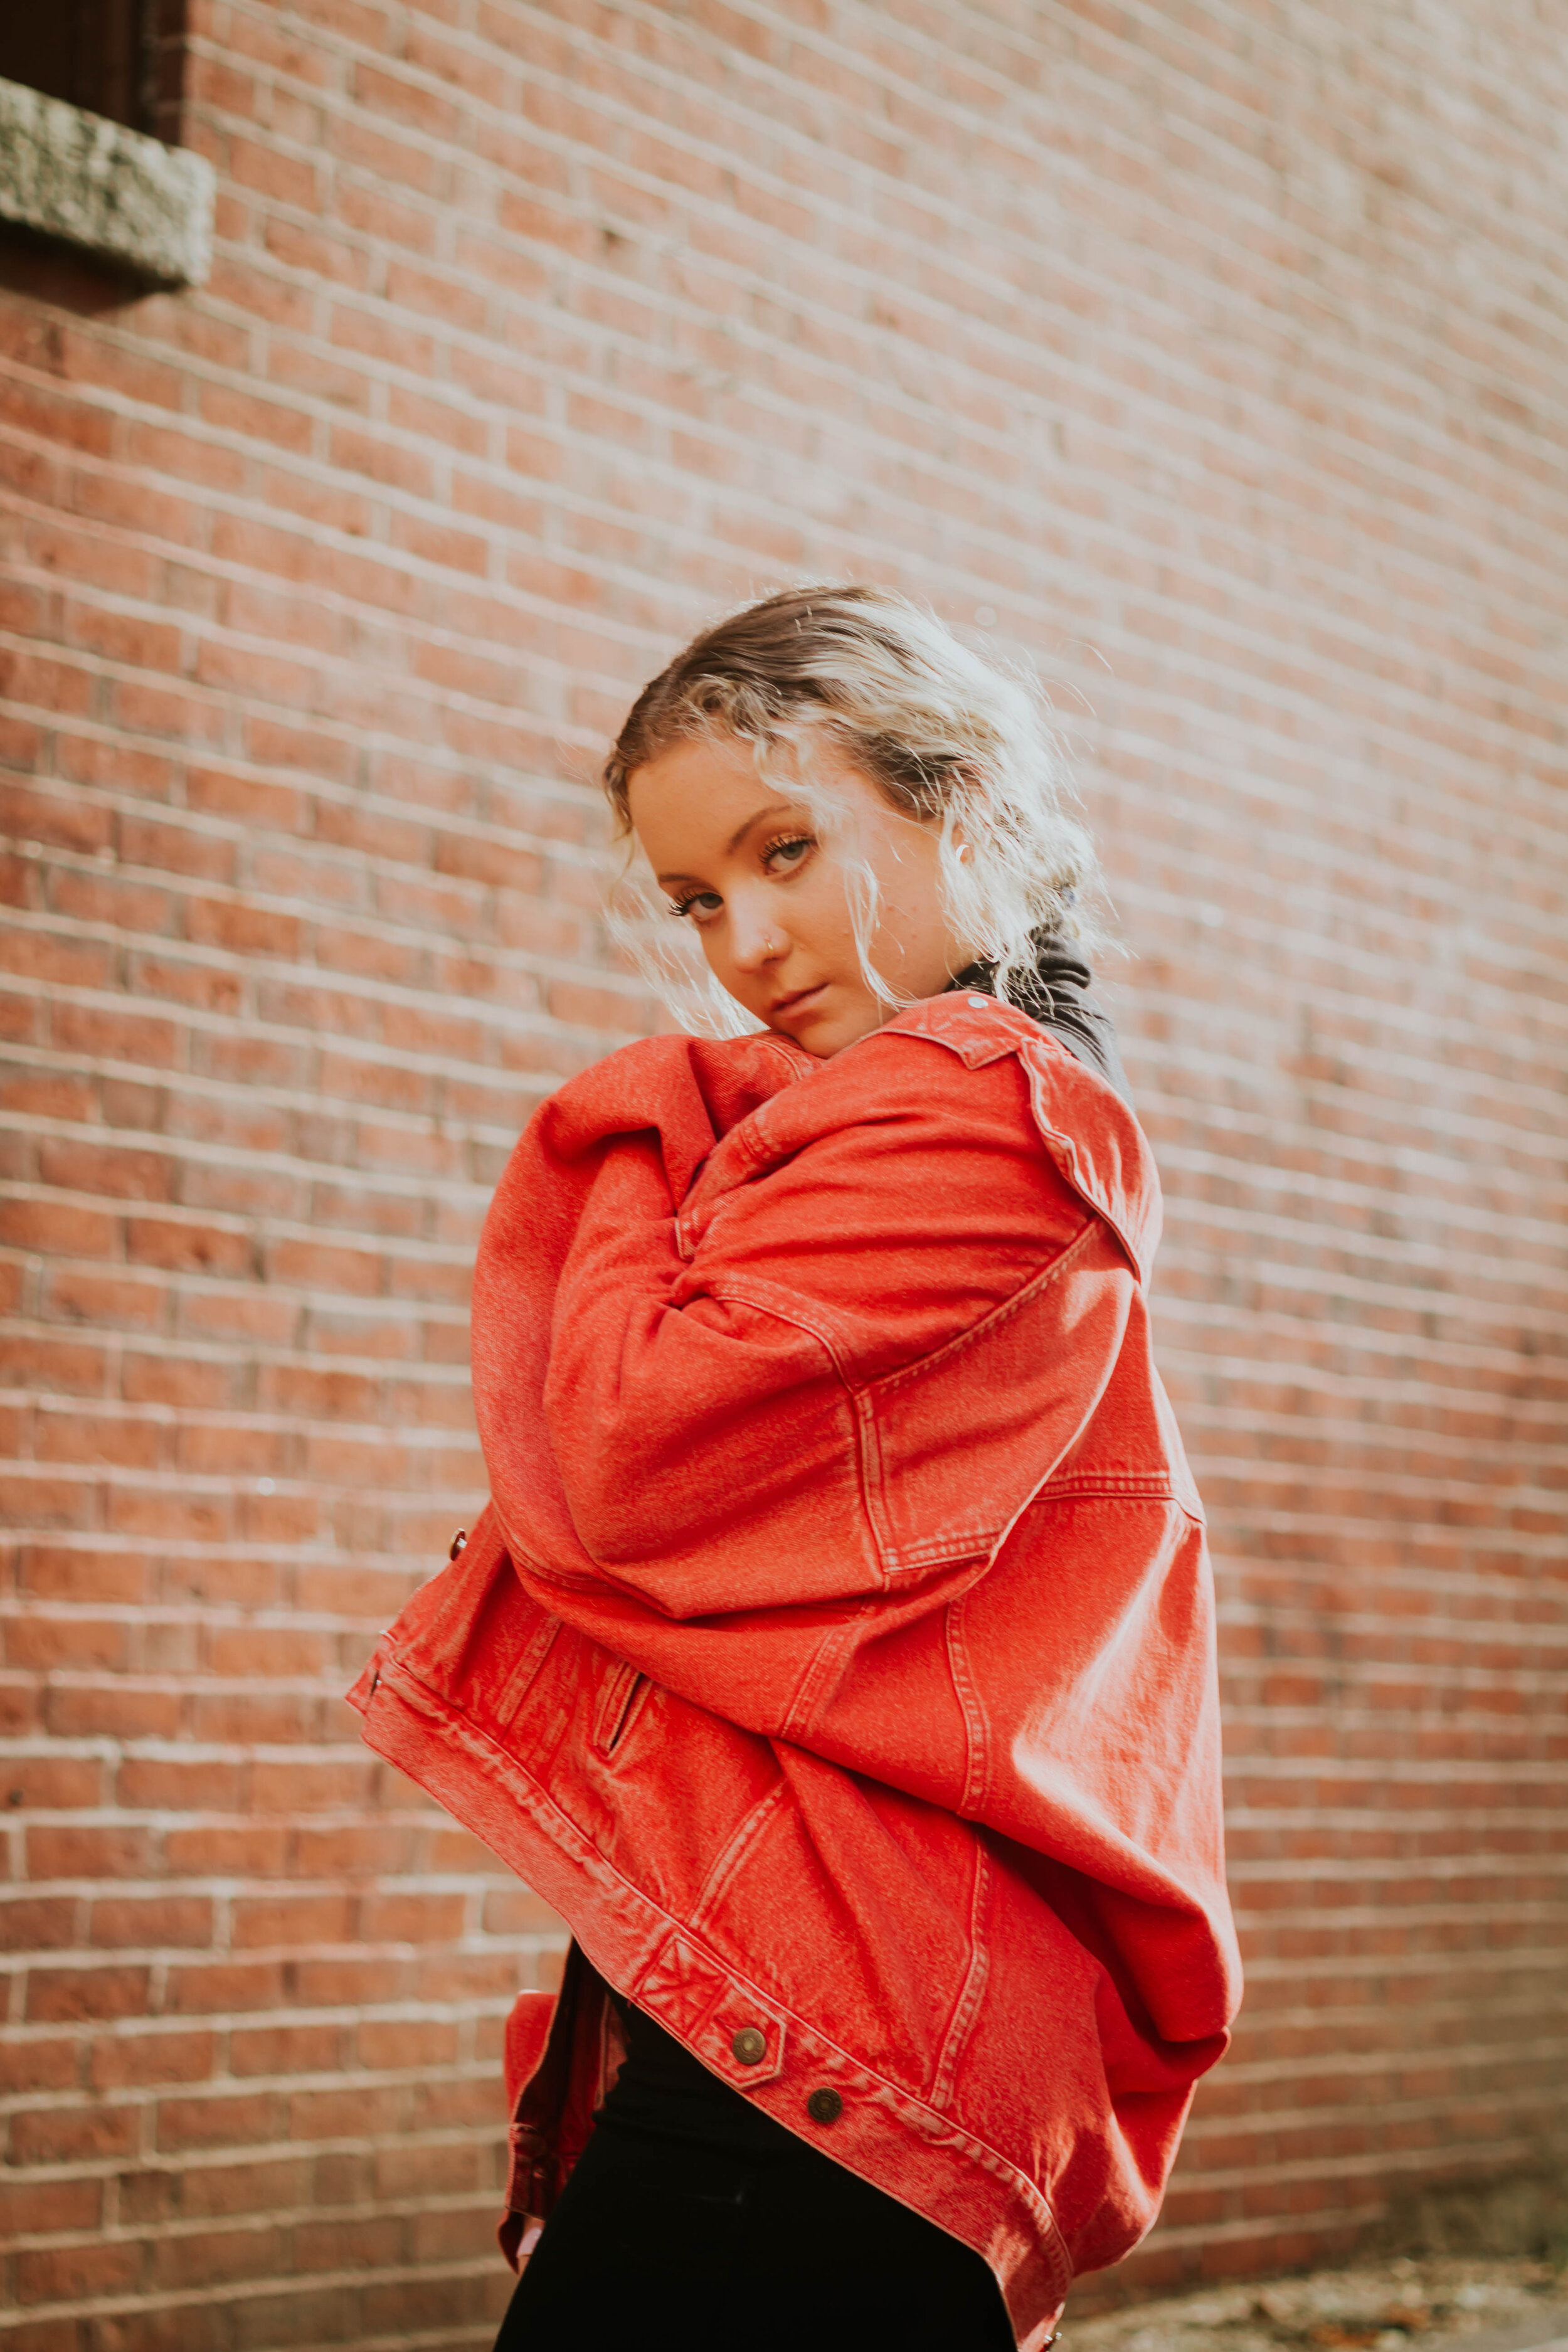
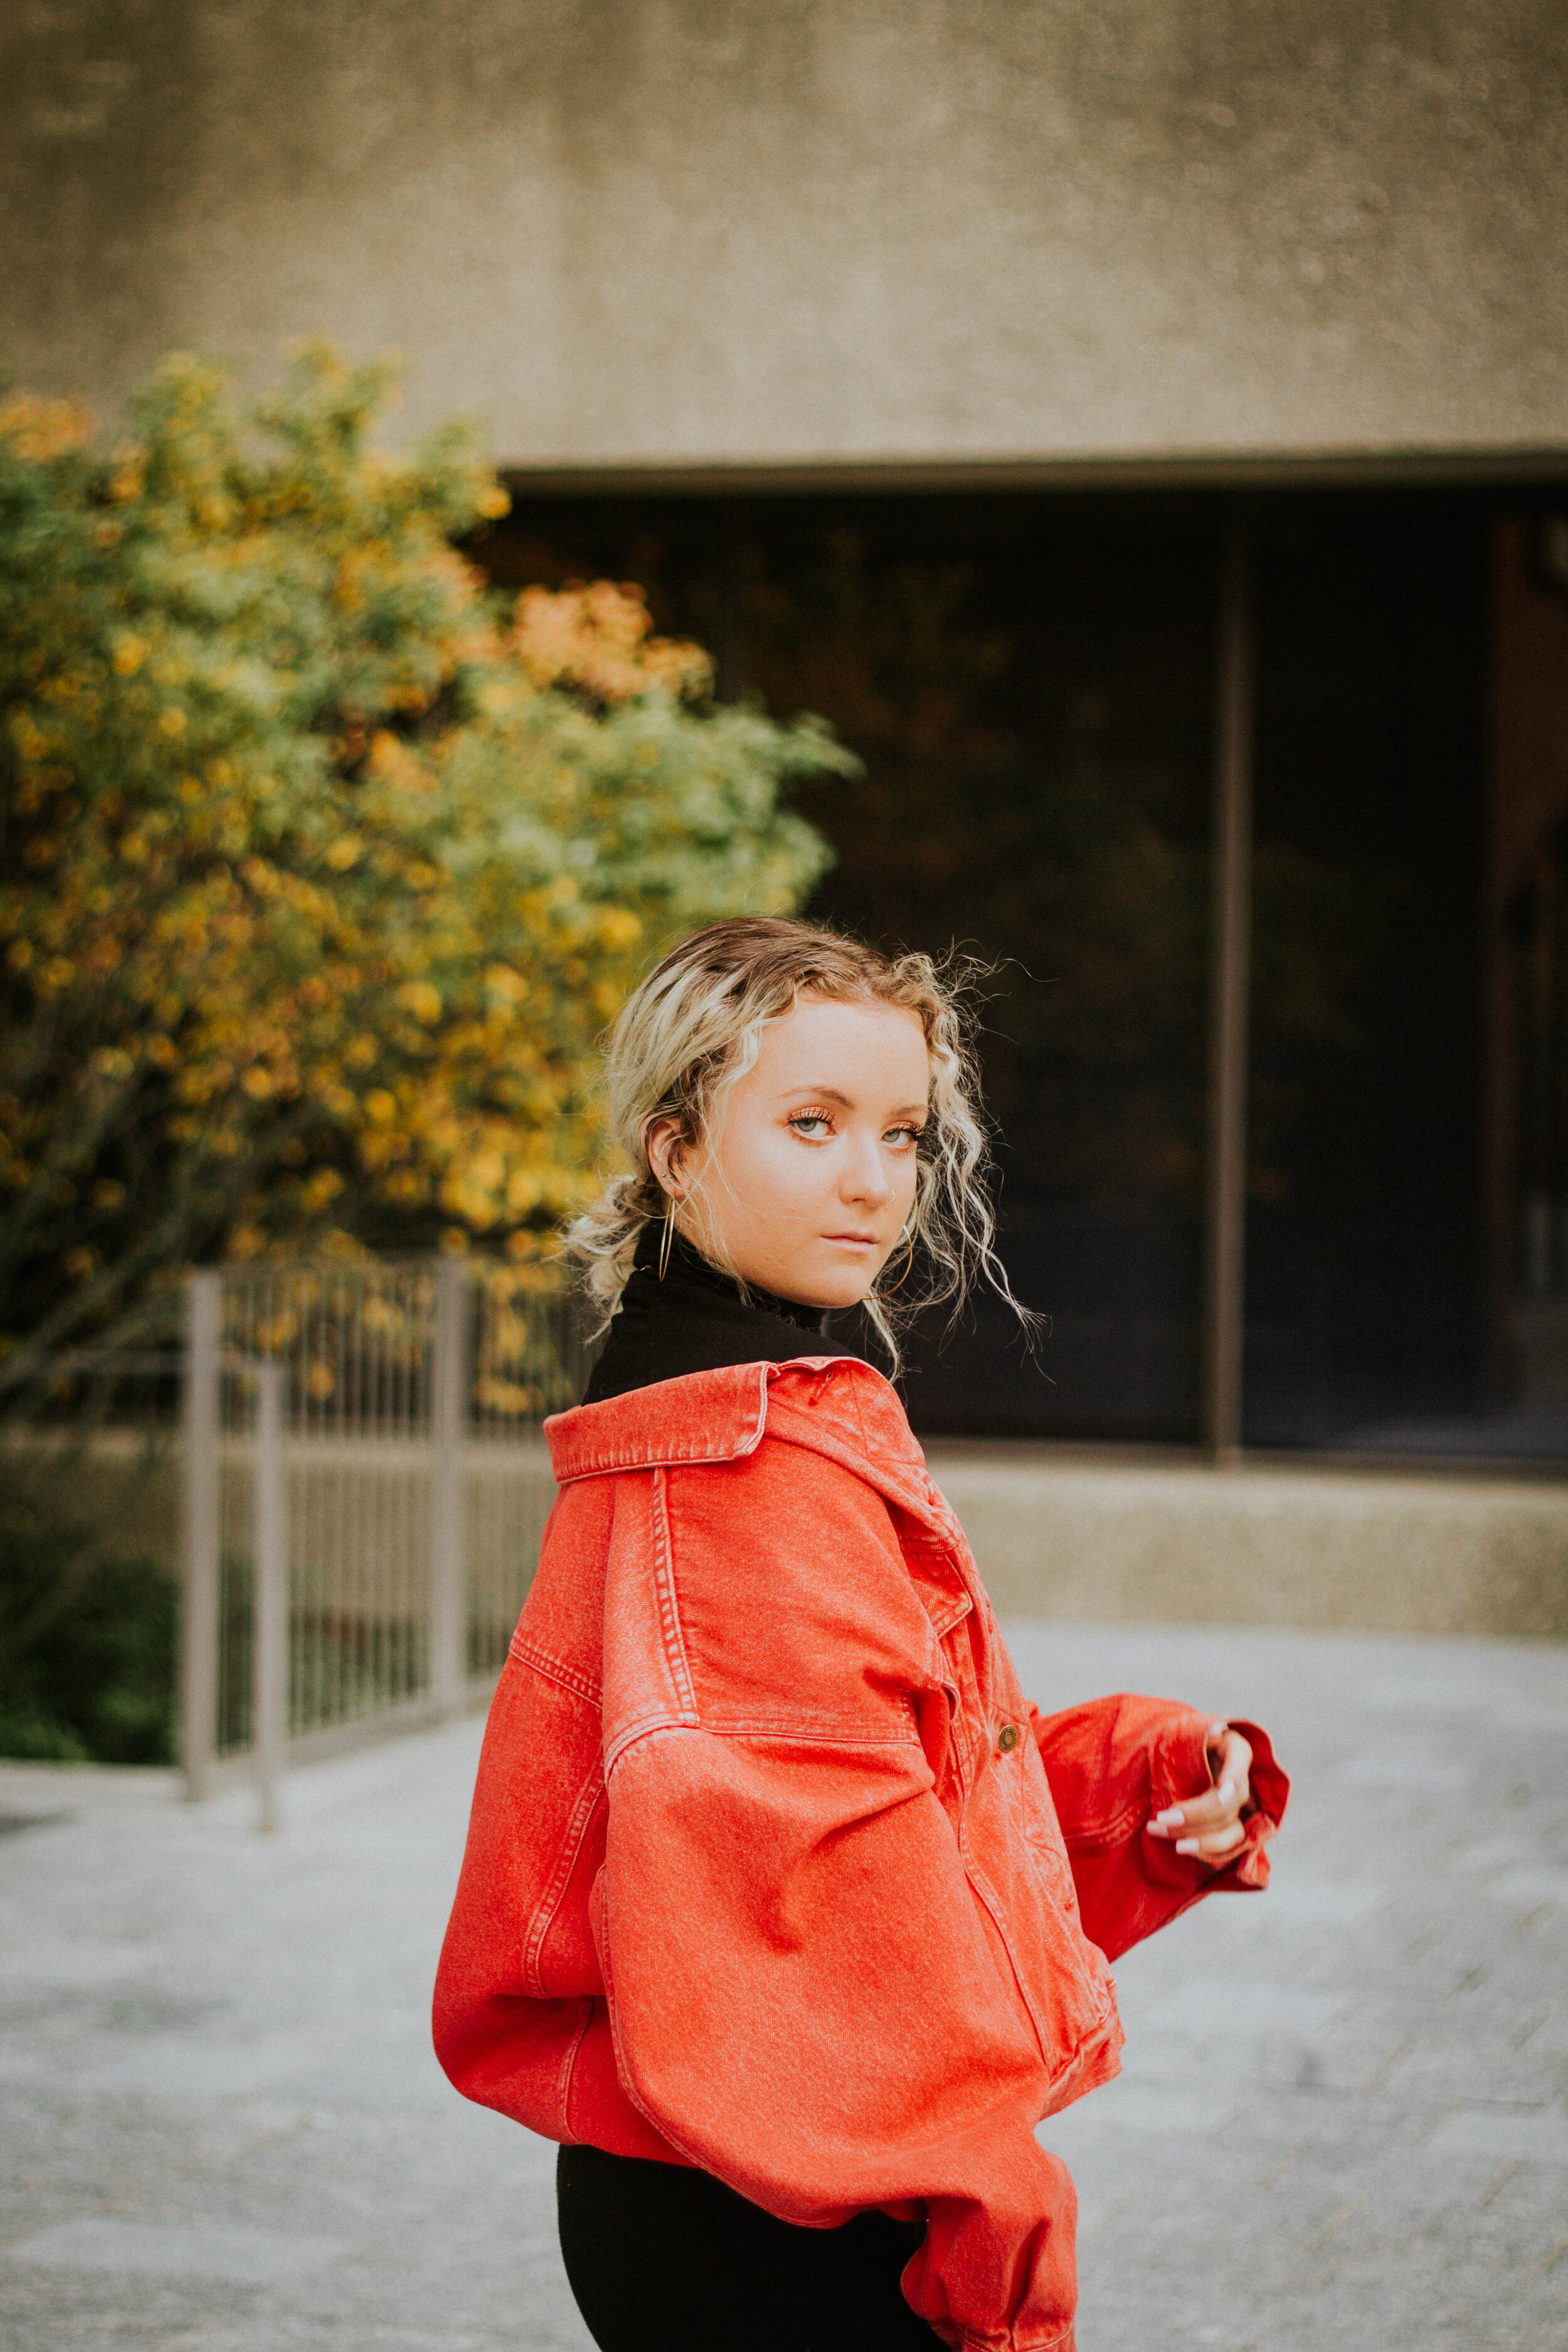
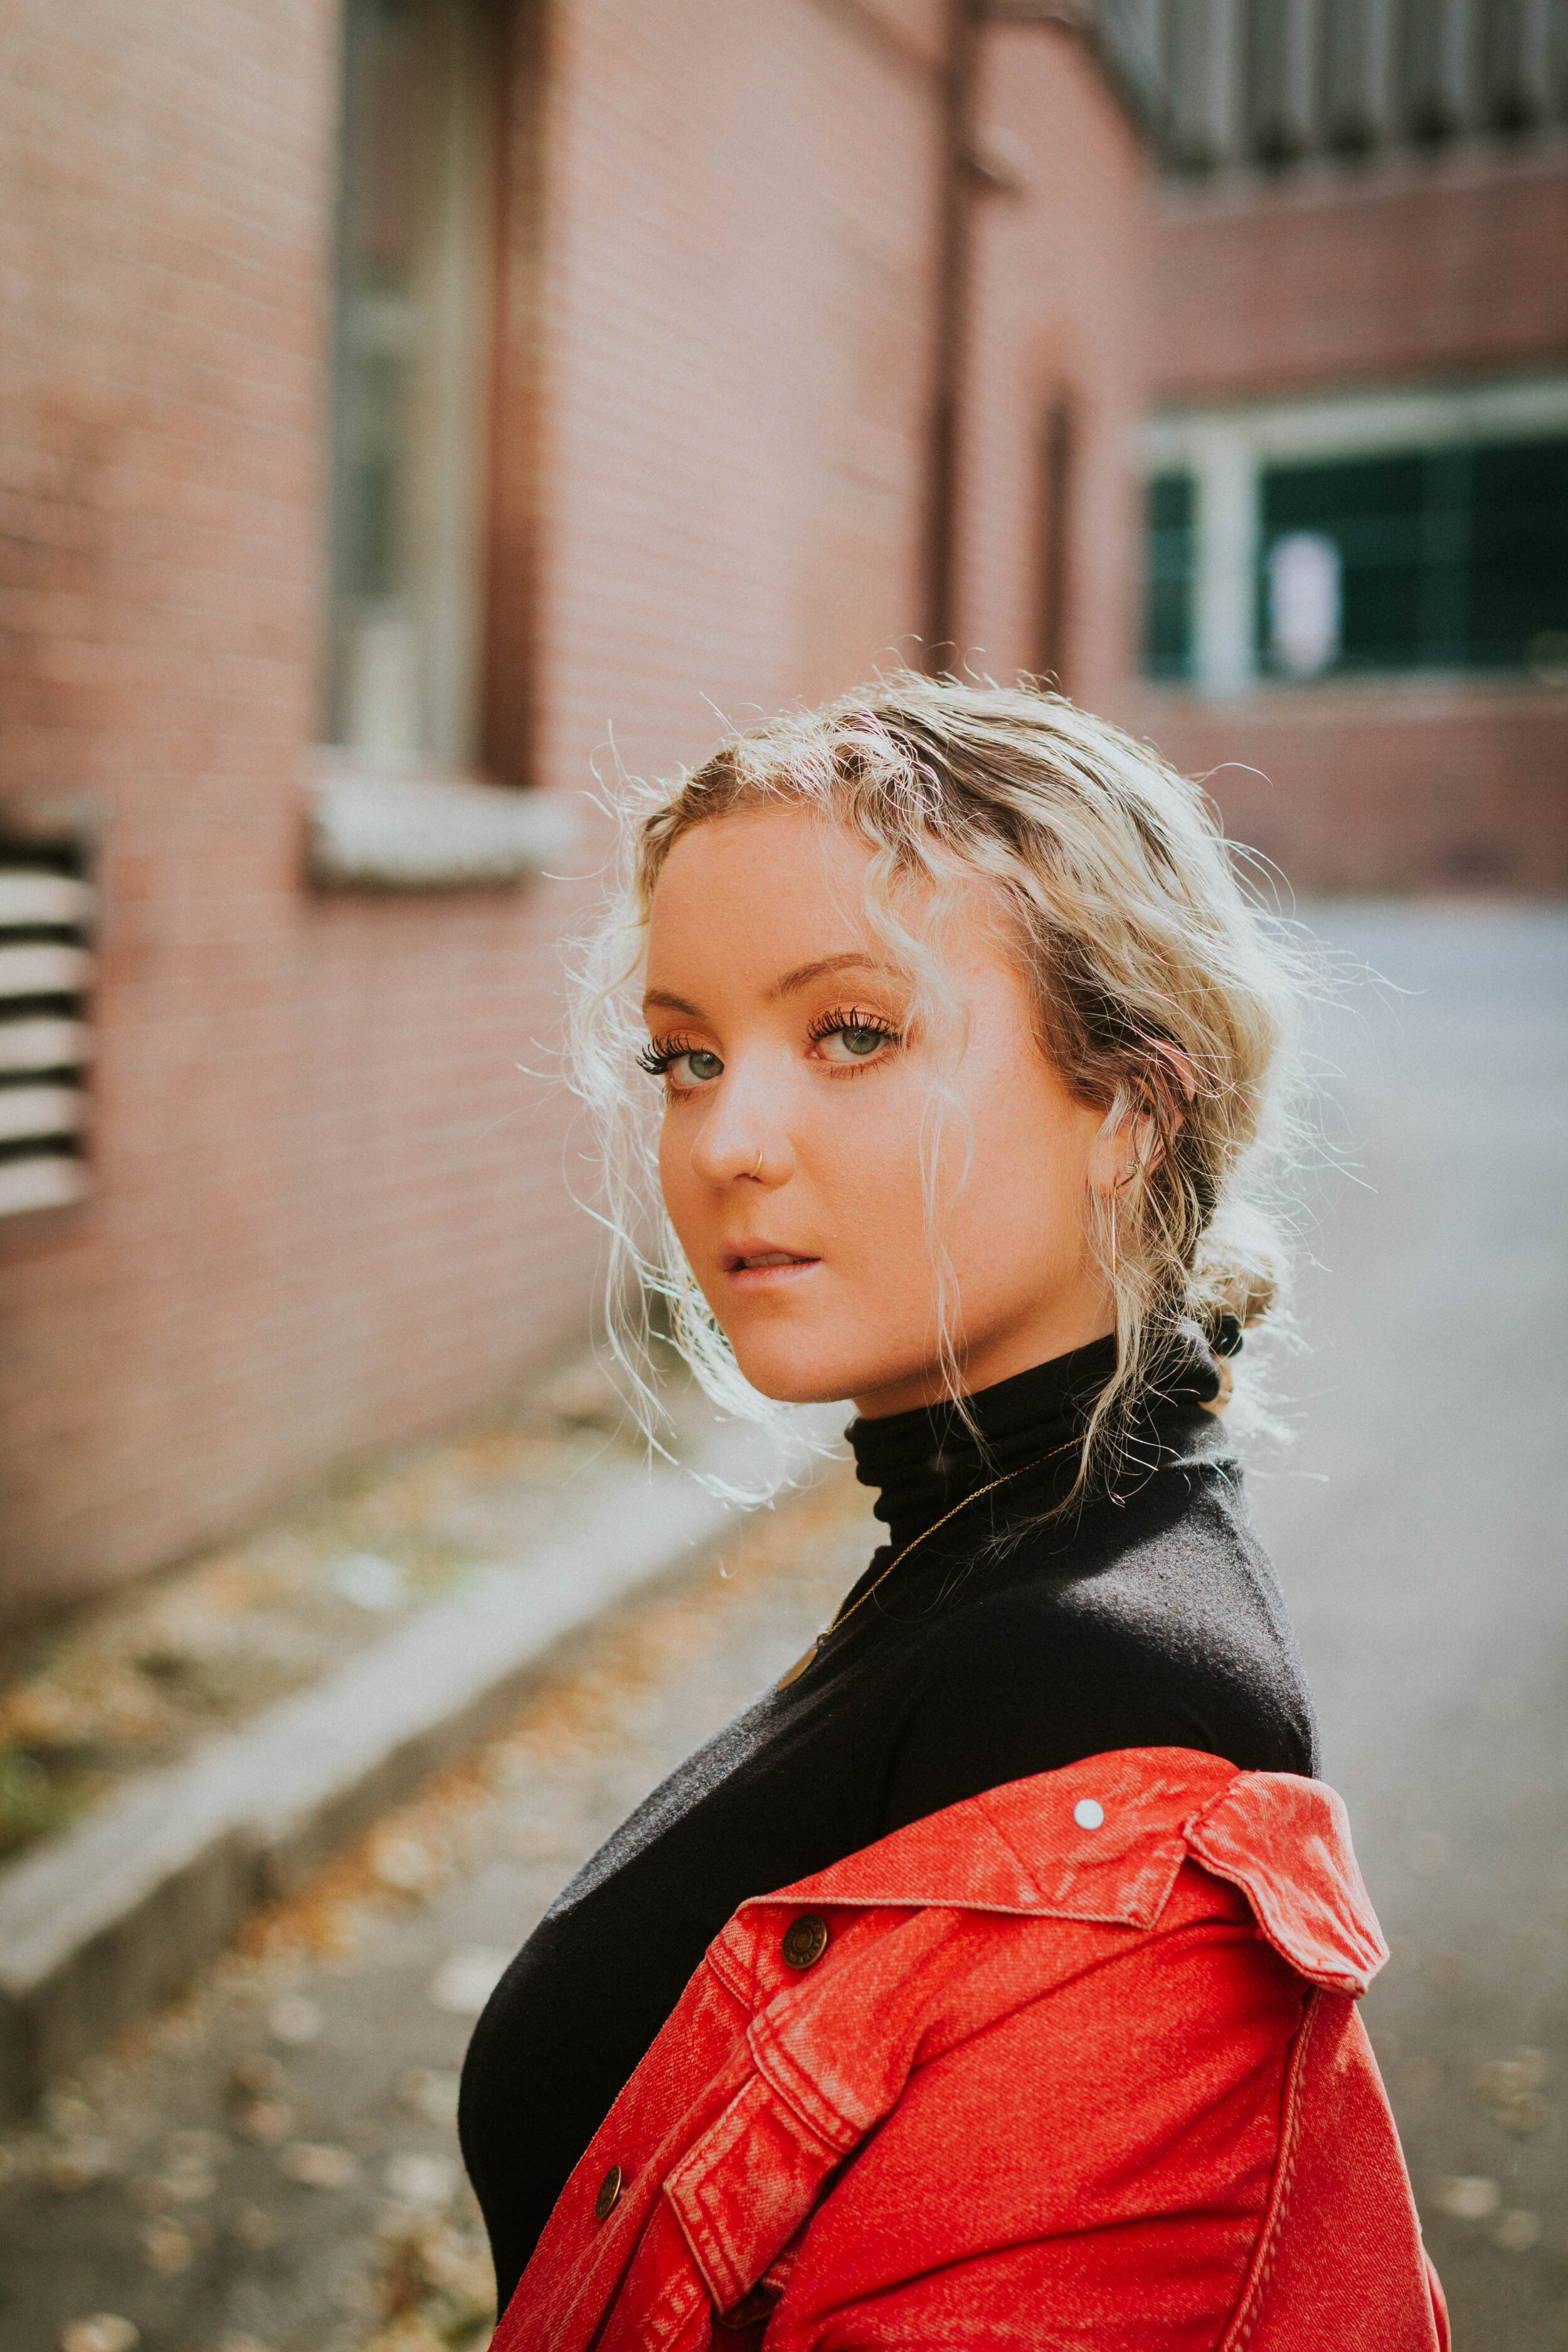
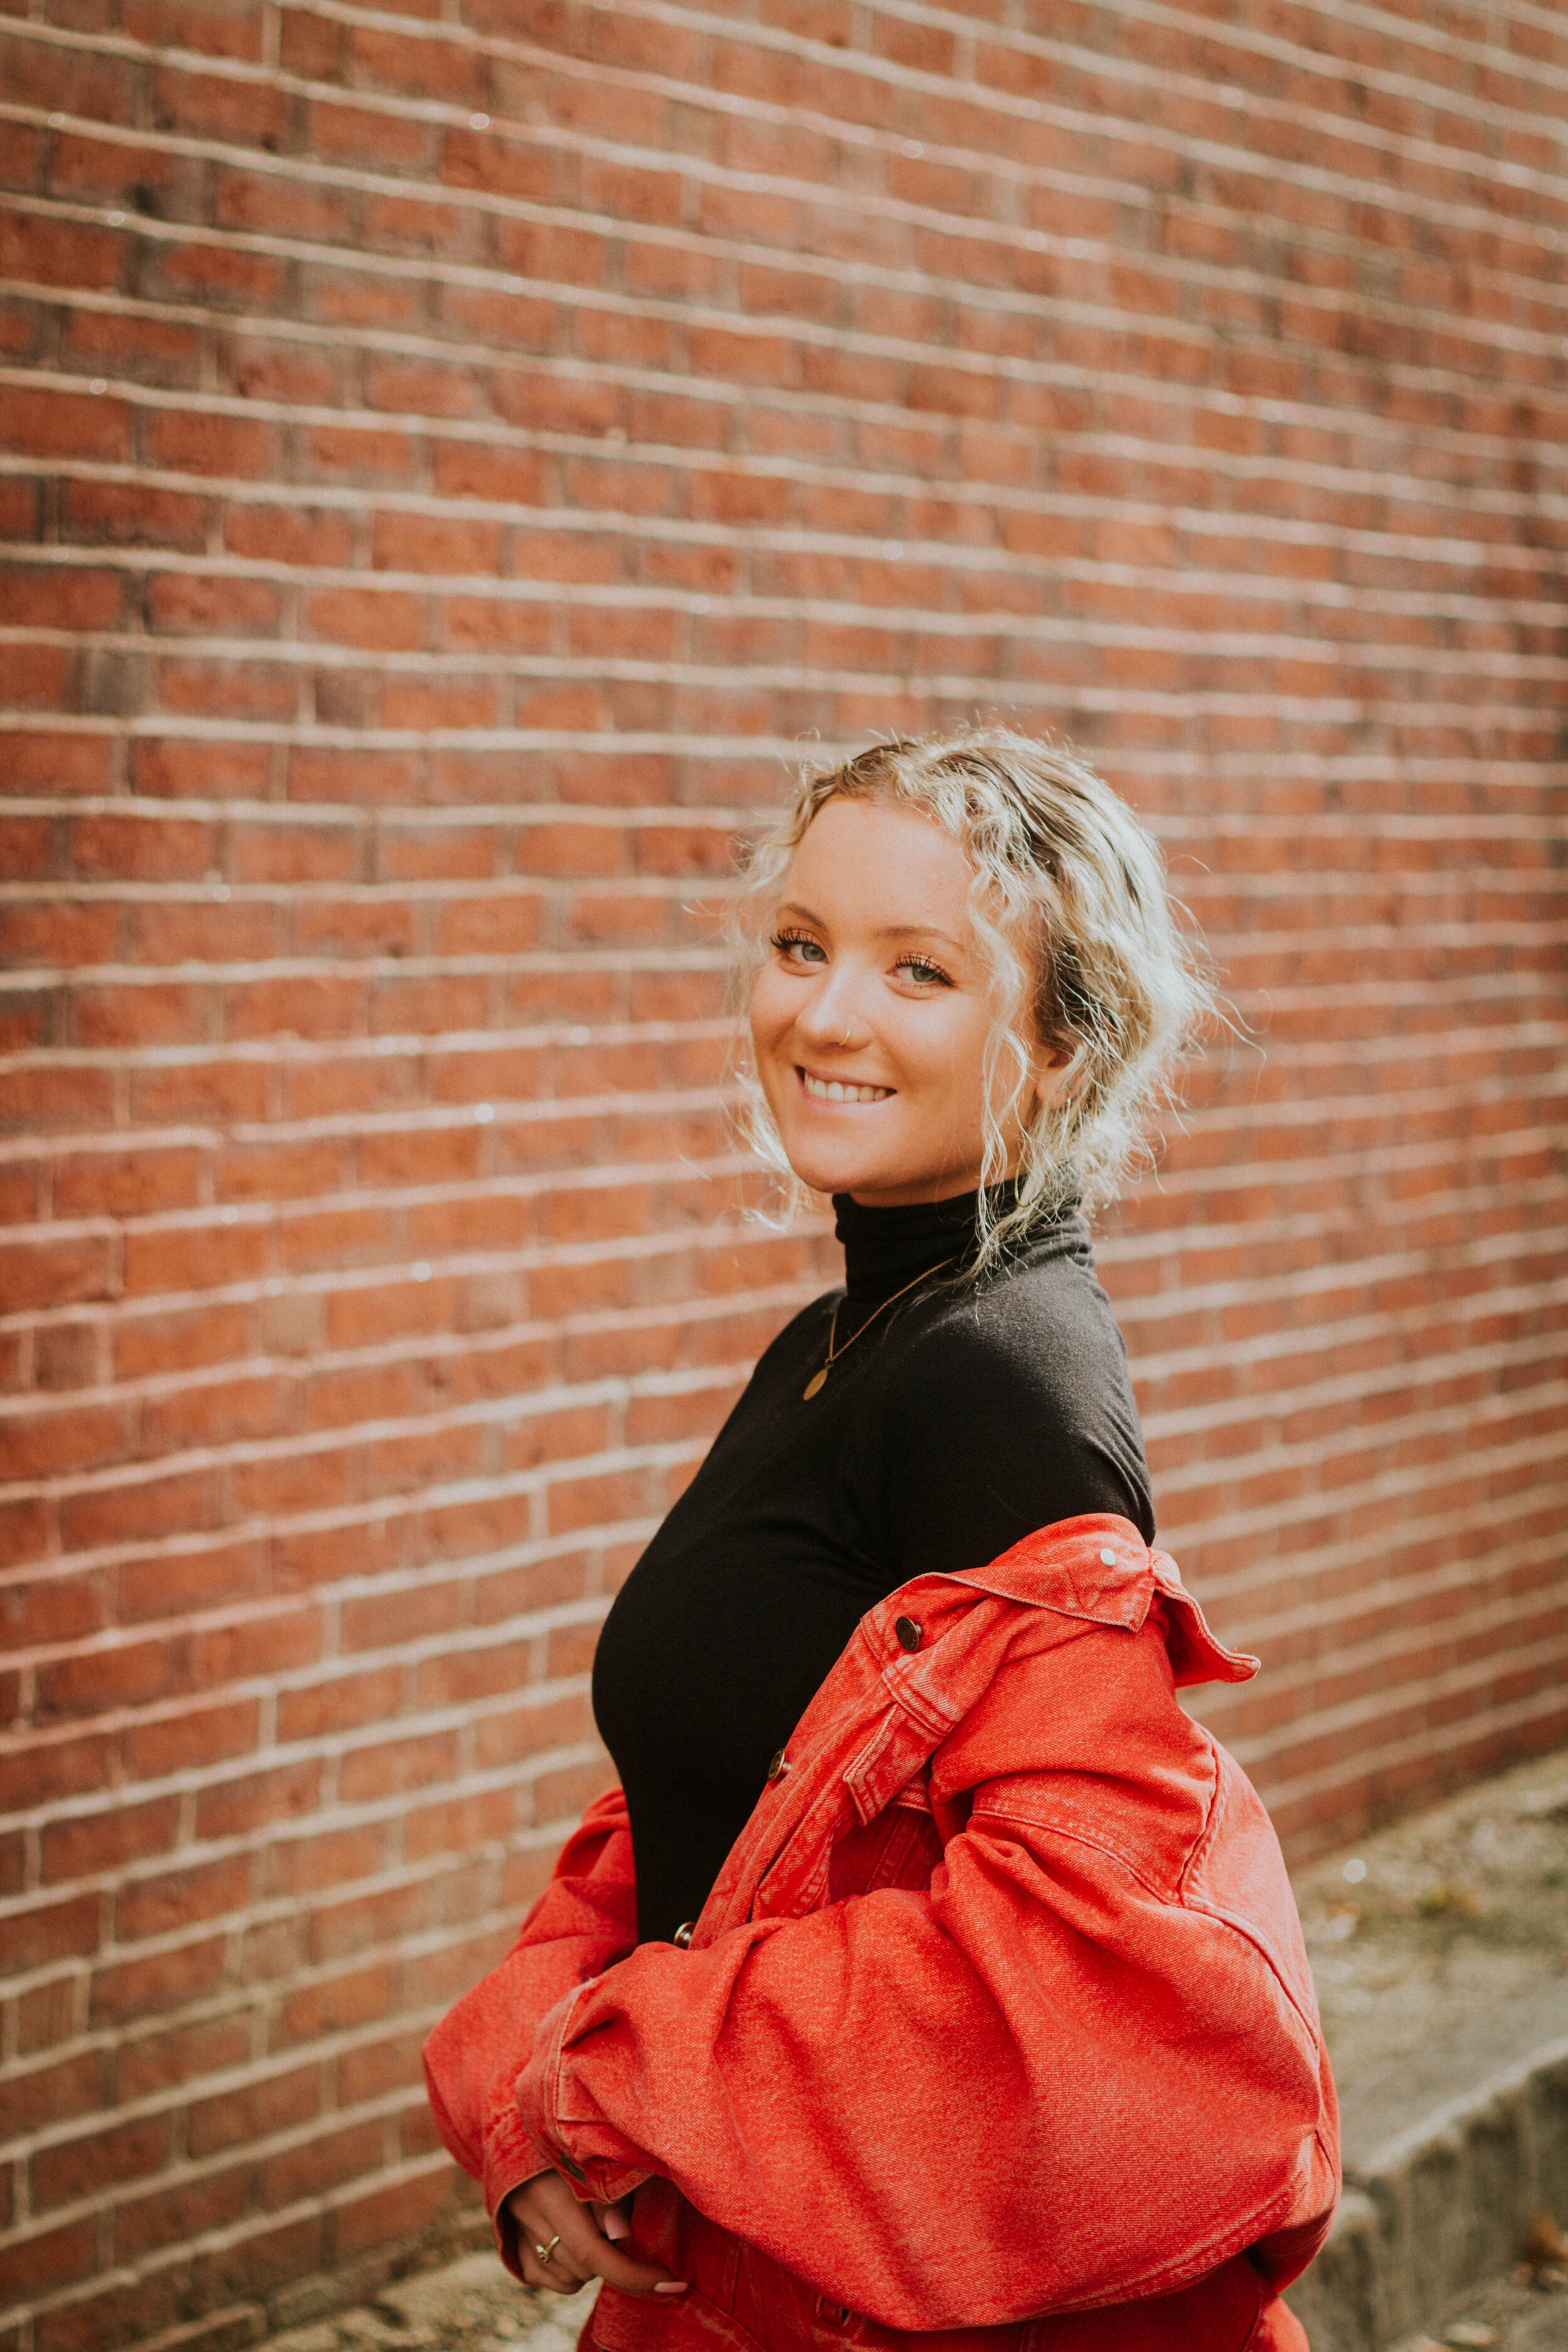
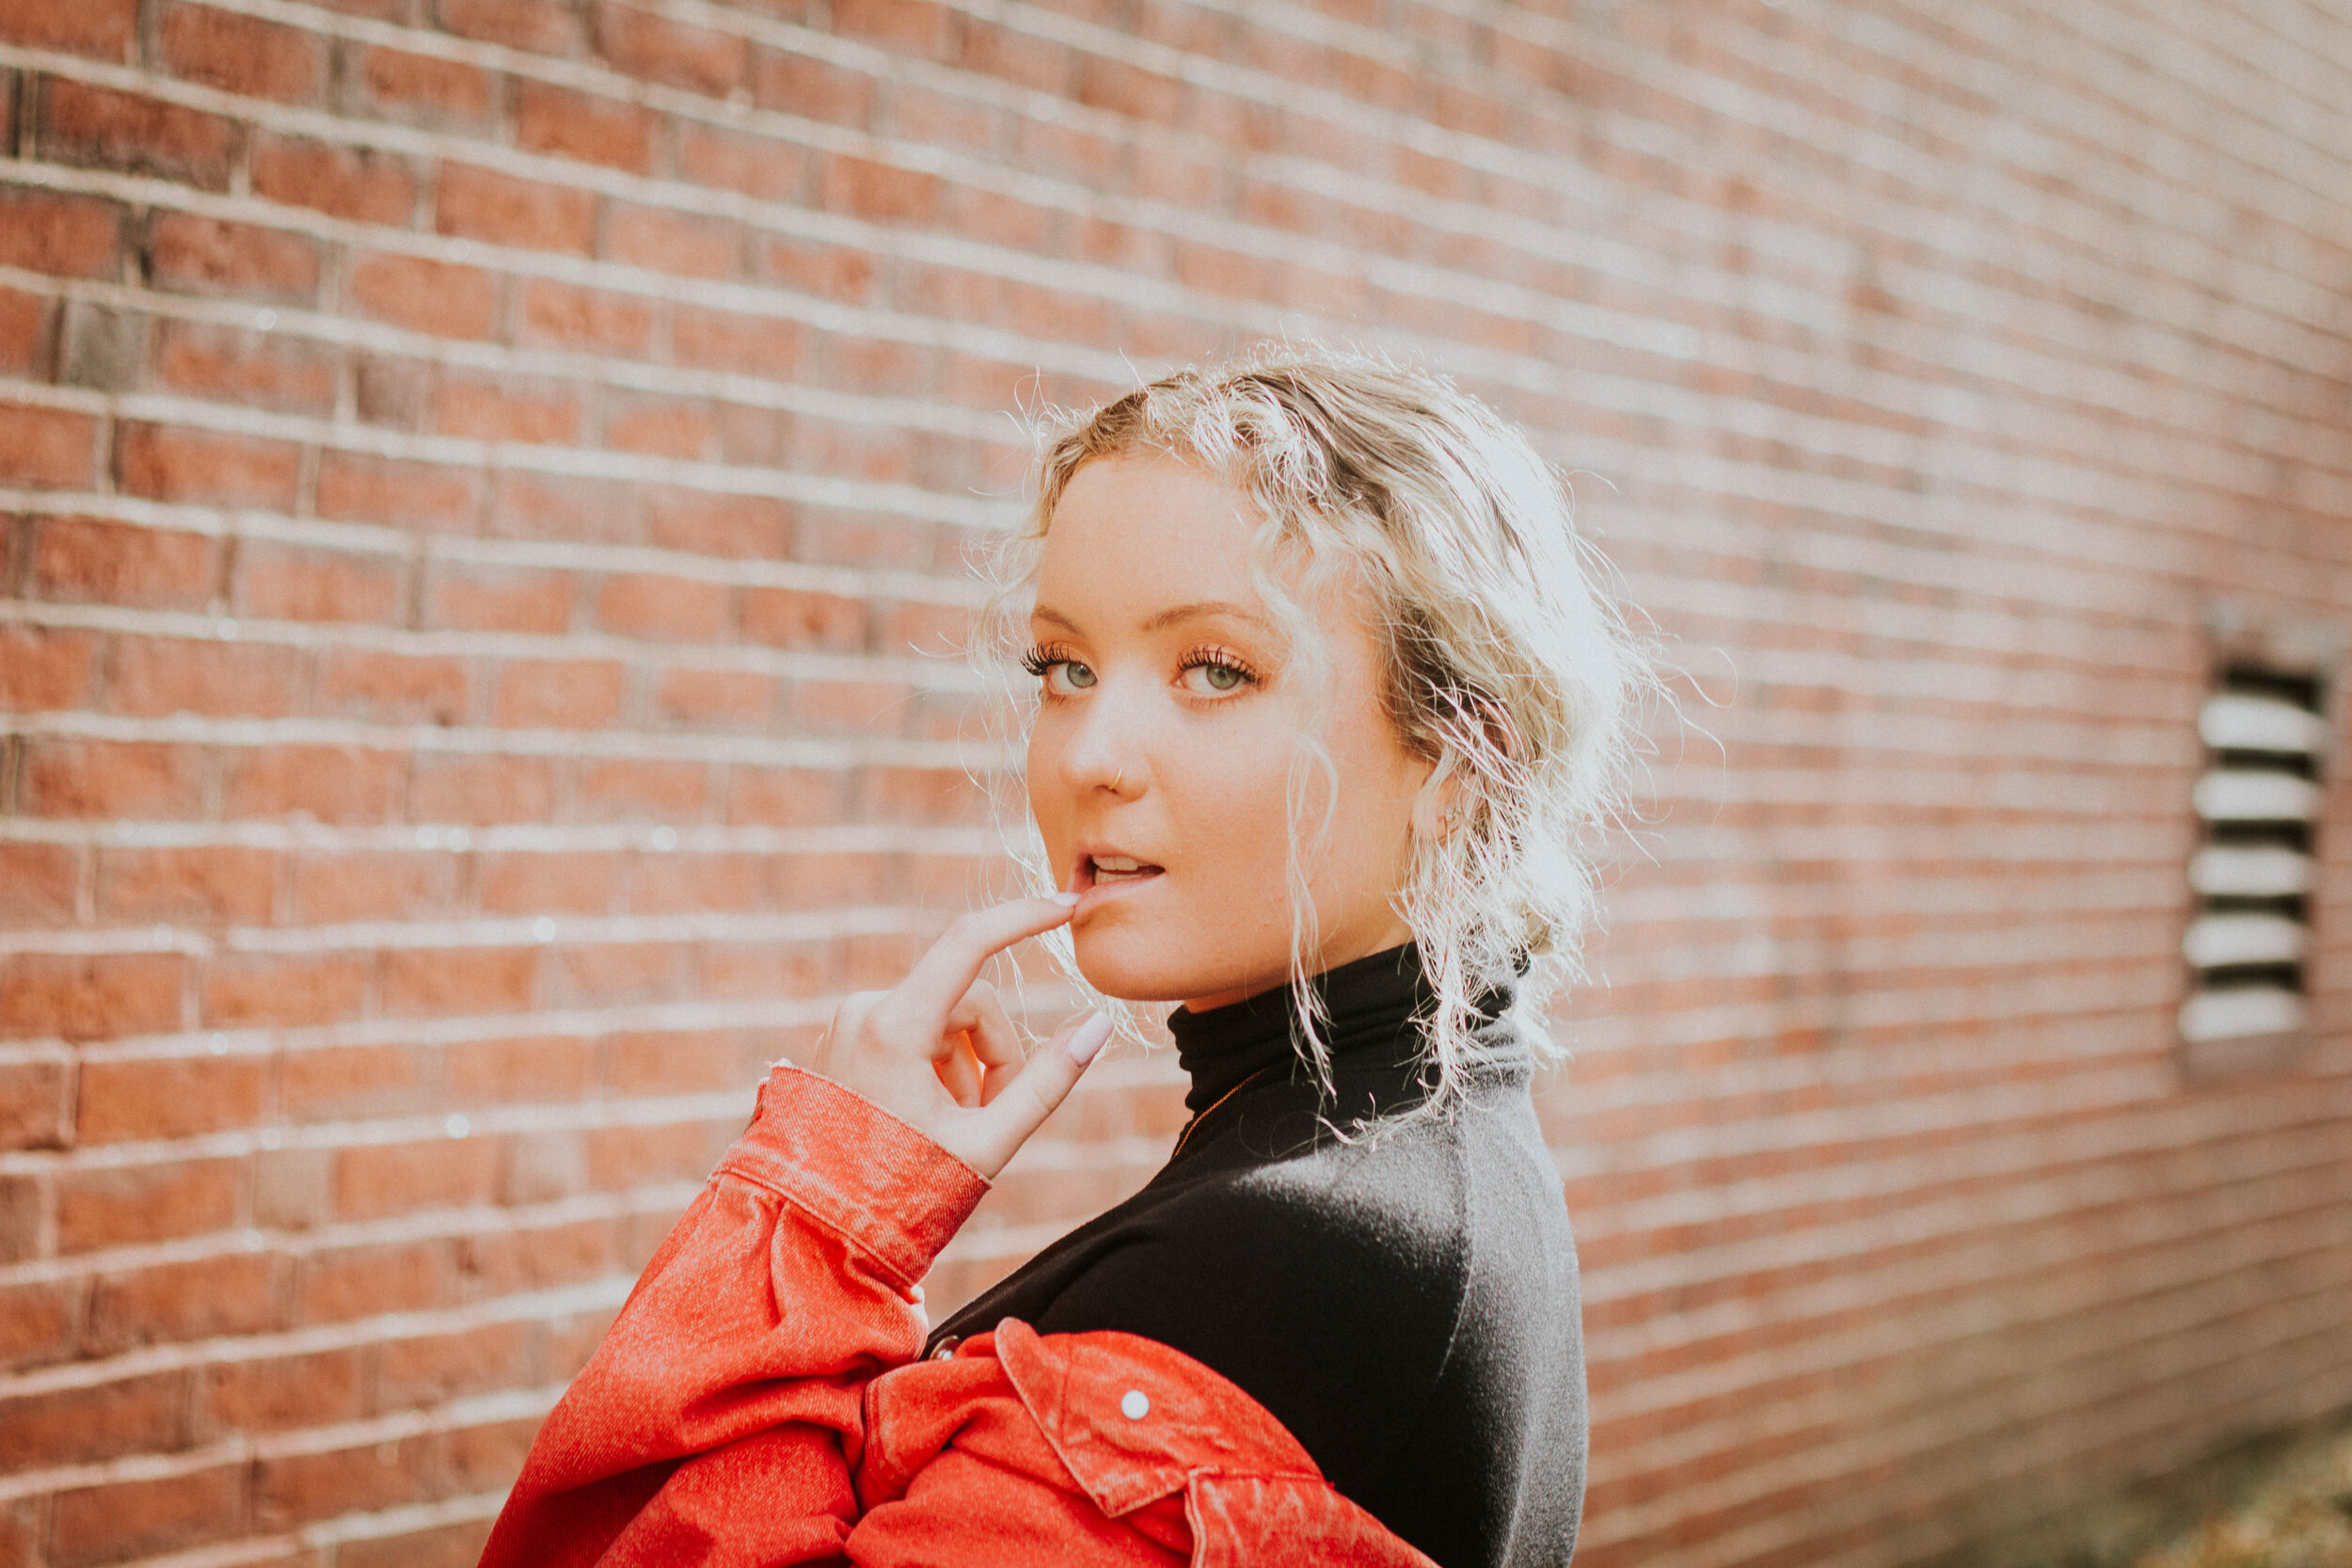
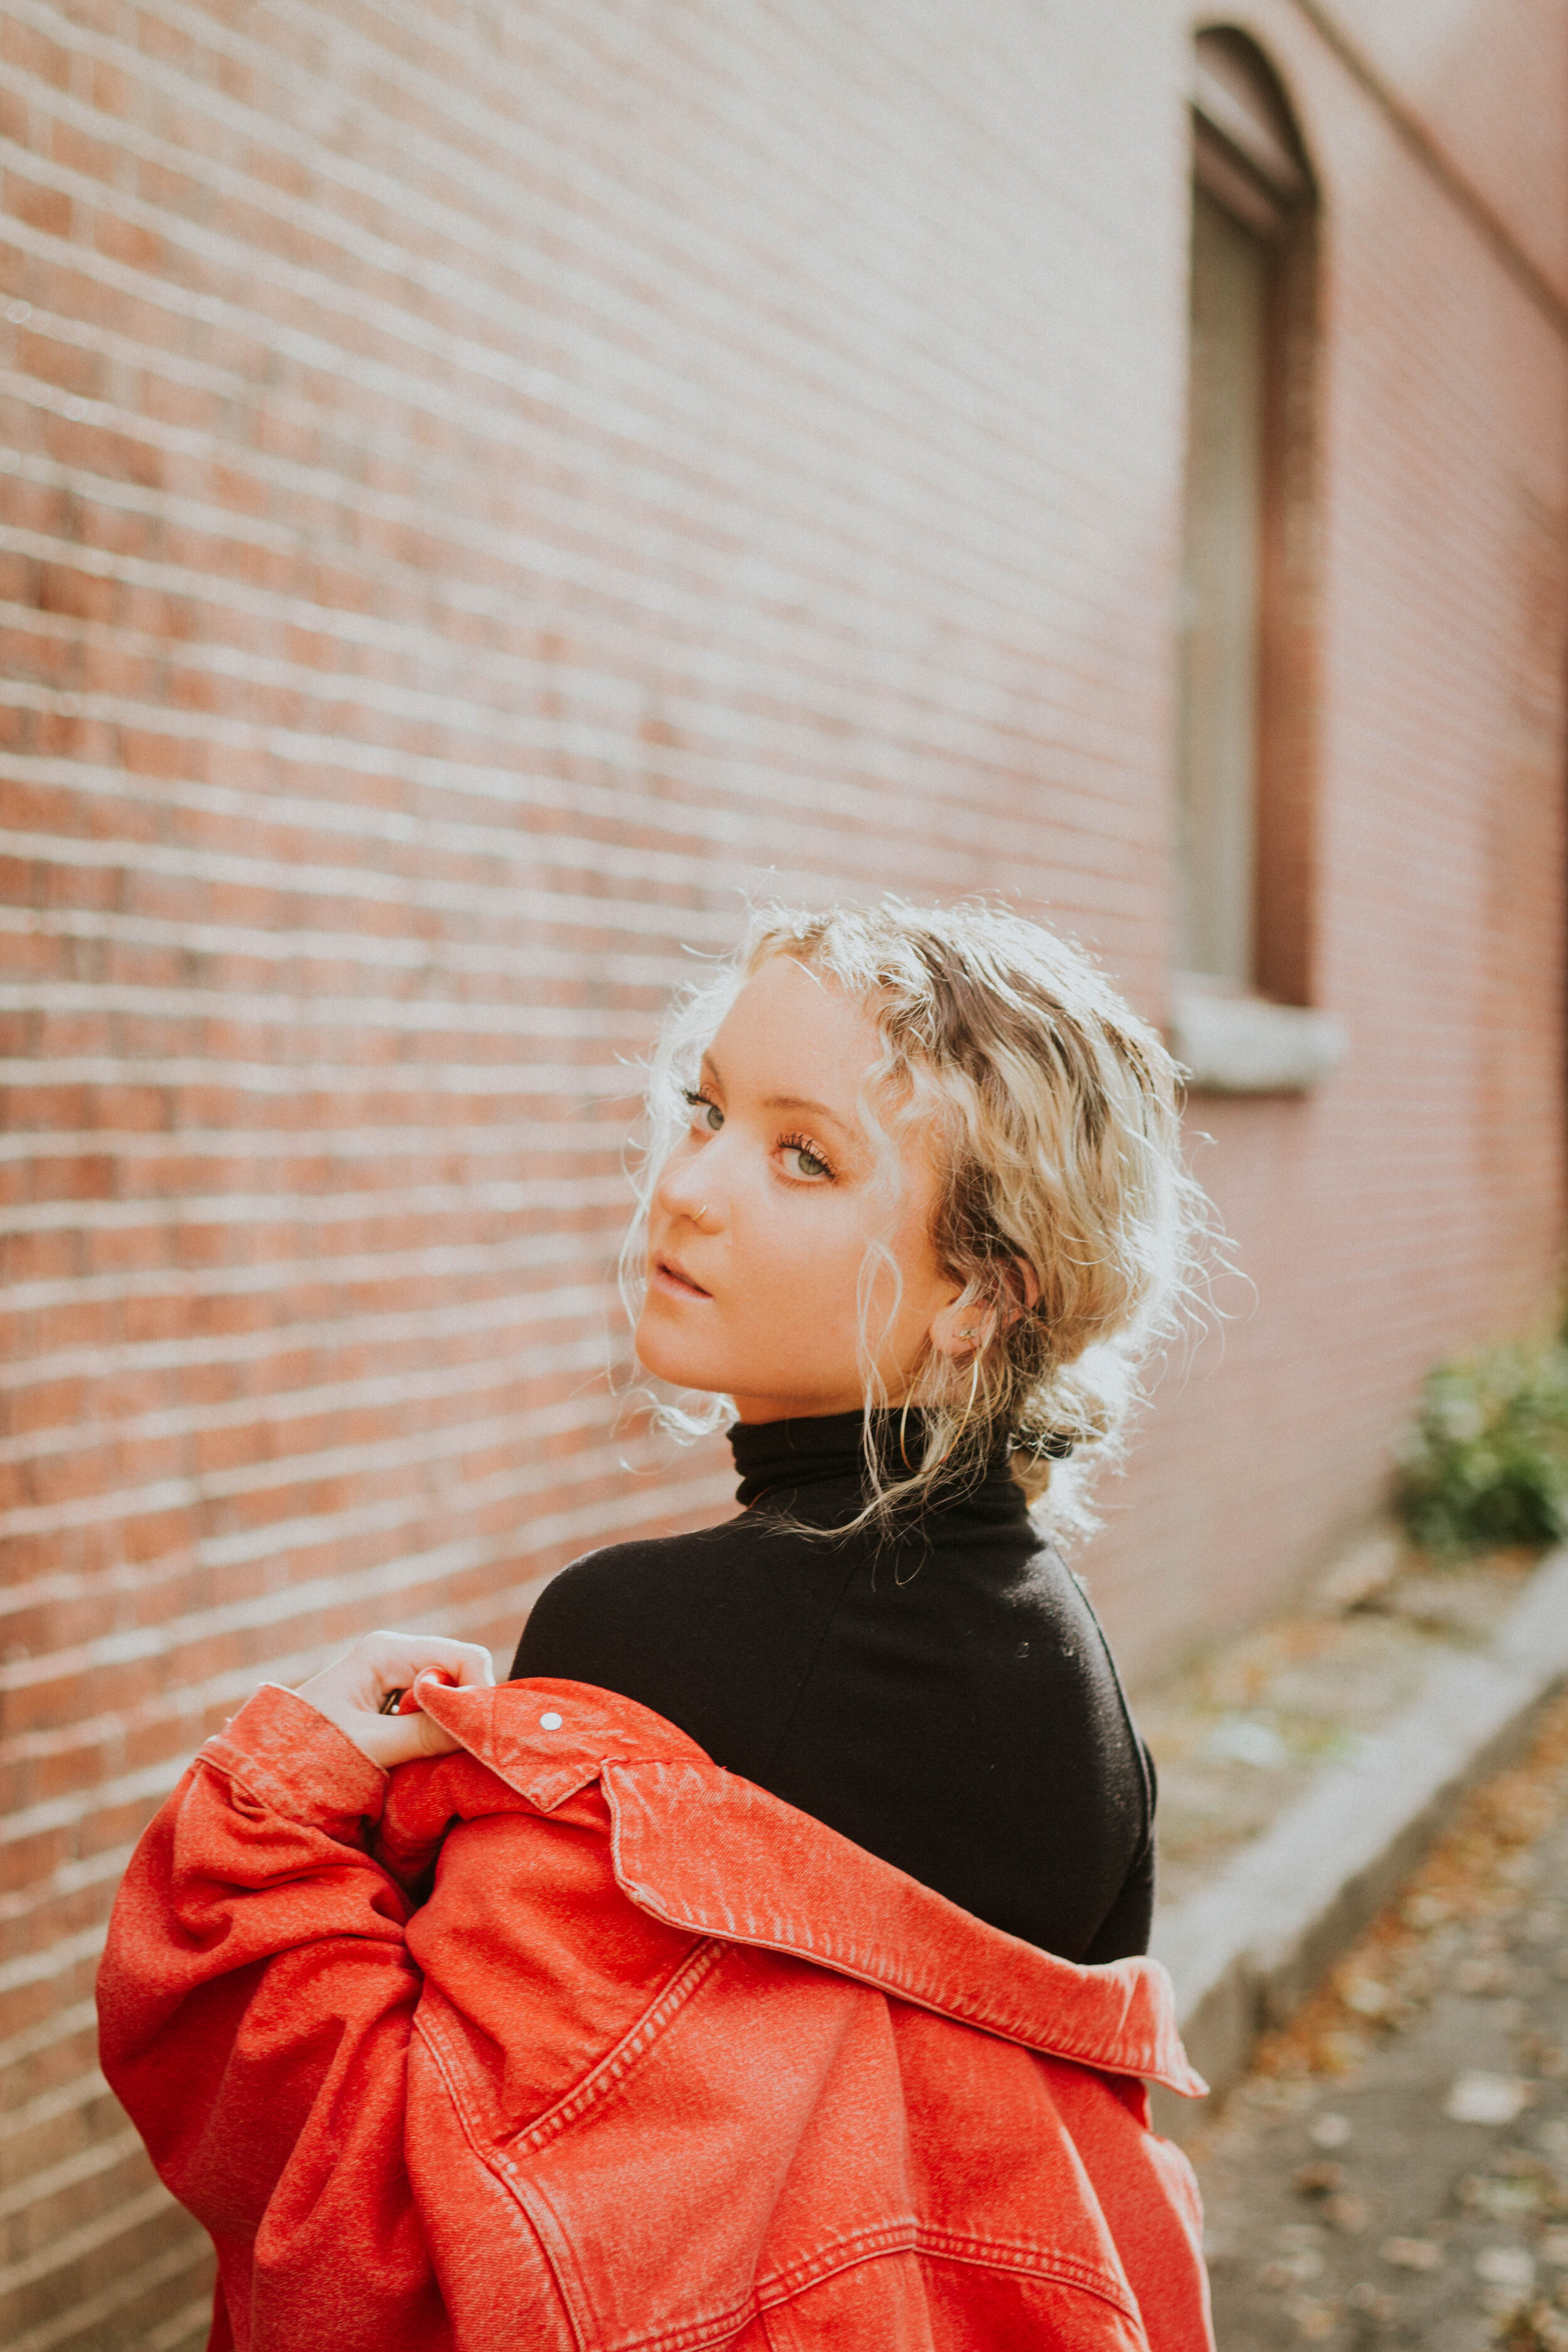
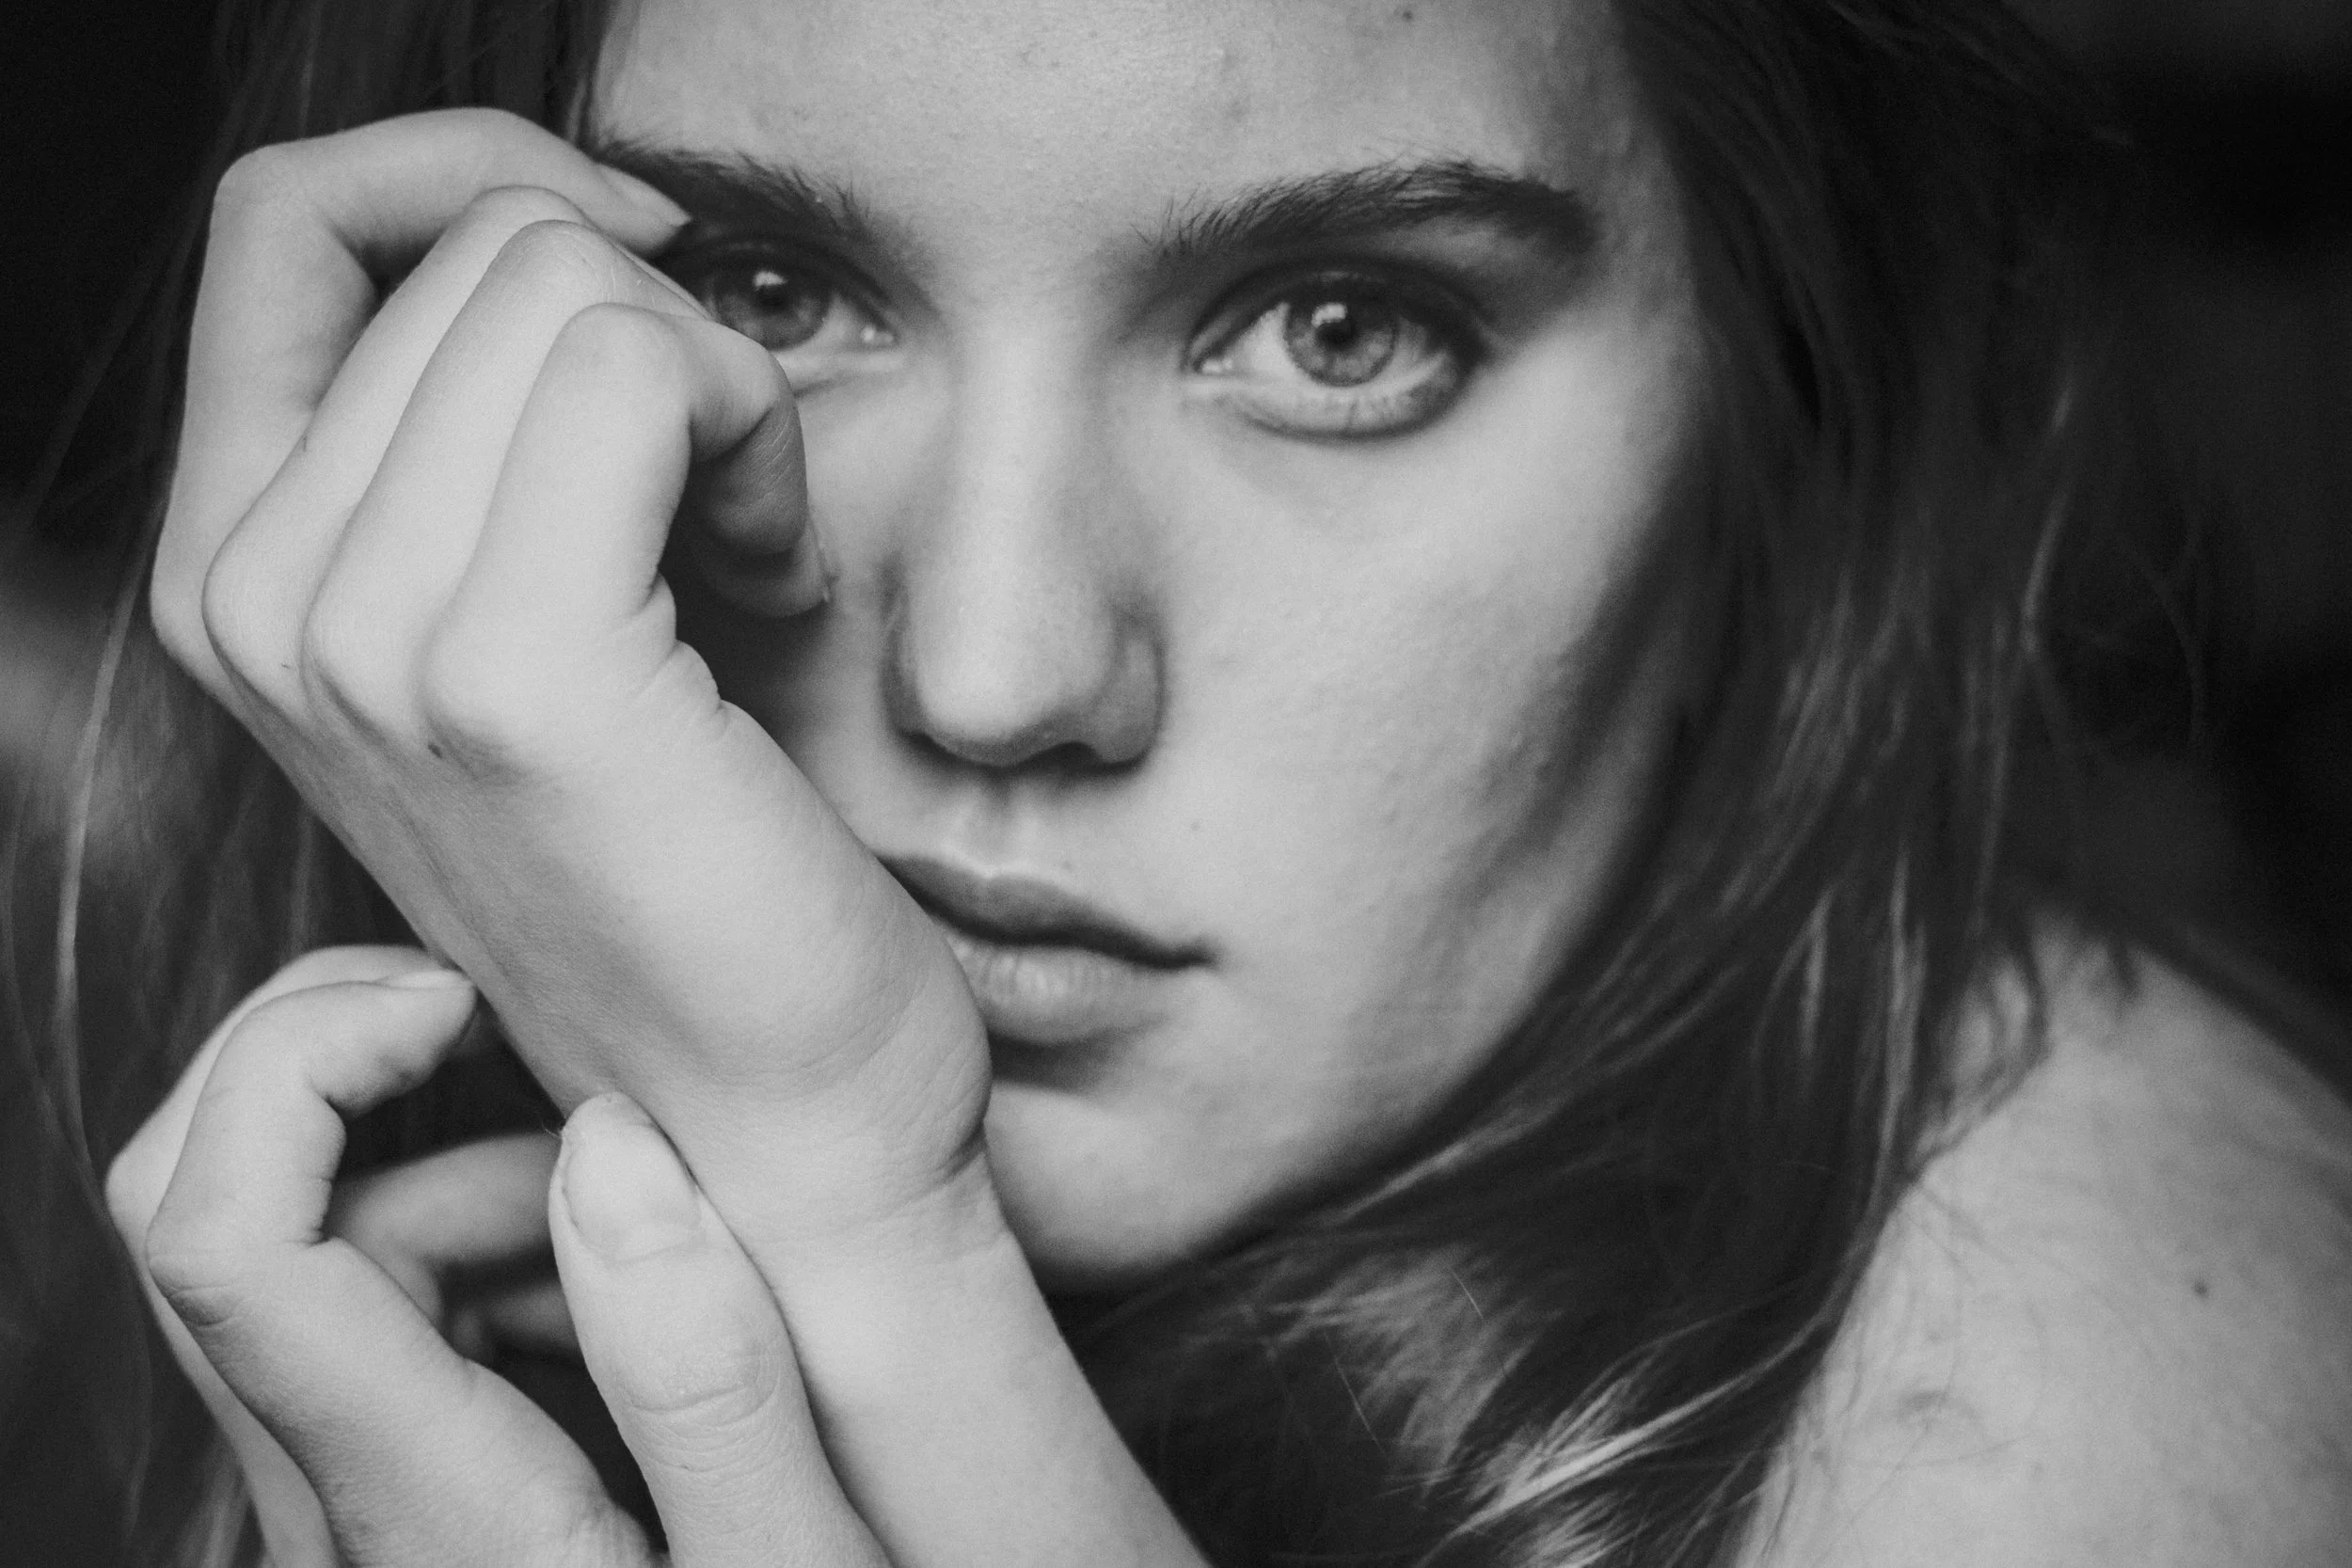
Phelan
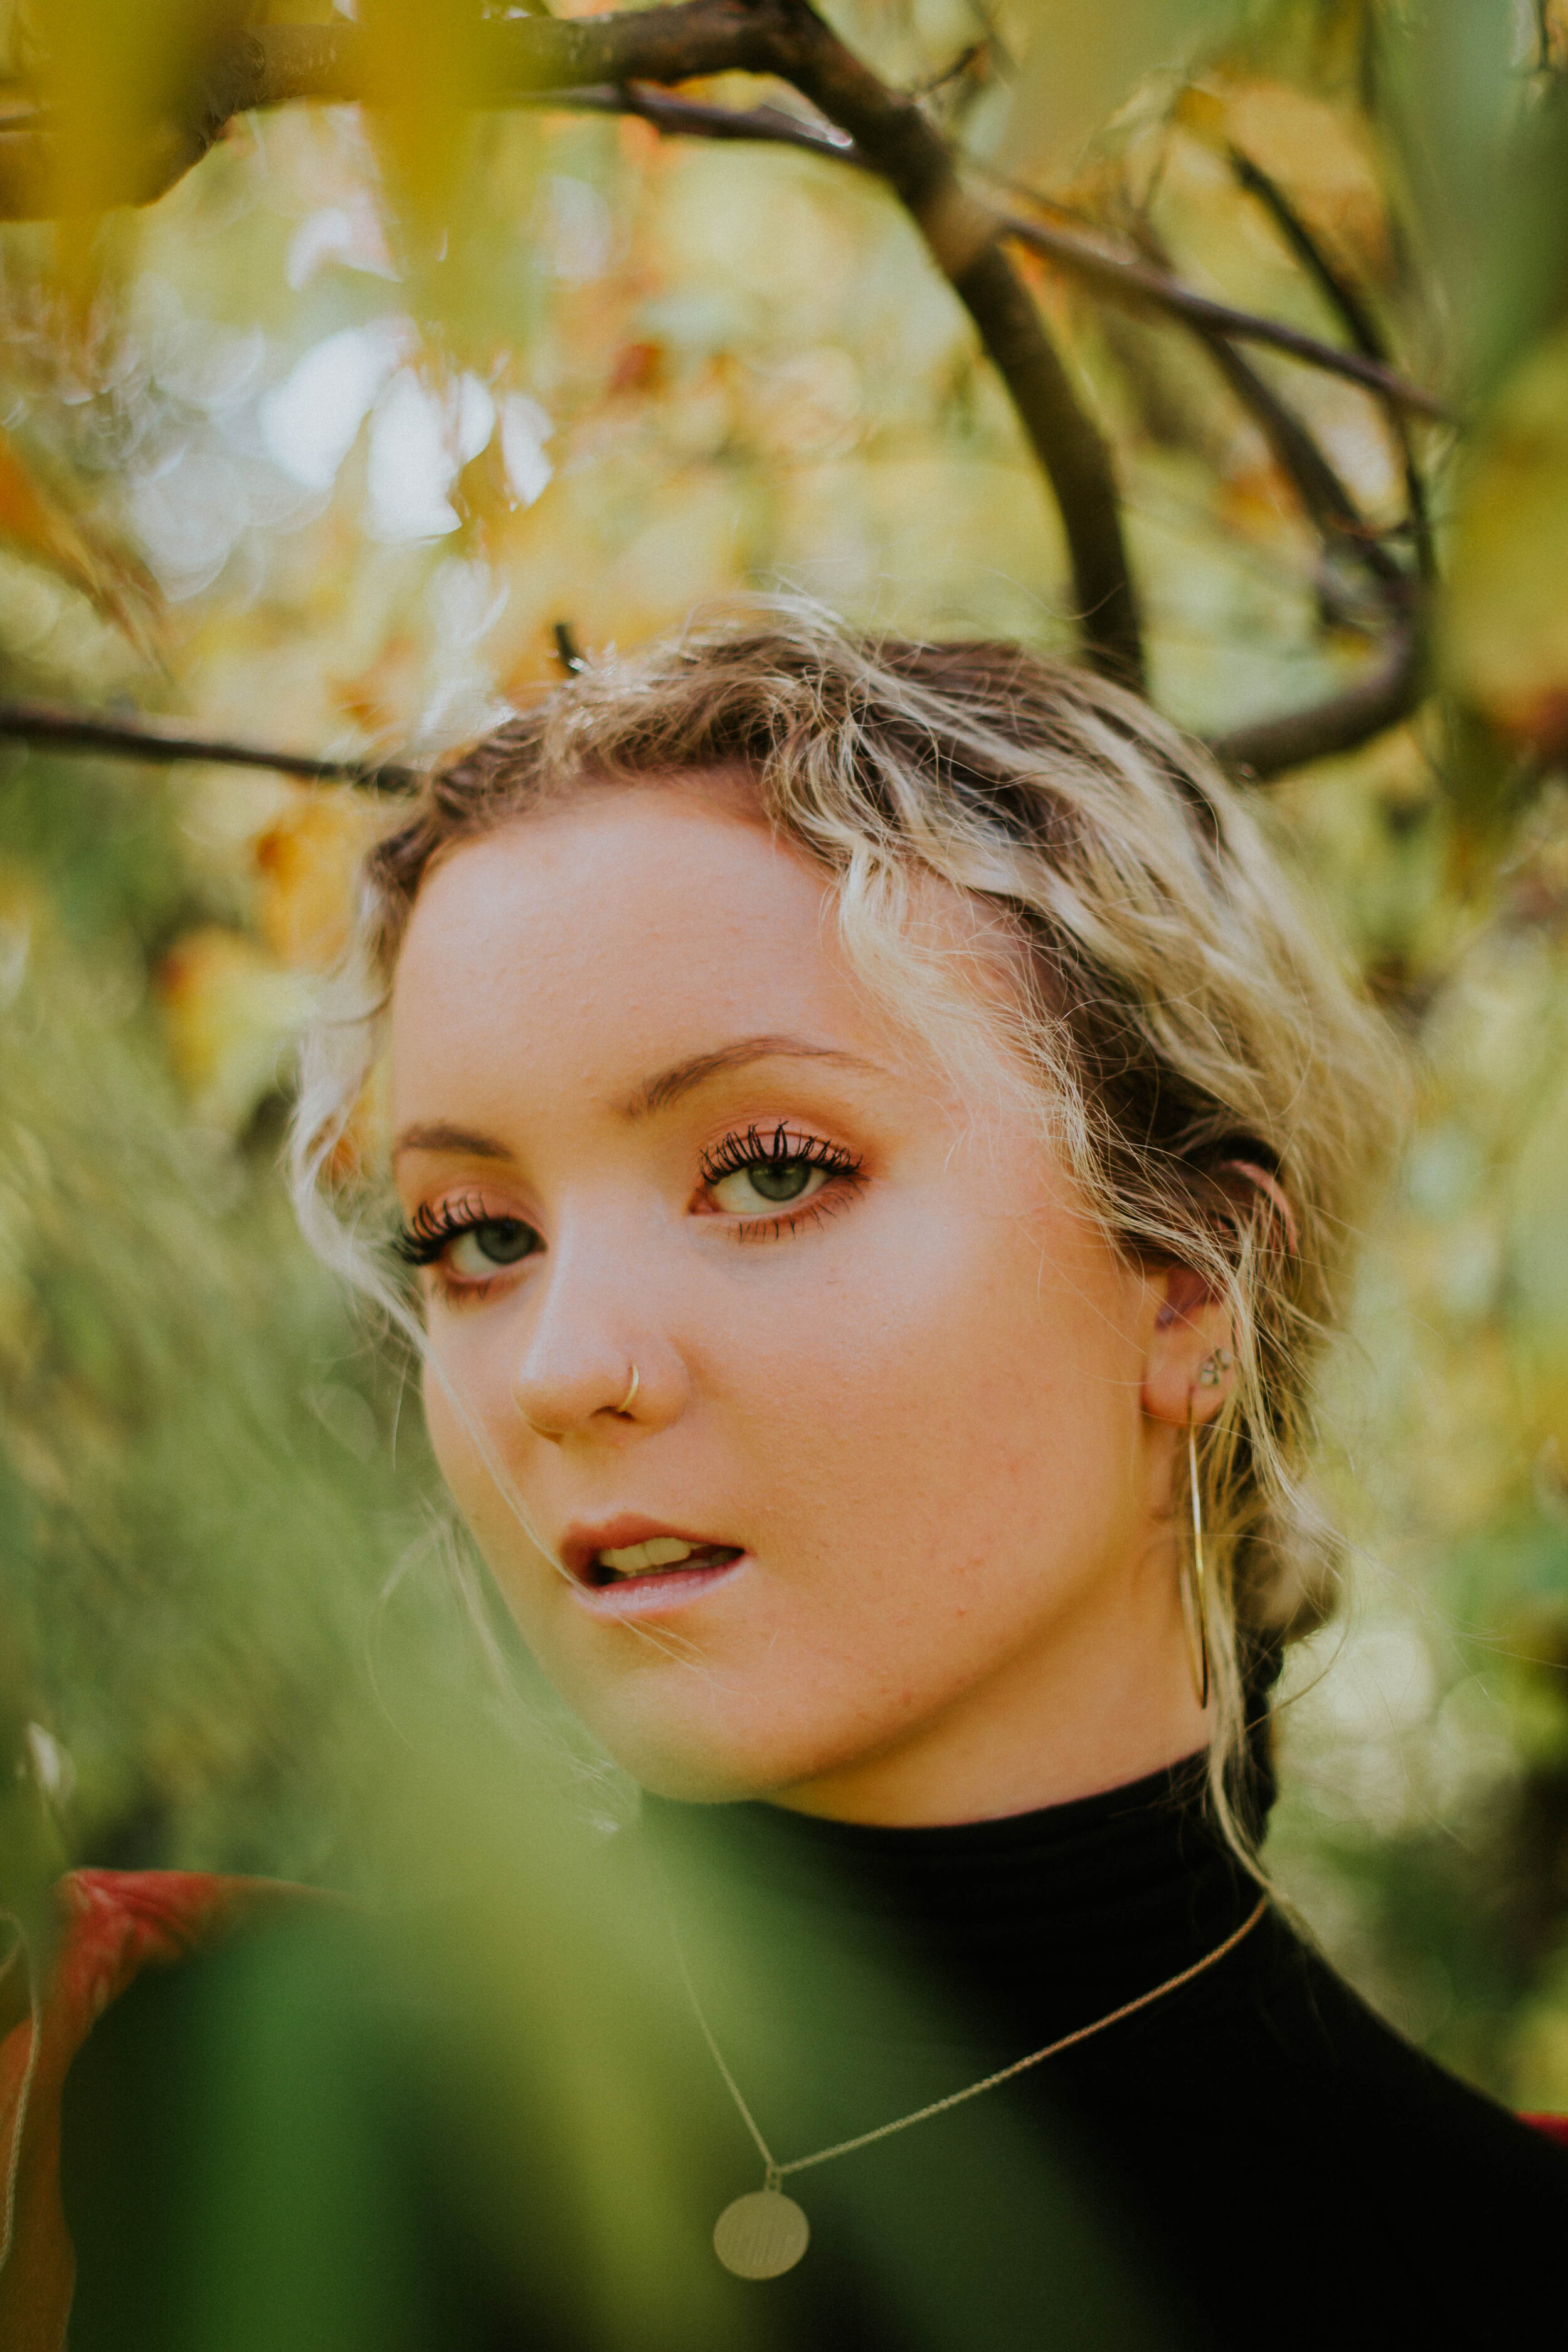
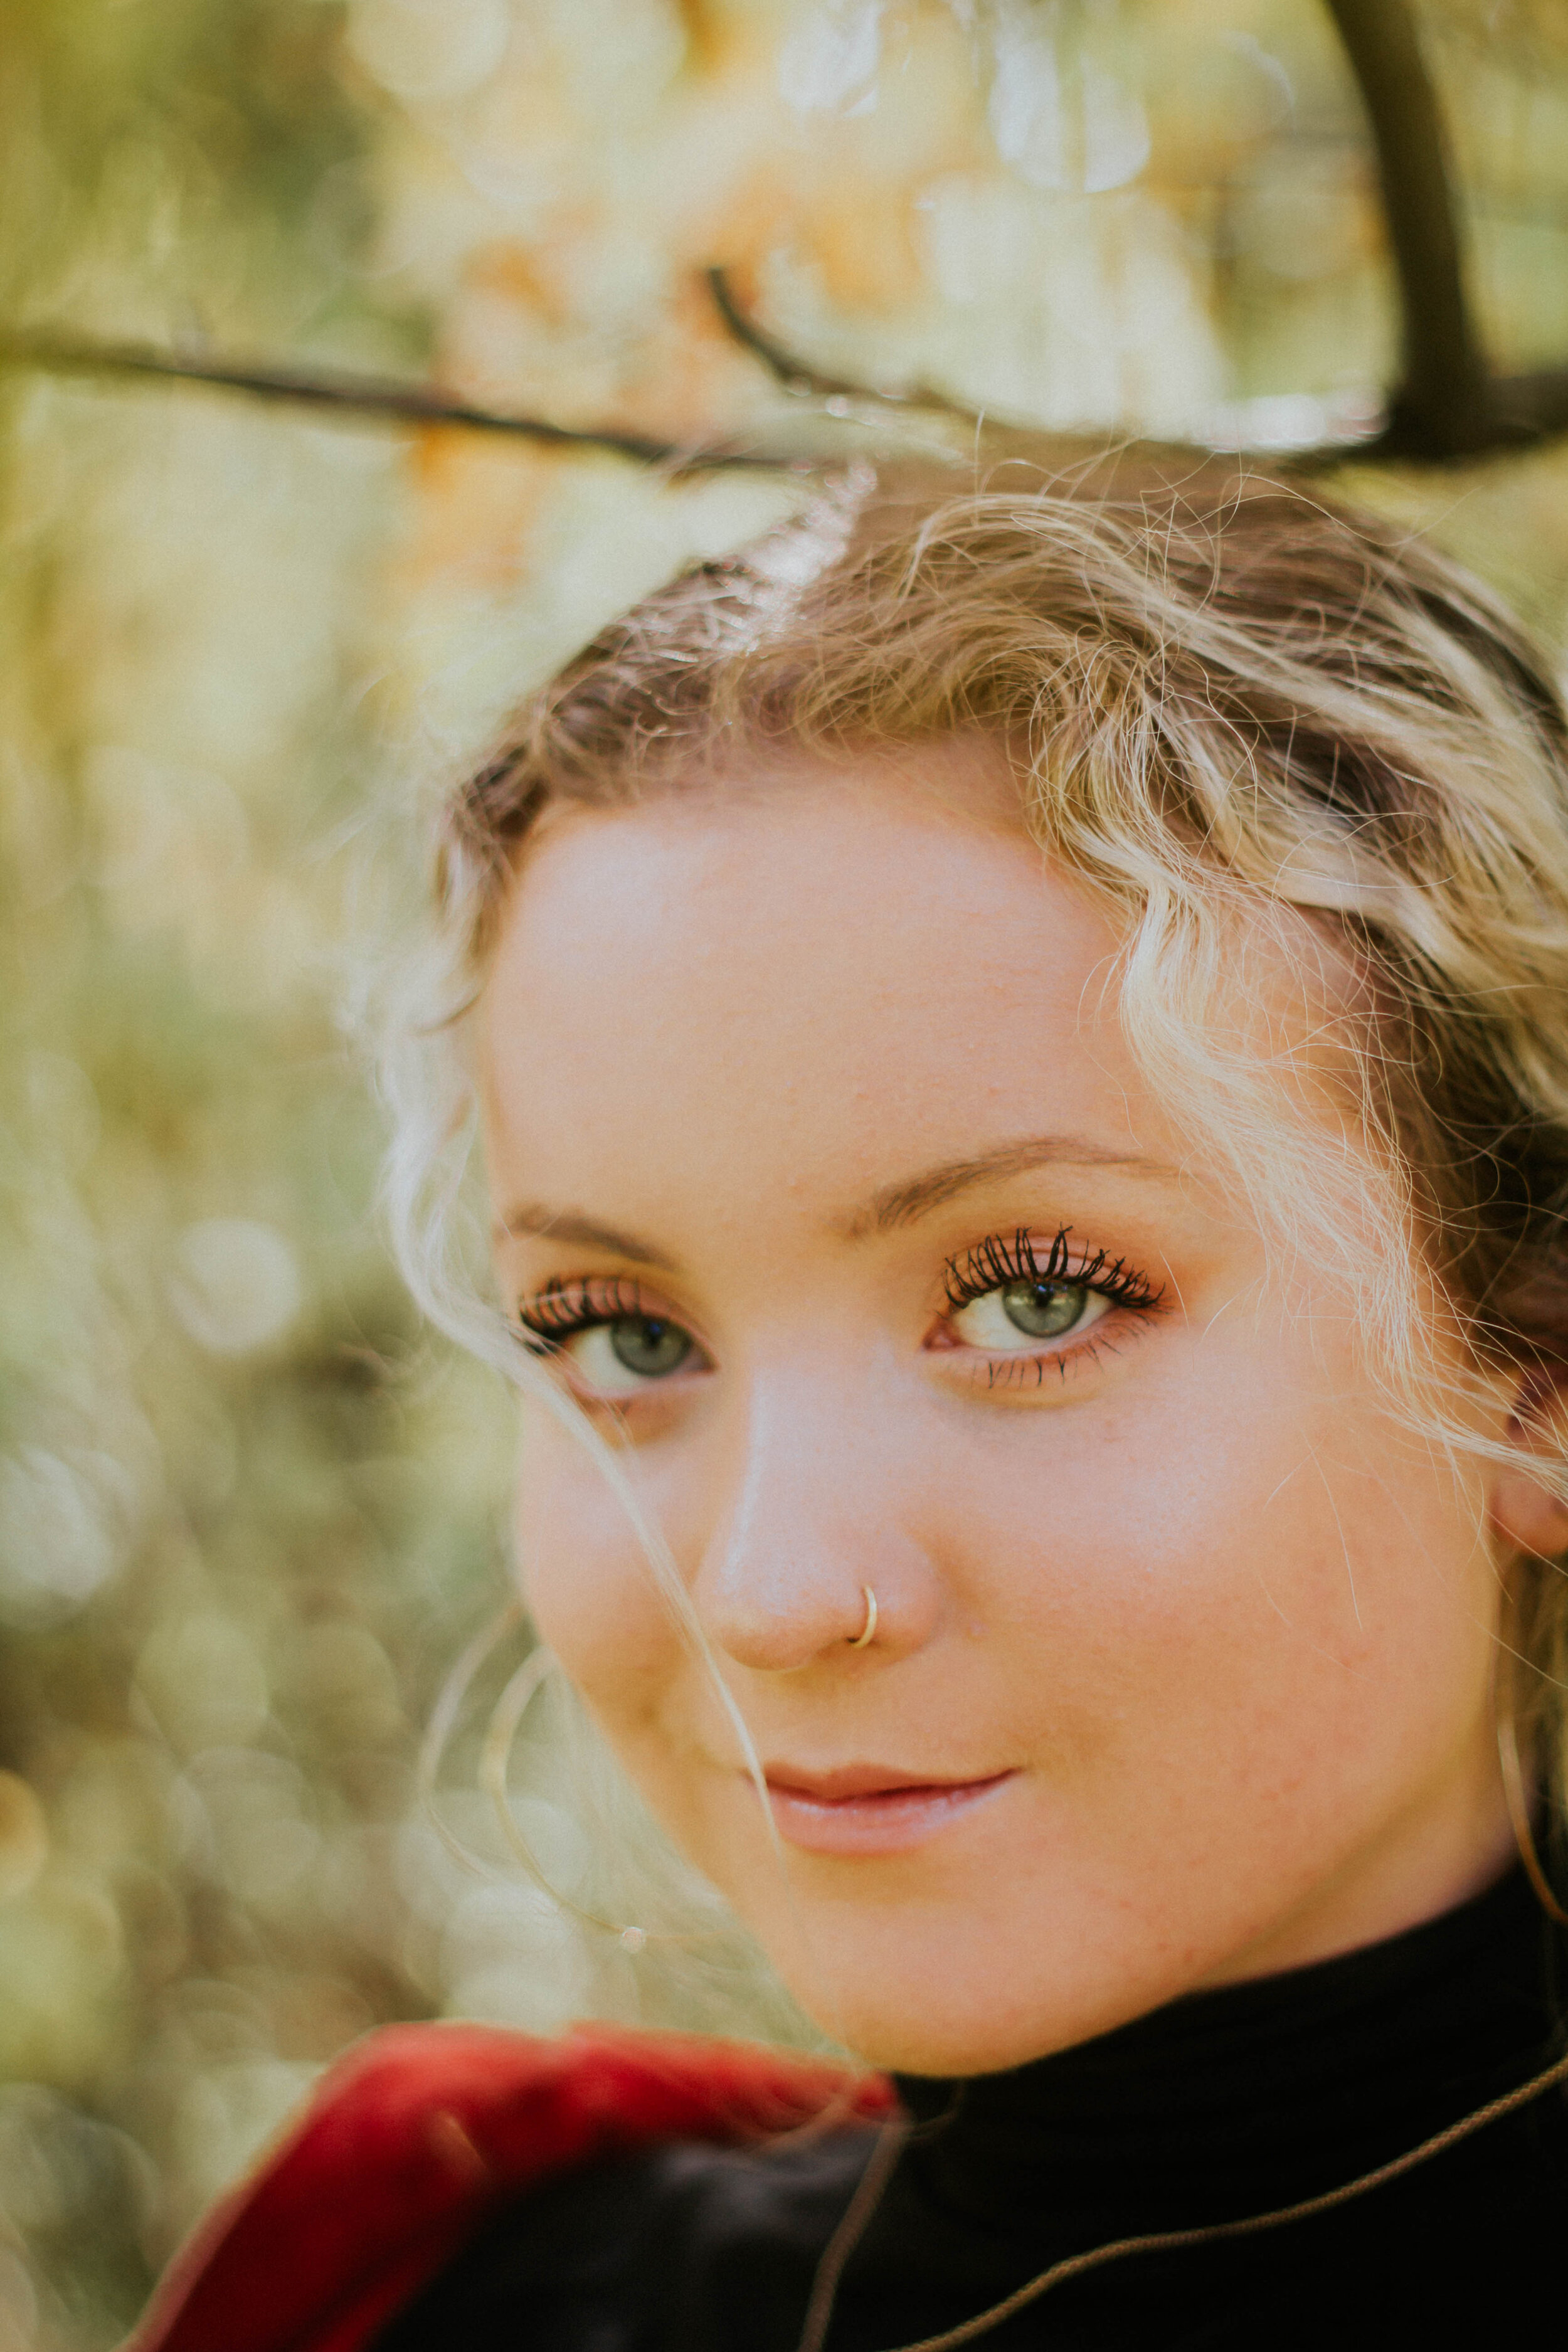
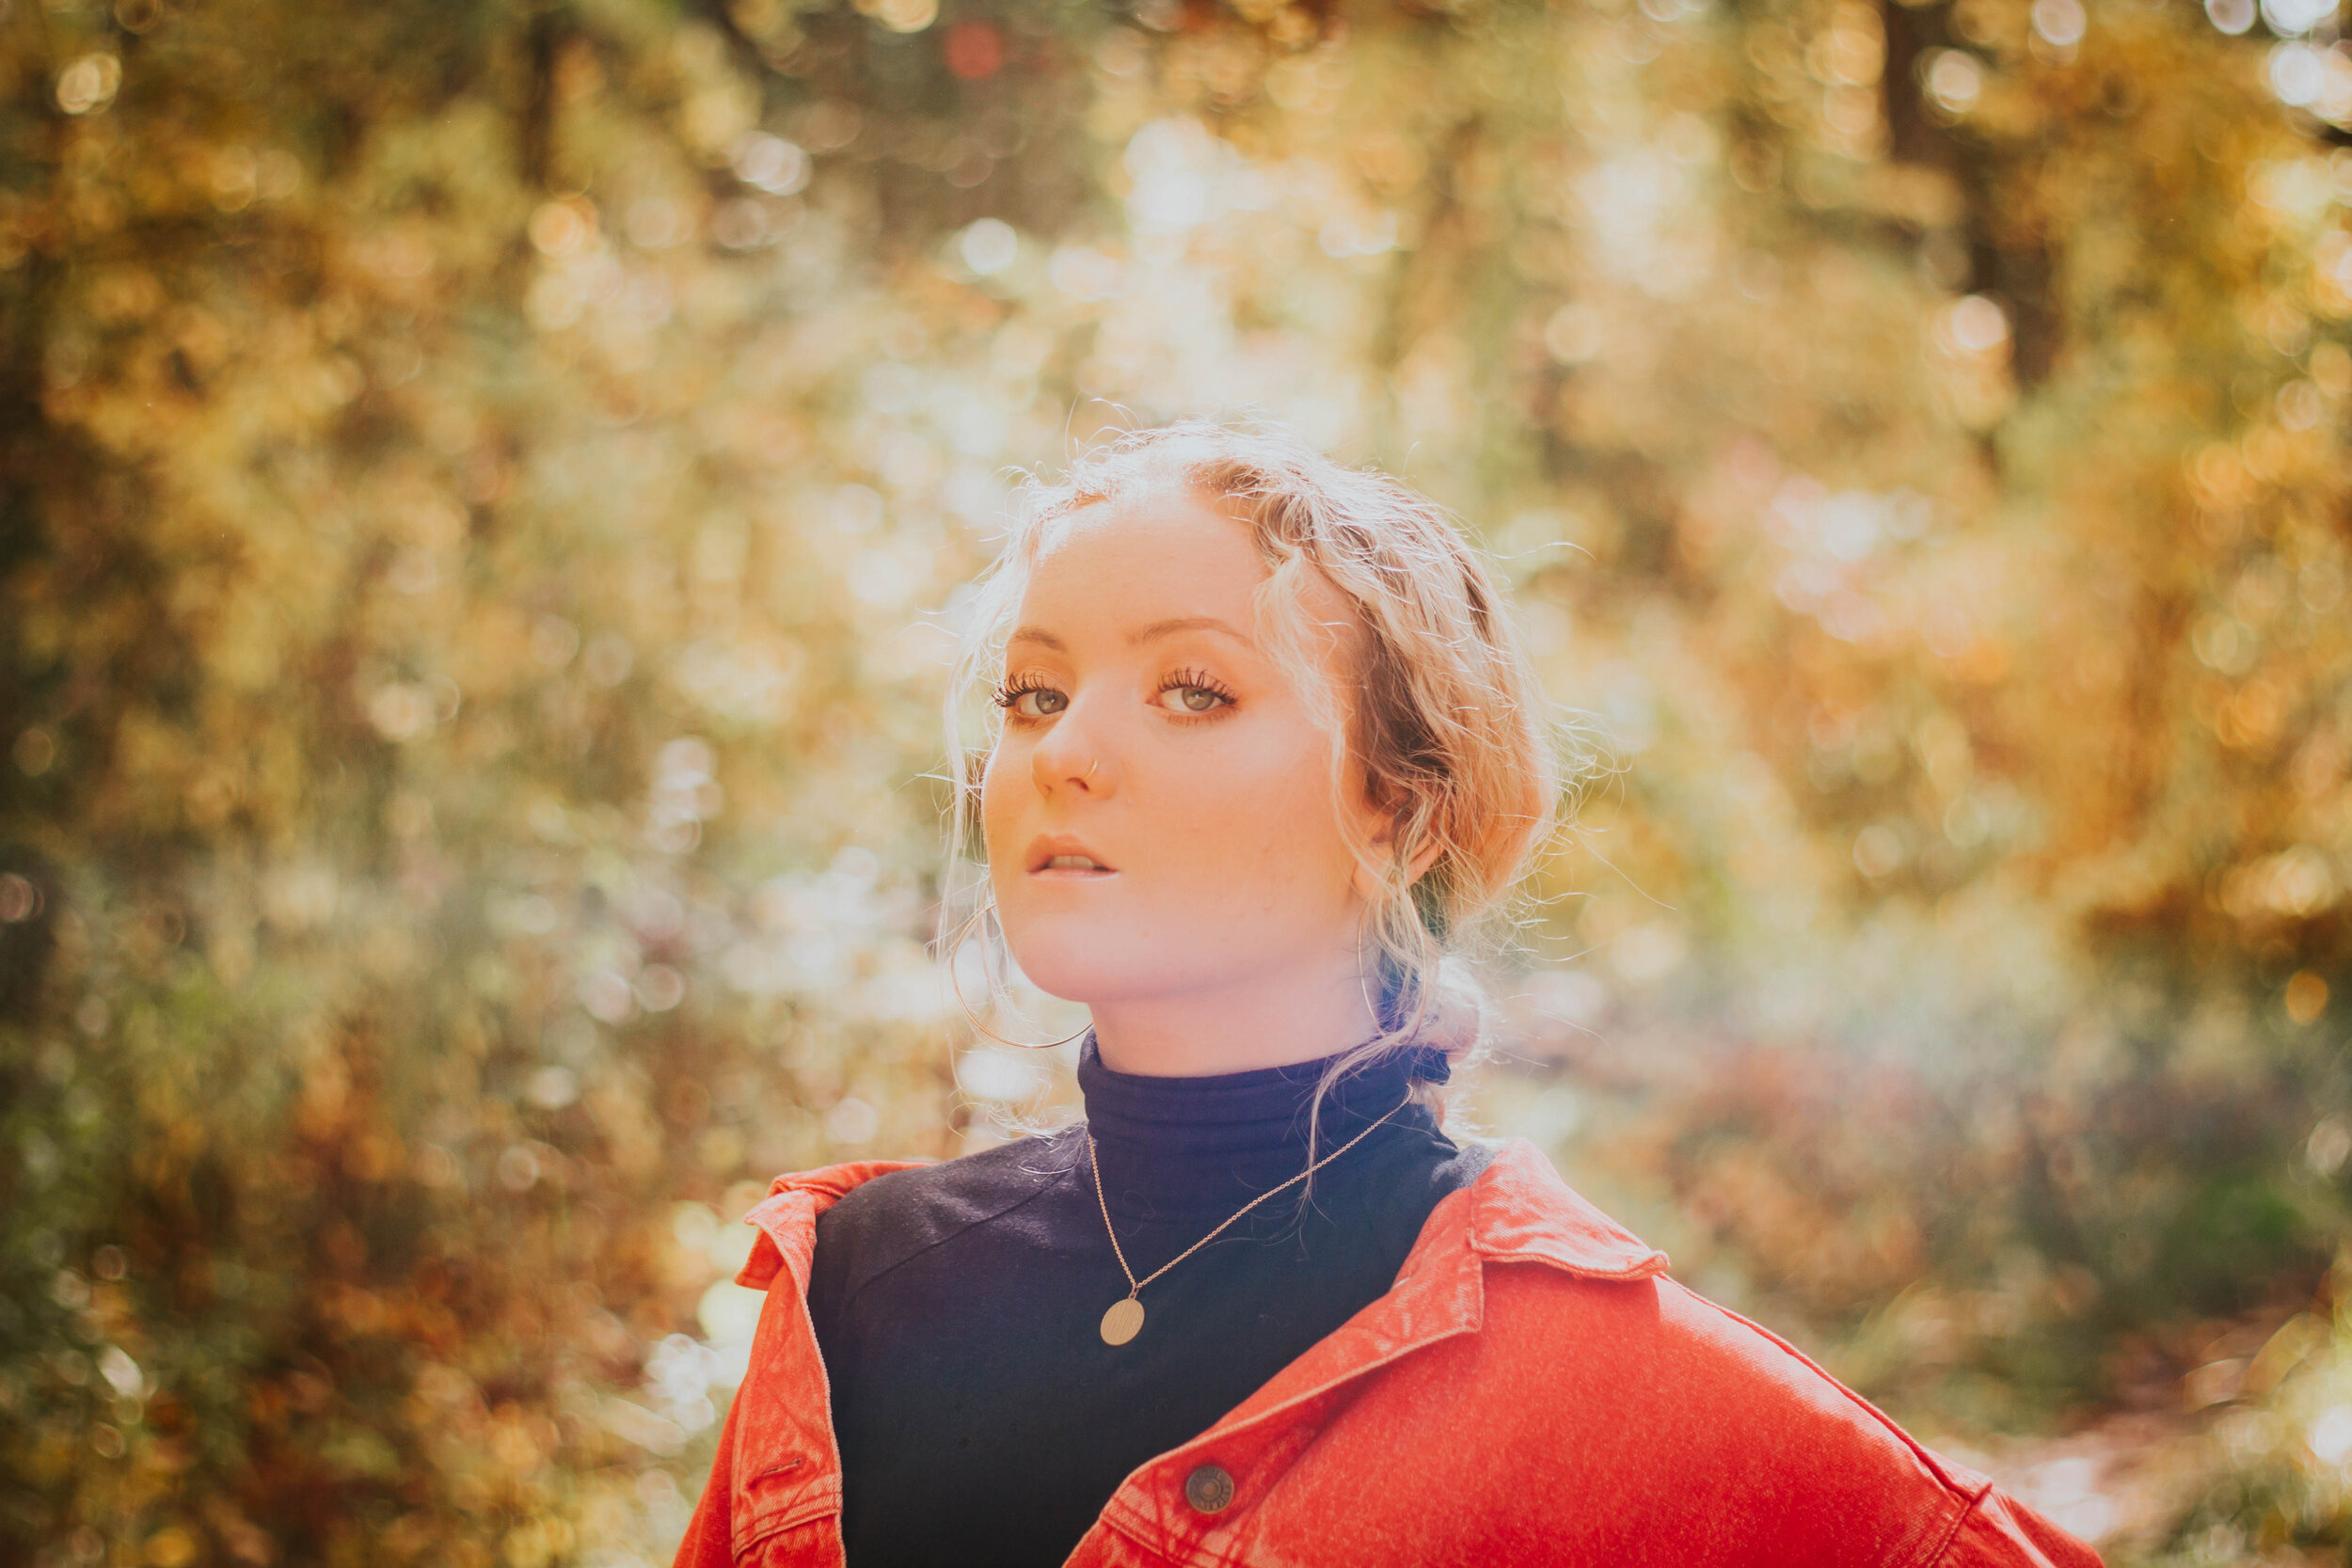
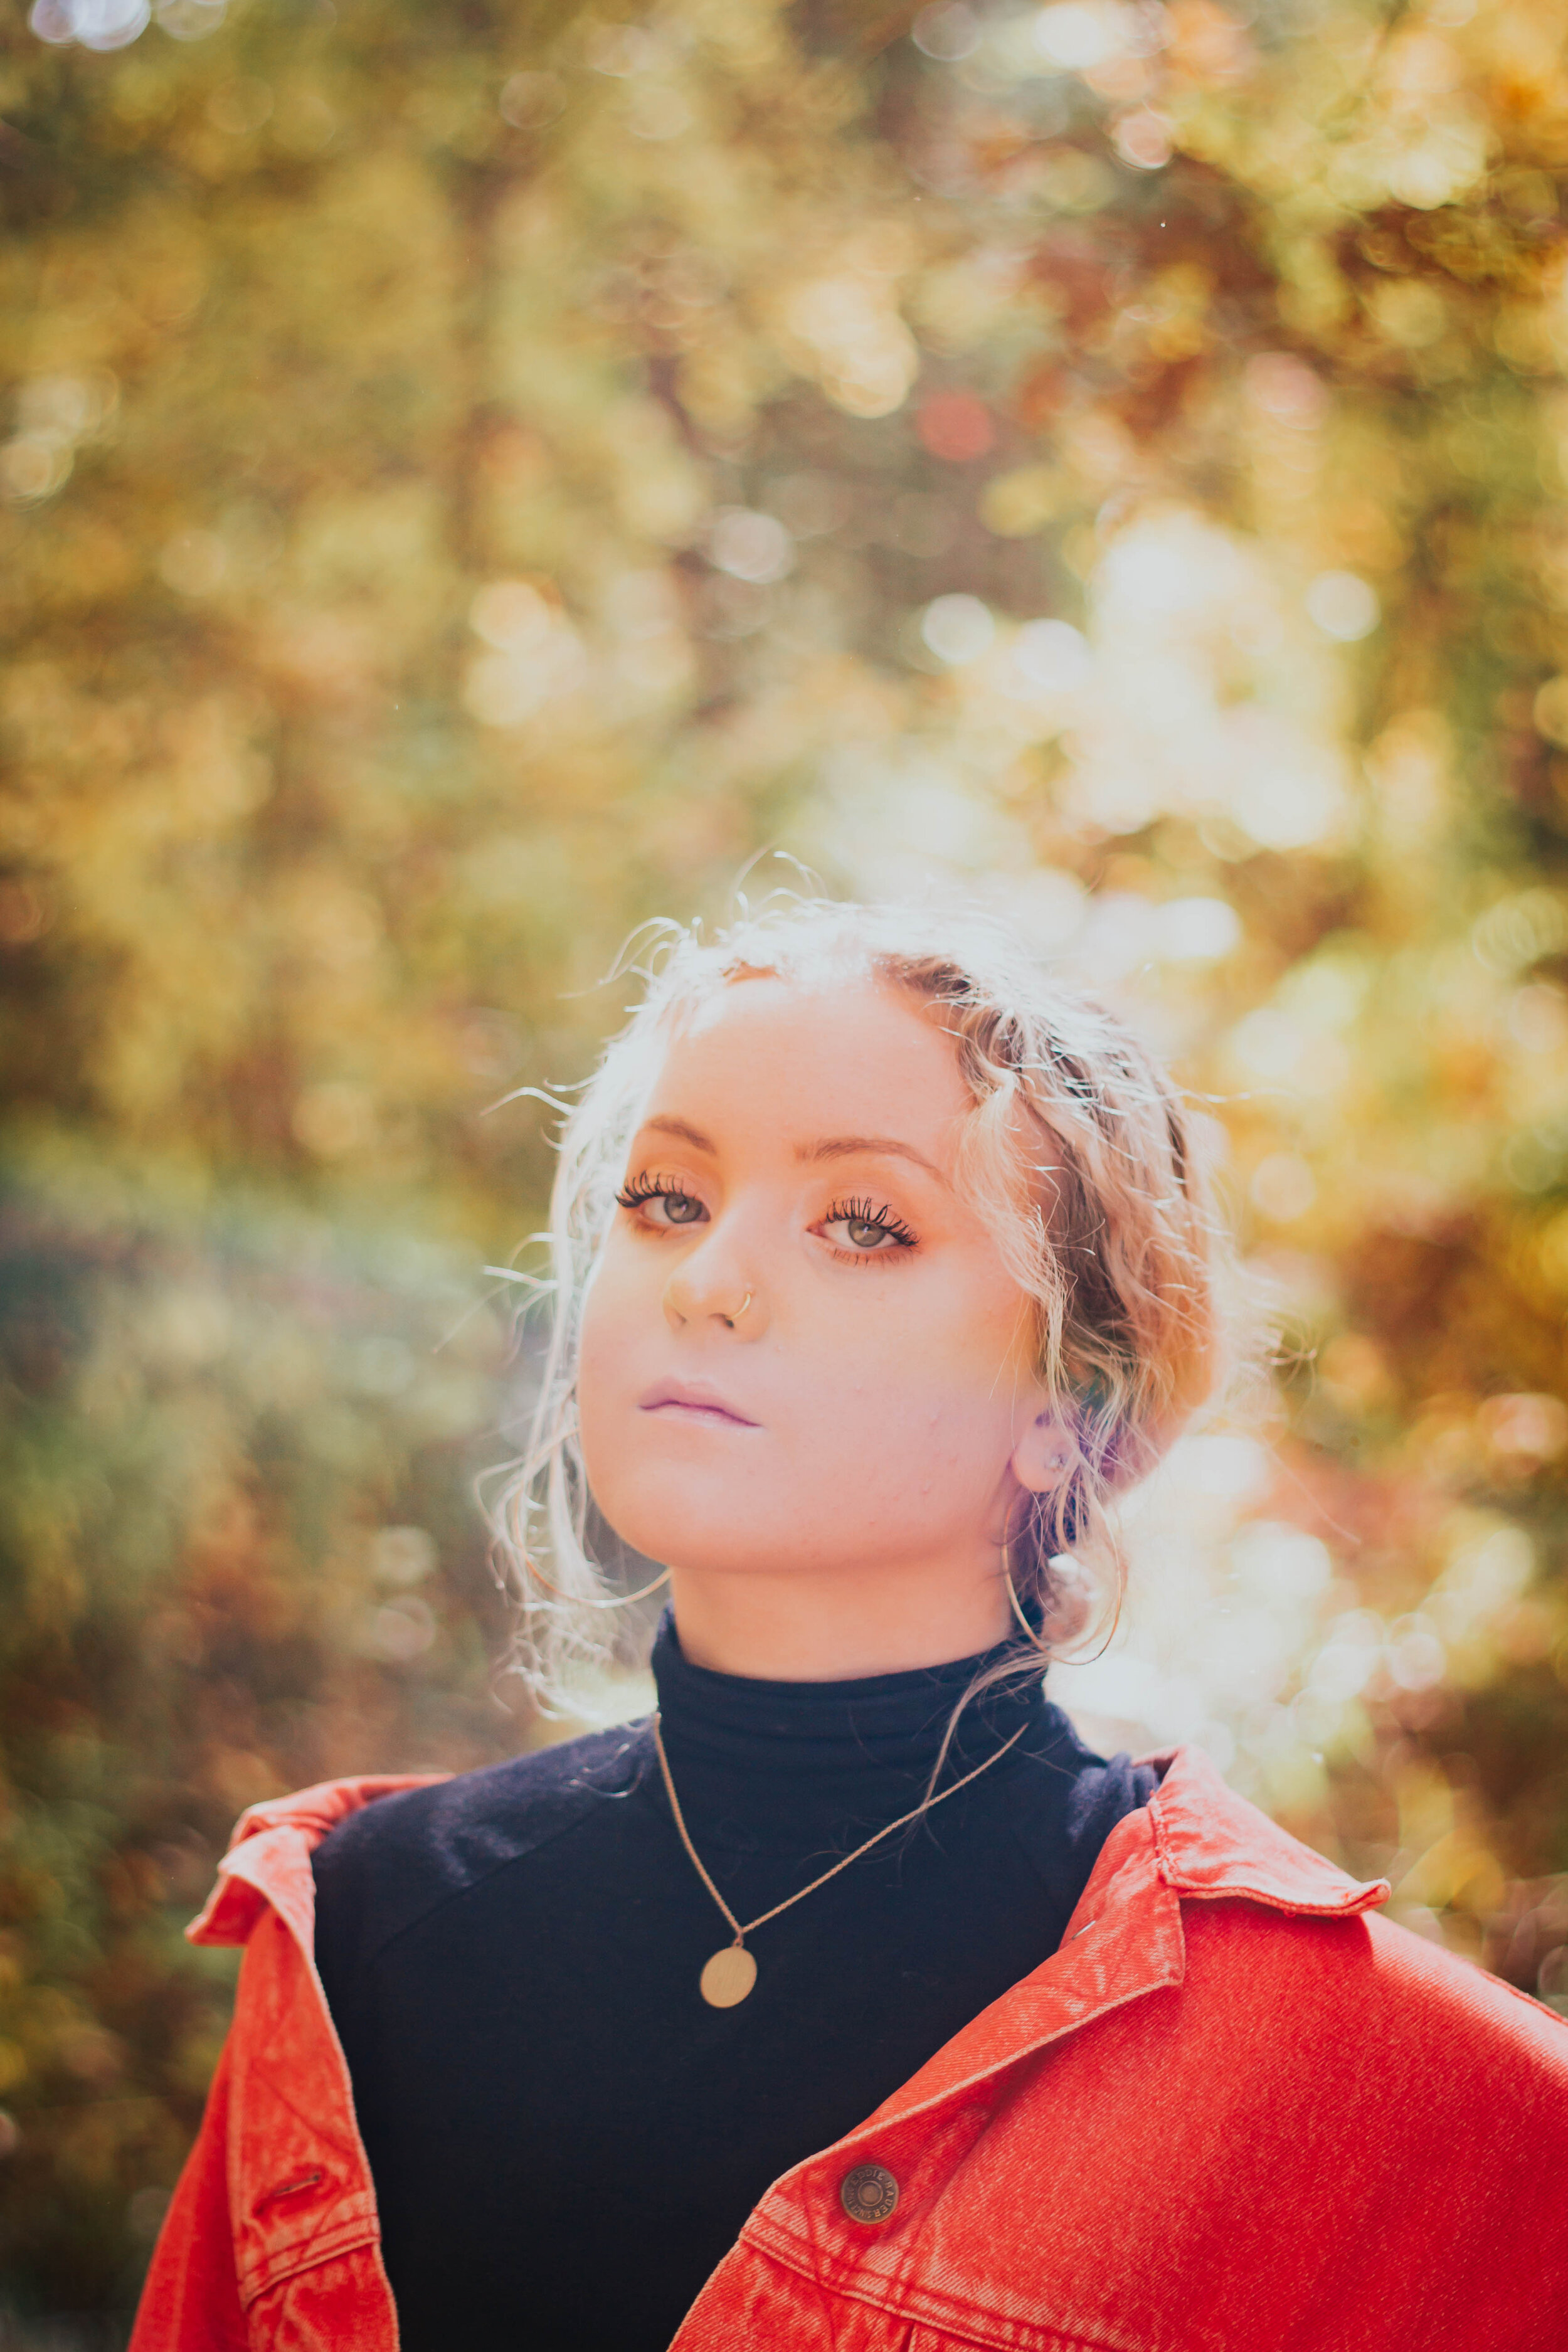
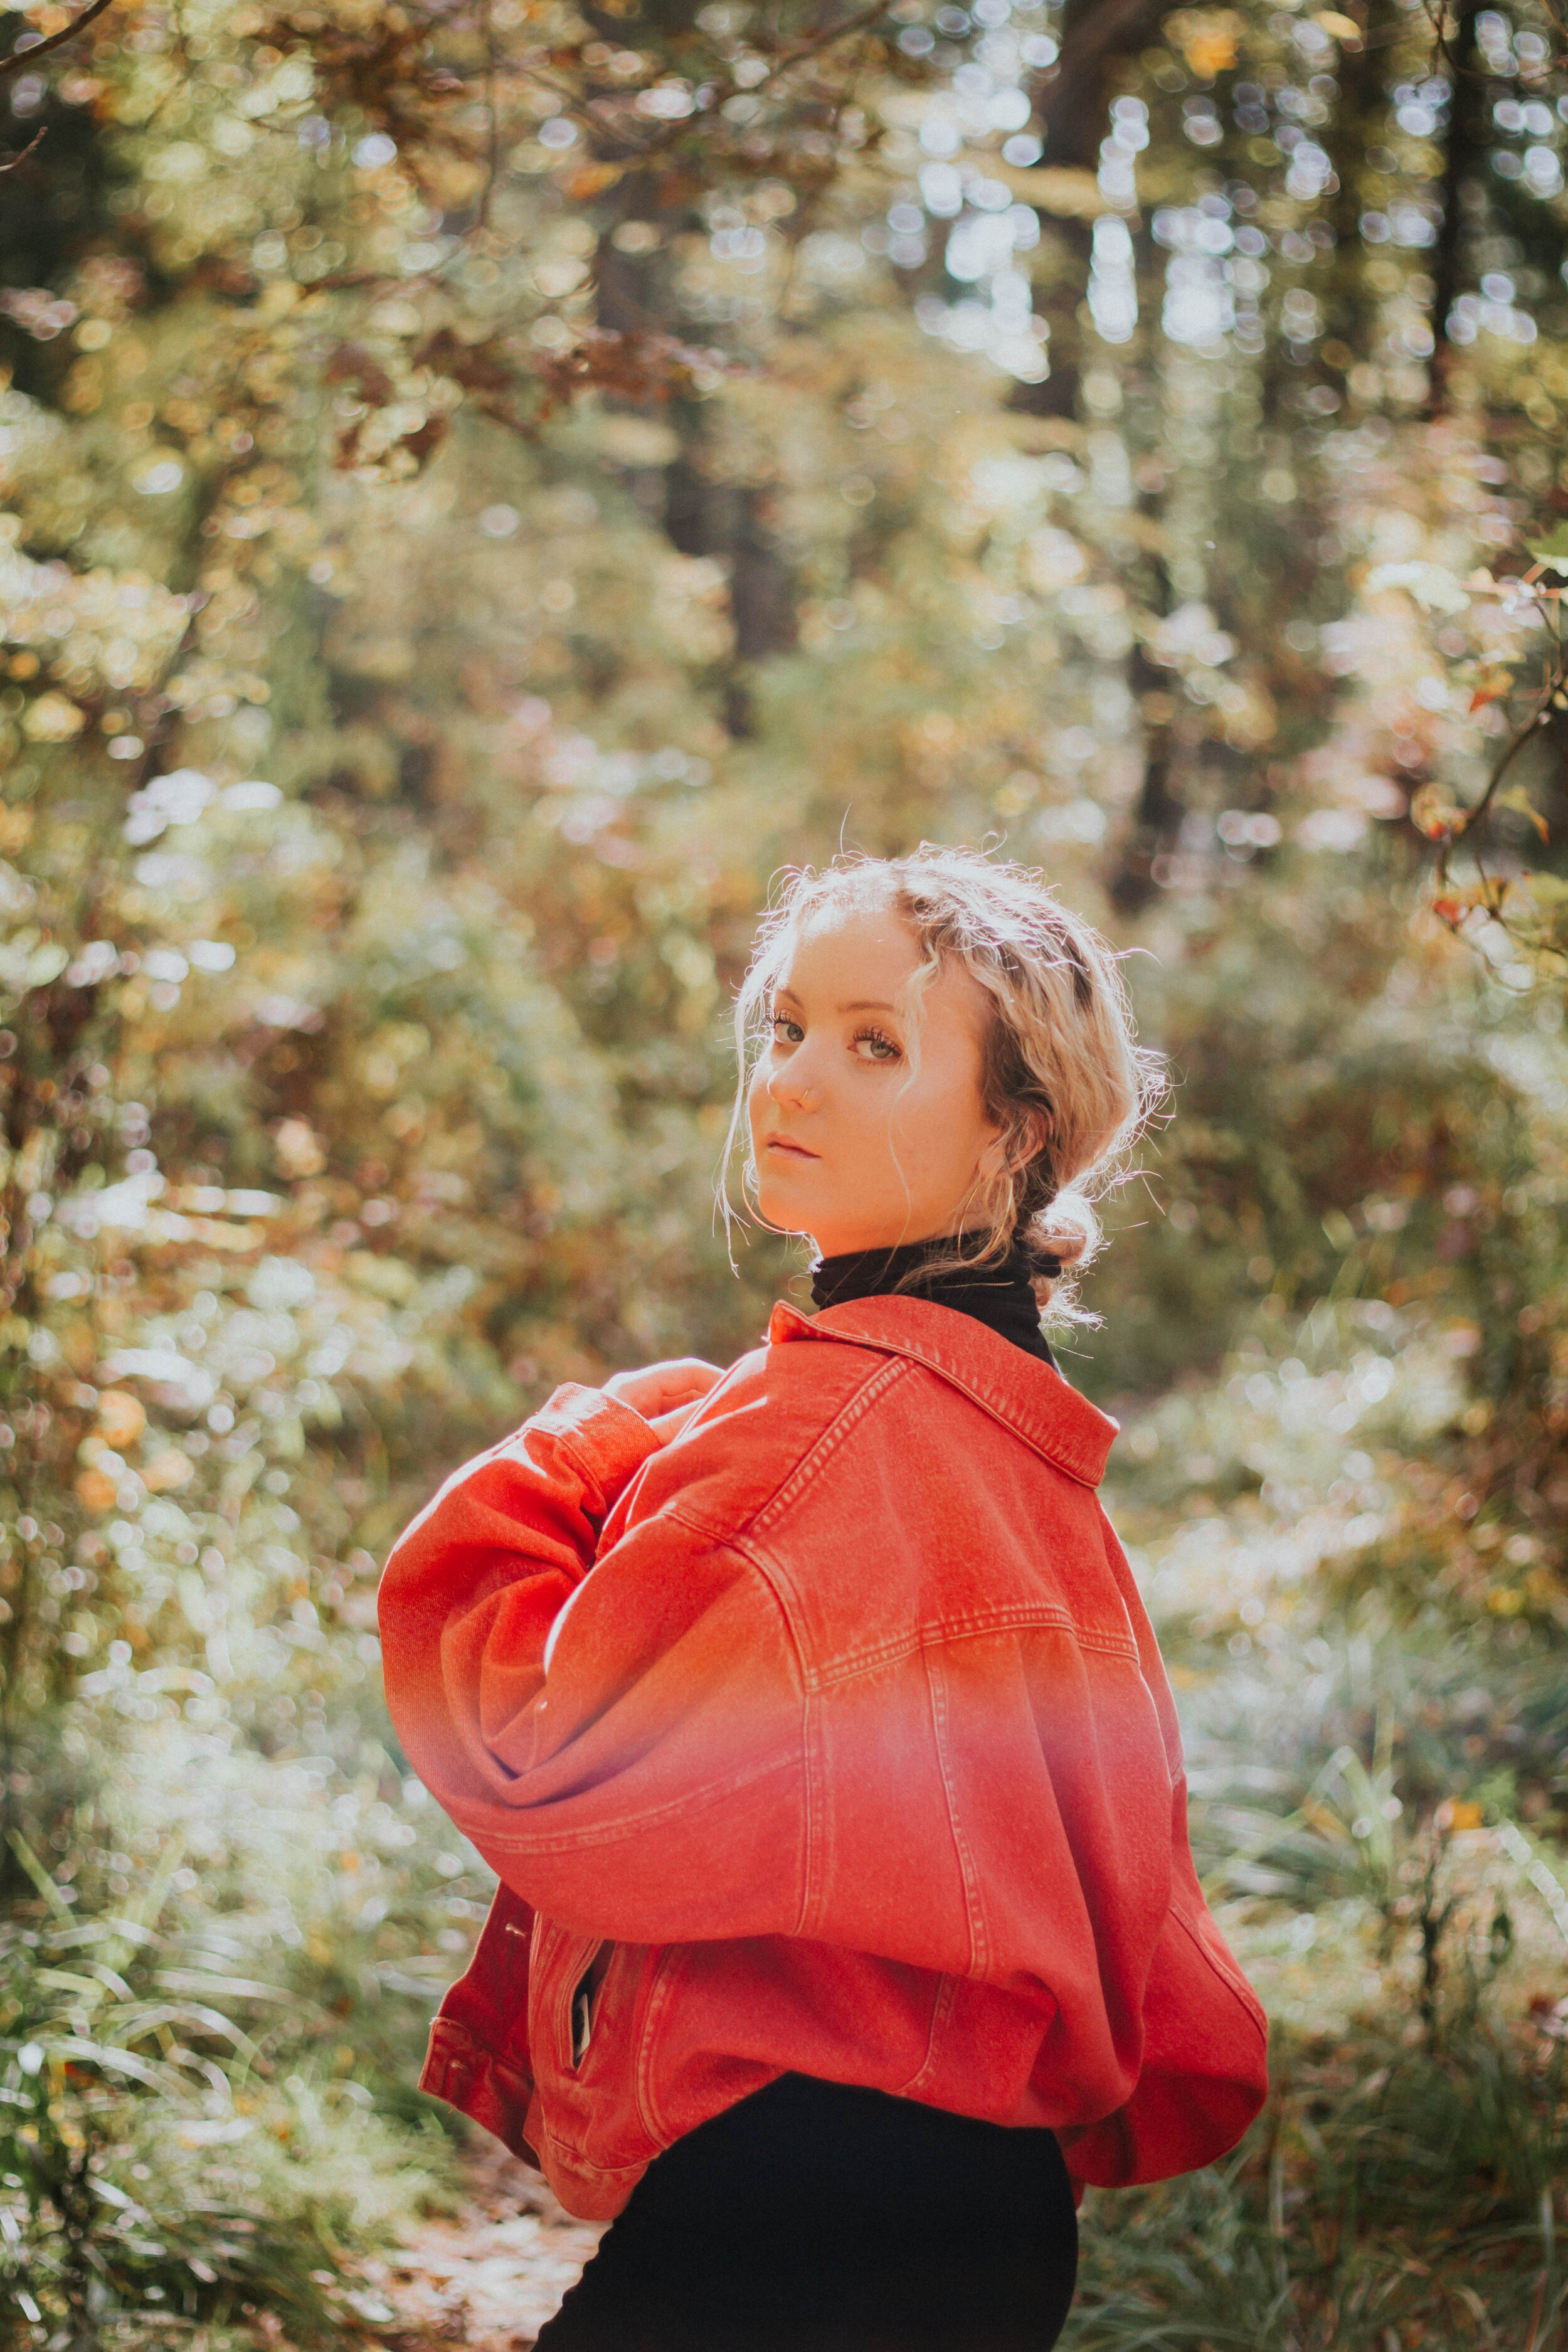
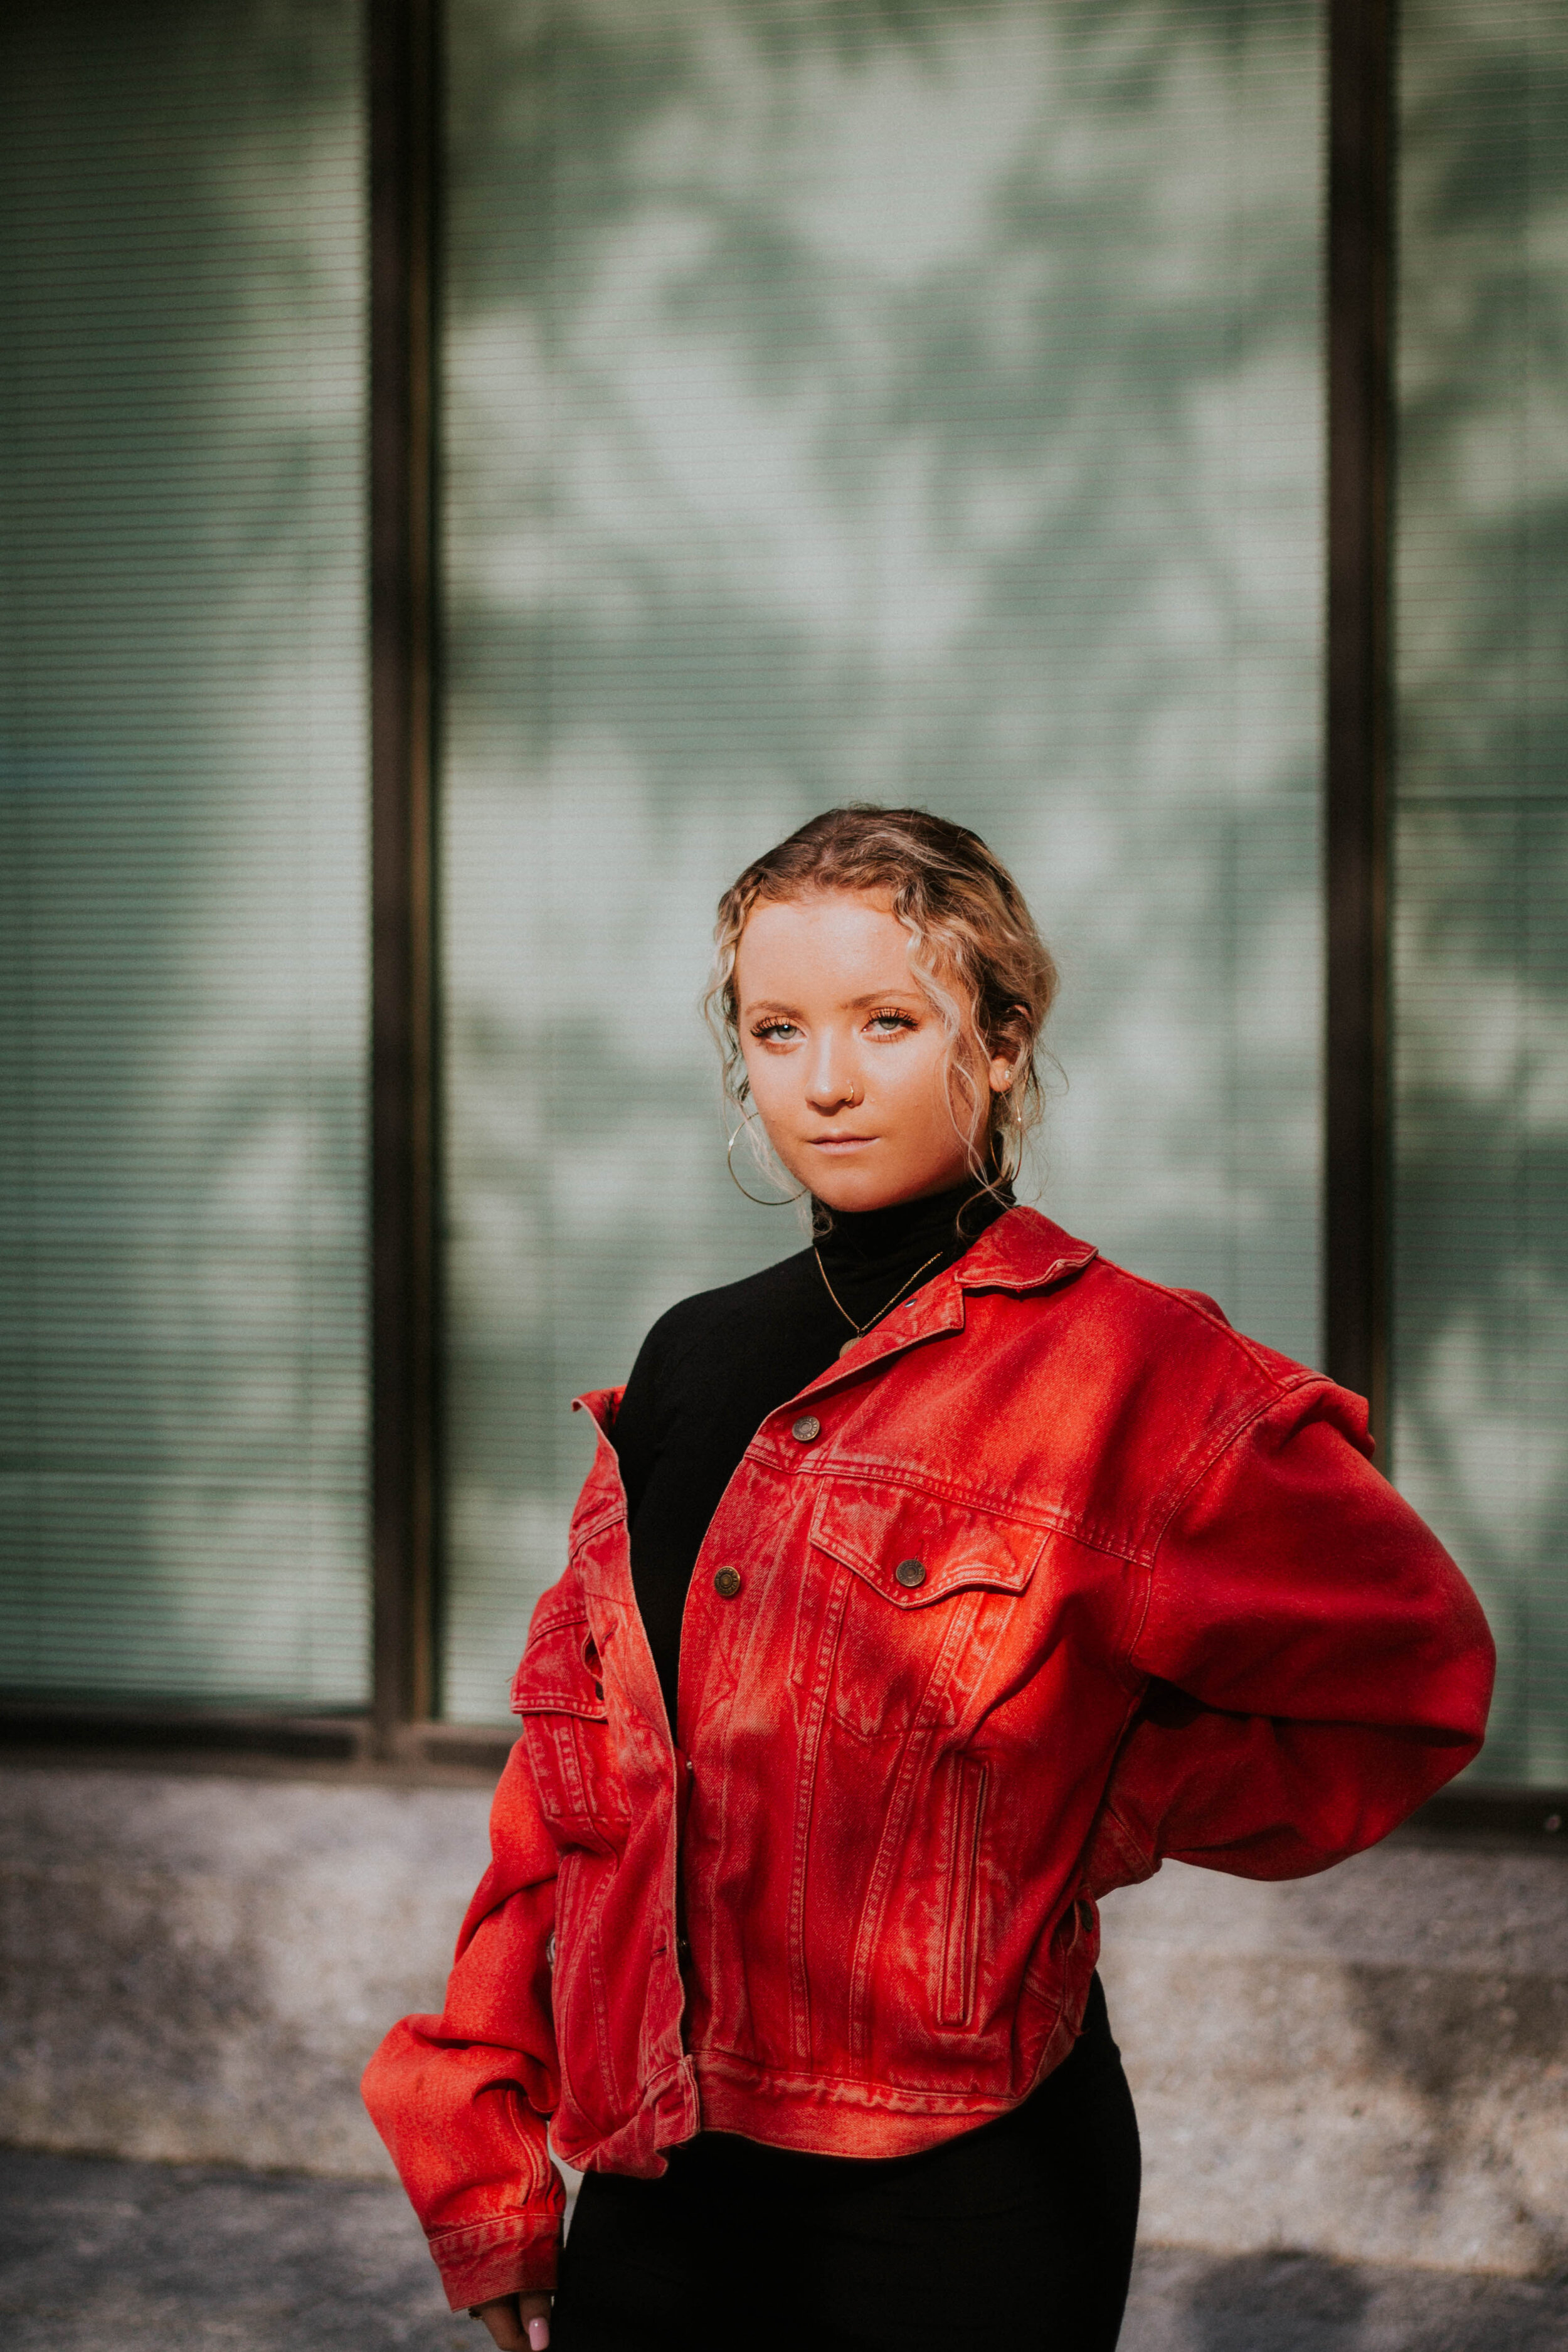
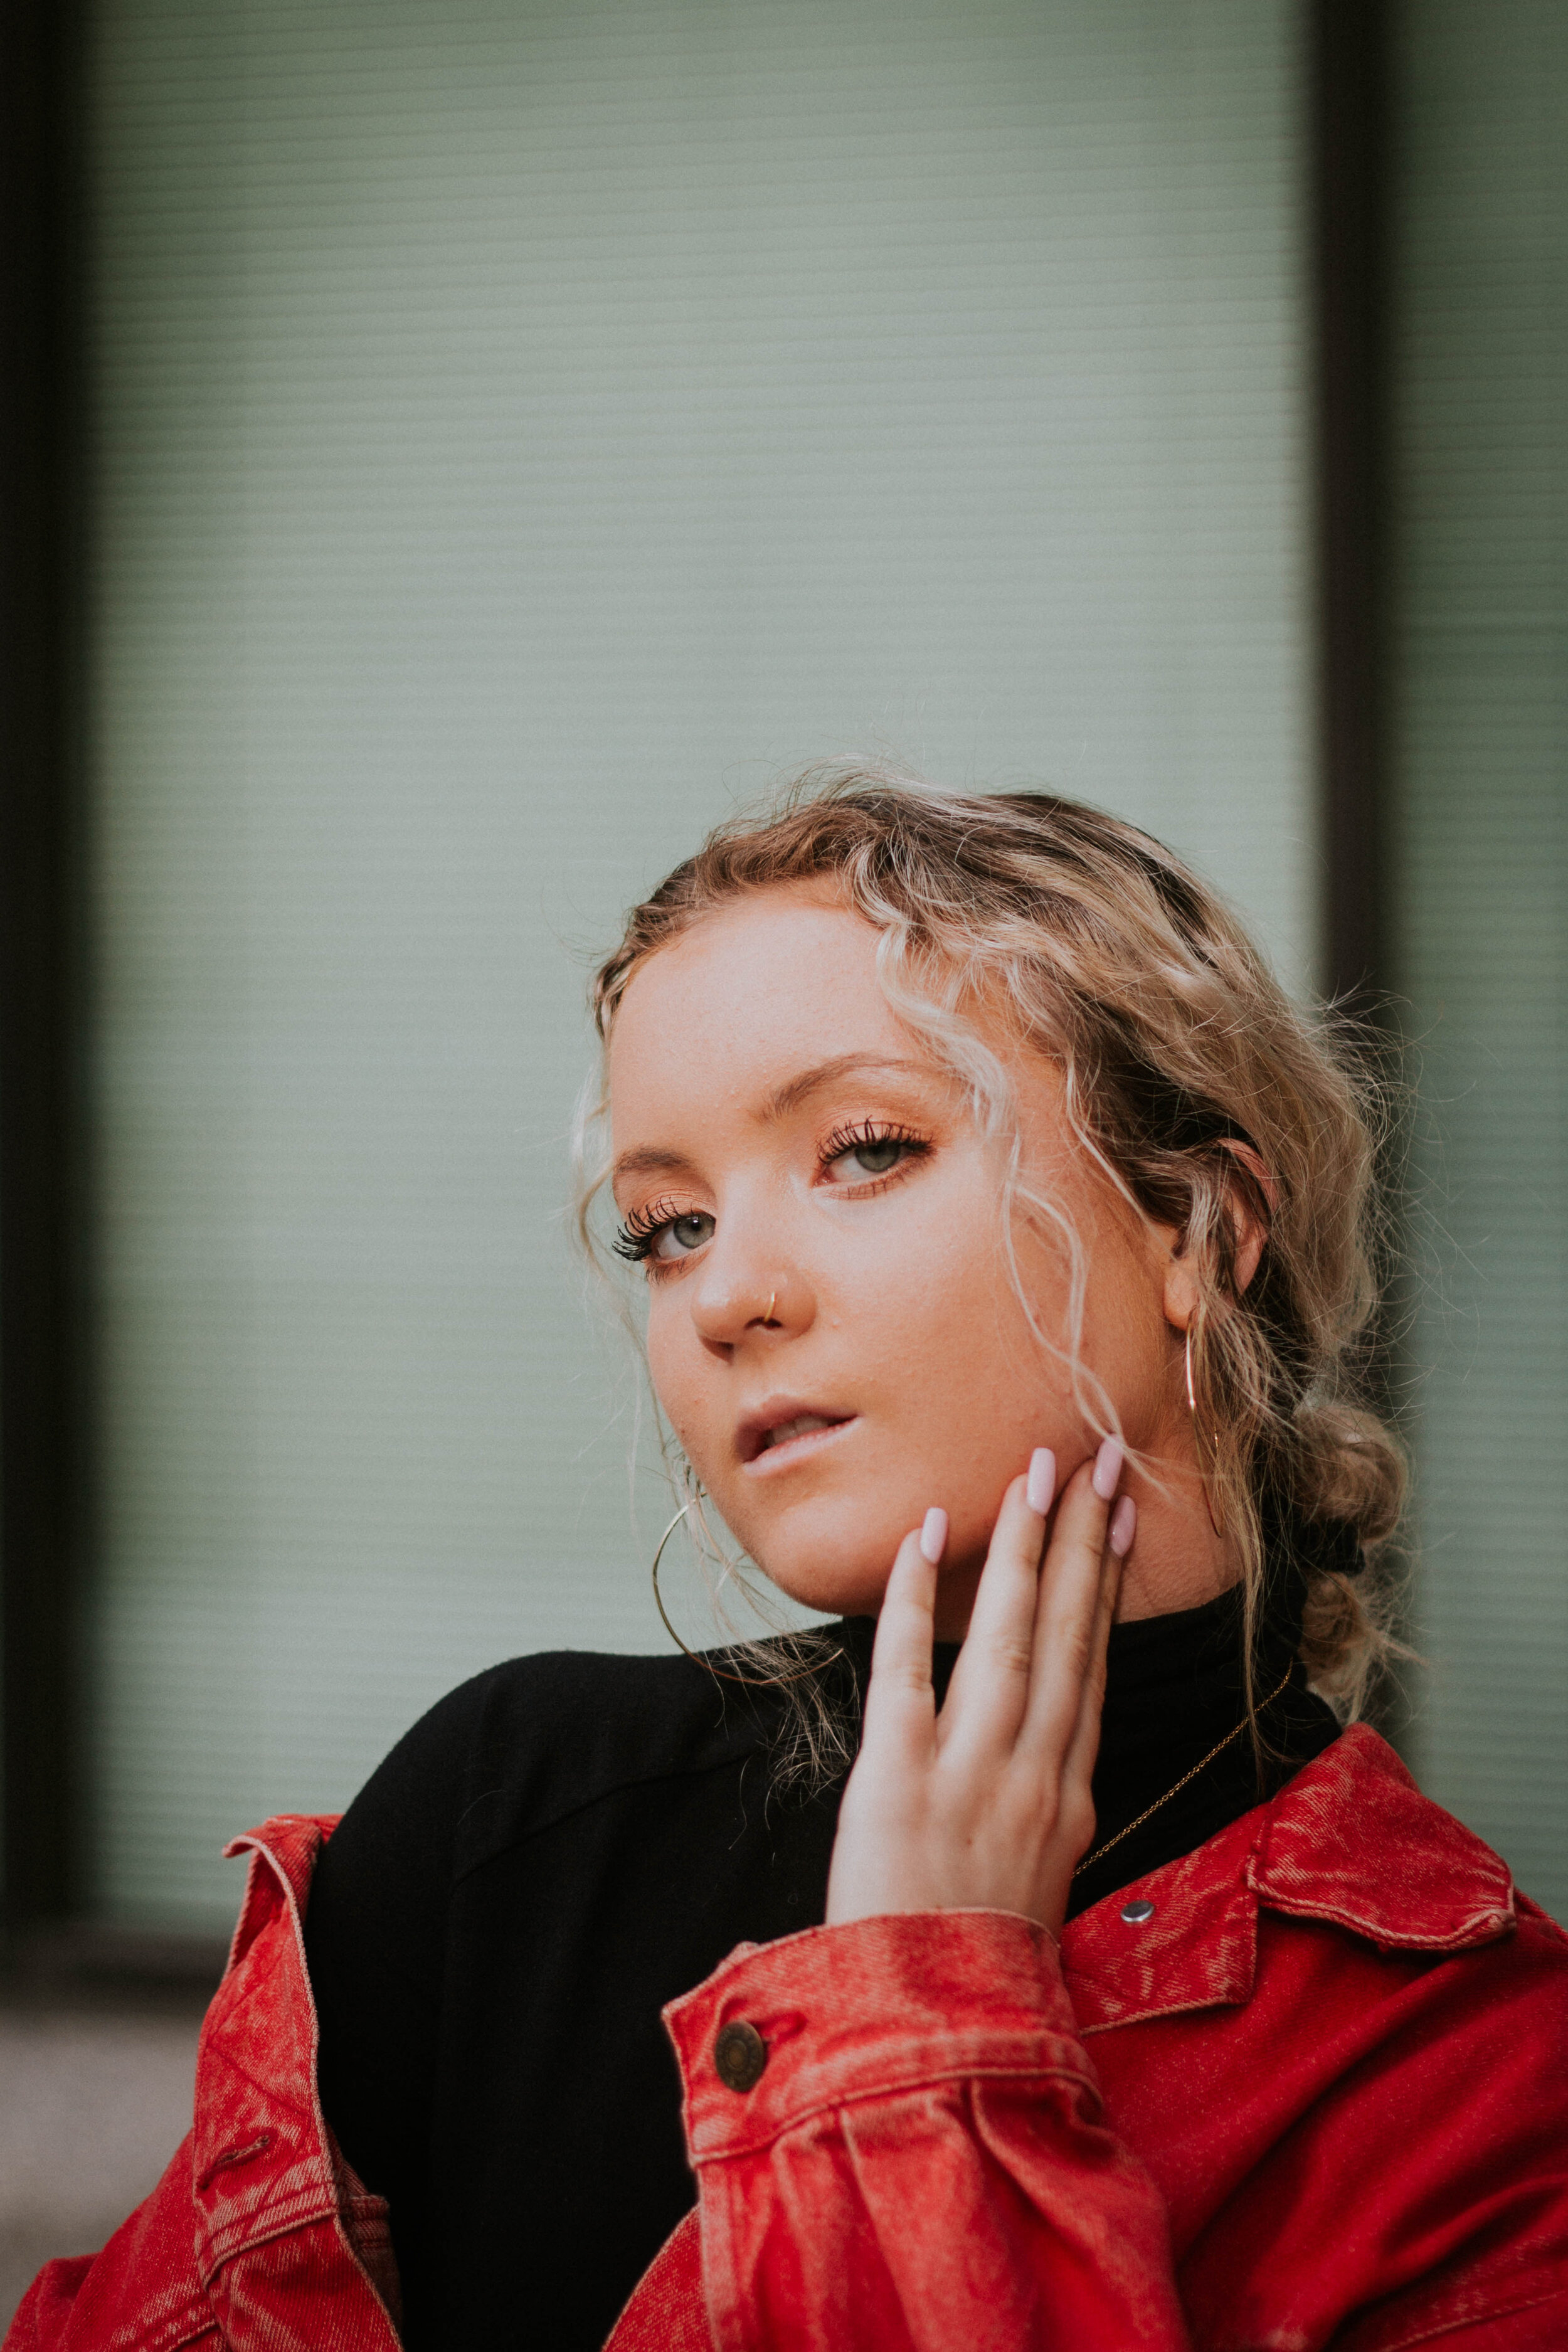
Phelan and I have been shooting together for almost seven years. We met through Instagram. Inspired by her style and stellar Instagram feed, I commented on one of her posts asking if she’d like to shoot together. This was months before Instagram came out with direct messaging through the app, I had just purchased a camera, and hadn’t even graduated middle school.
We met up at the local recreational fields around sunset and took fun, poorly focused, backlit photos. They are some of my favorite.
Now in college, several years and hairstyles later, Phelan and I are still shooting, constantly switching up locations and styles.
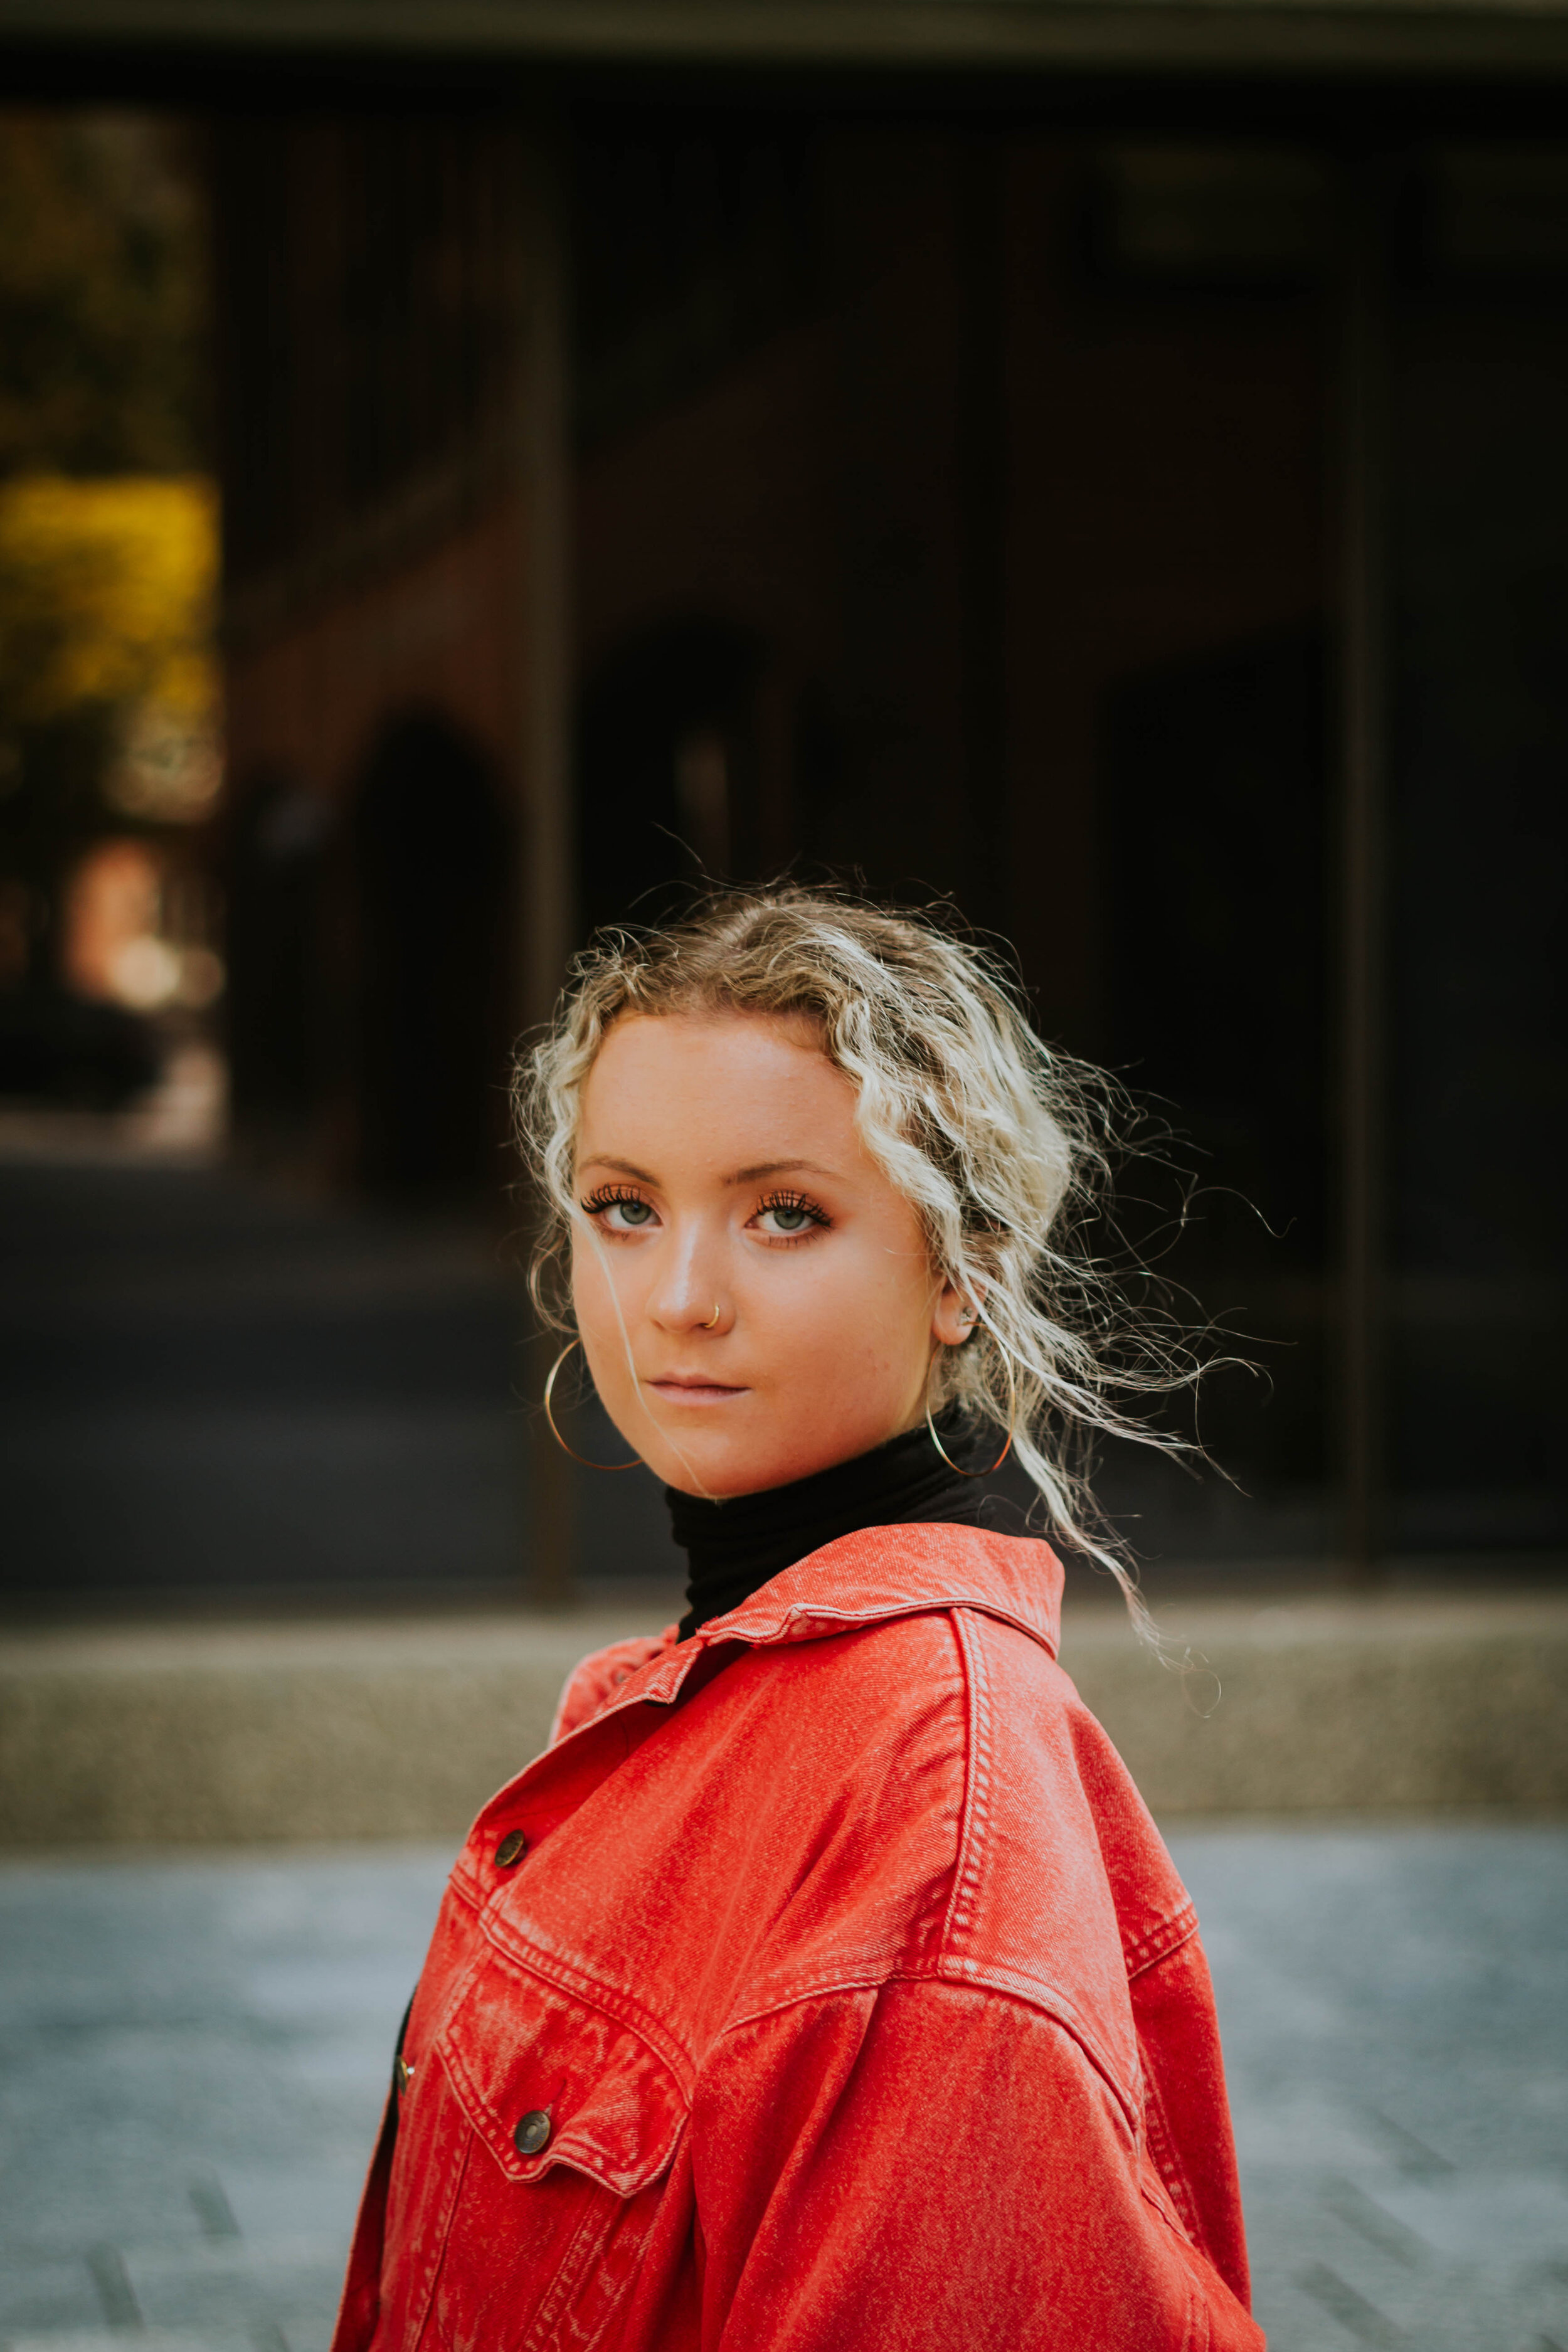
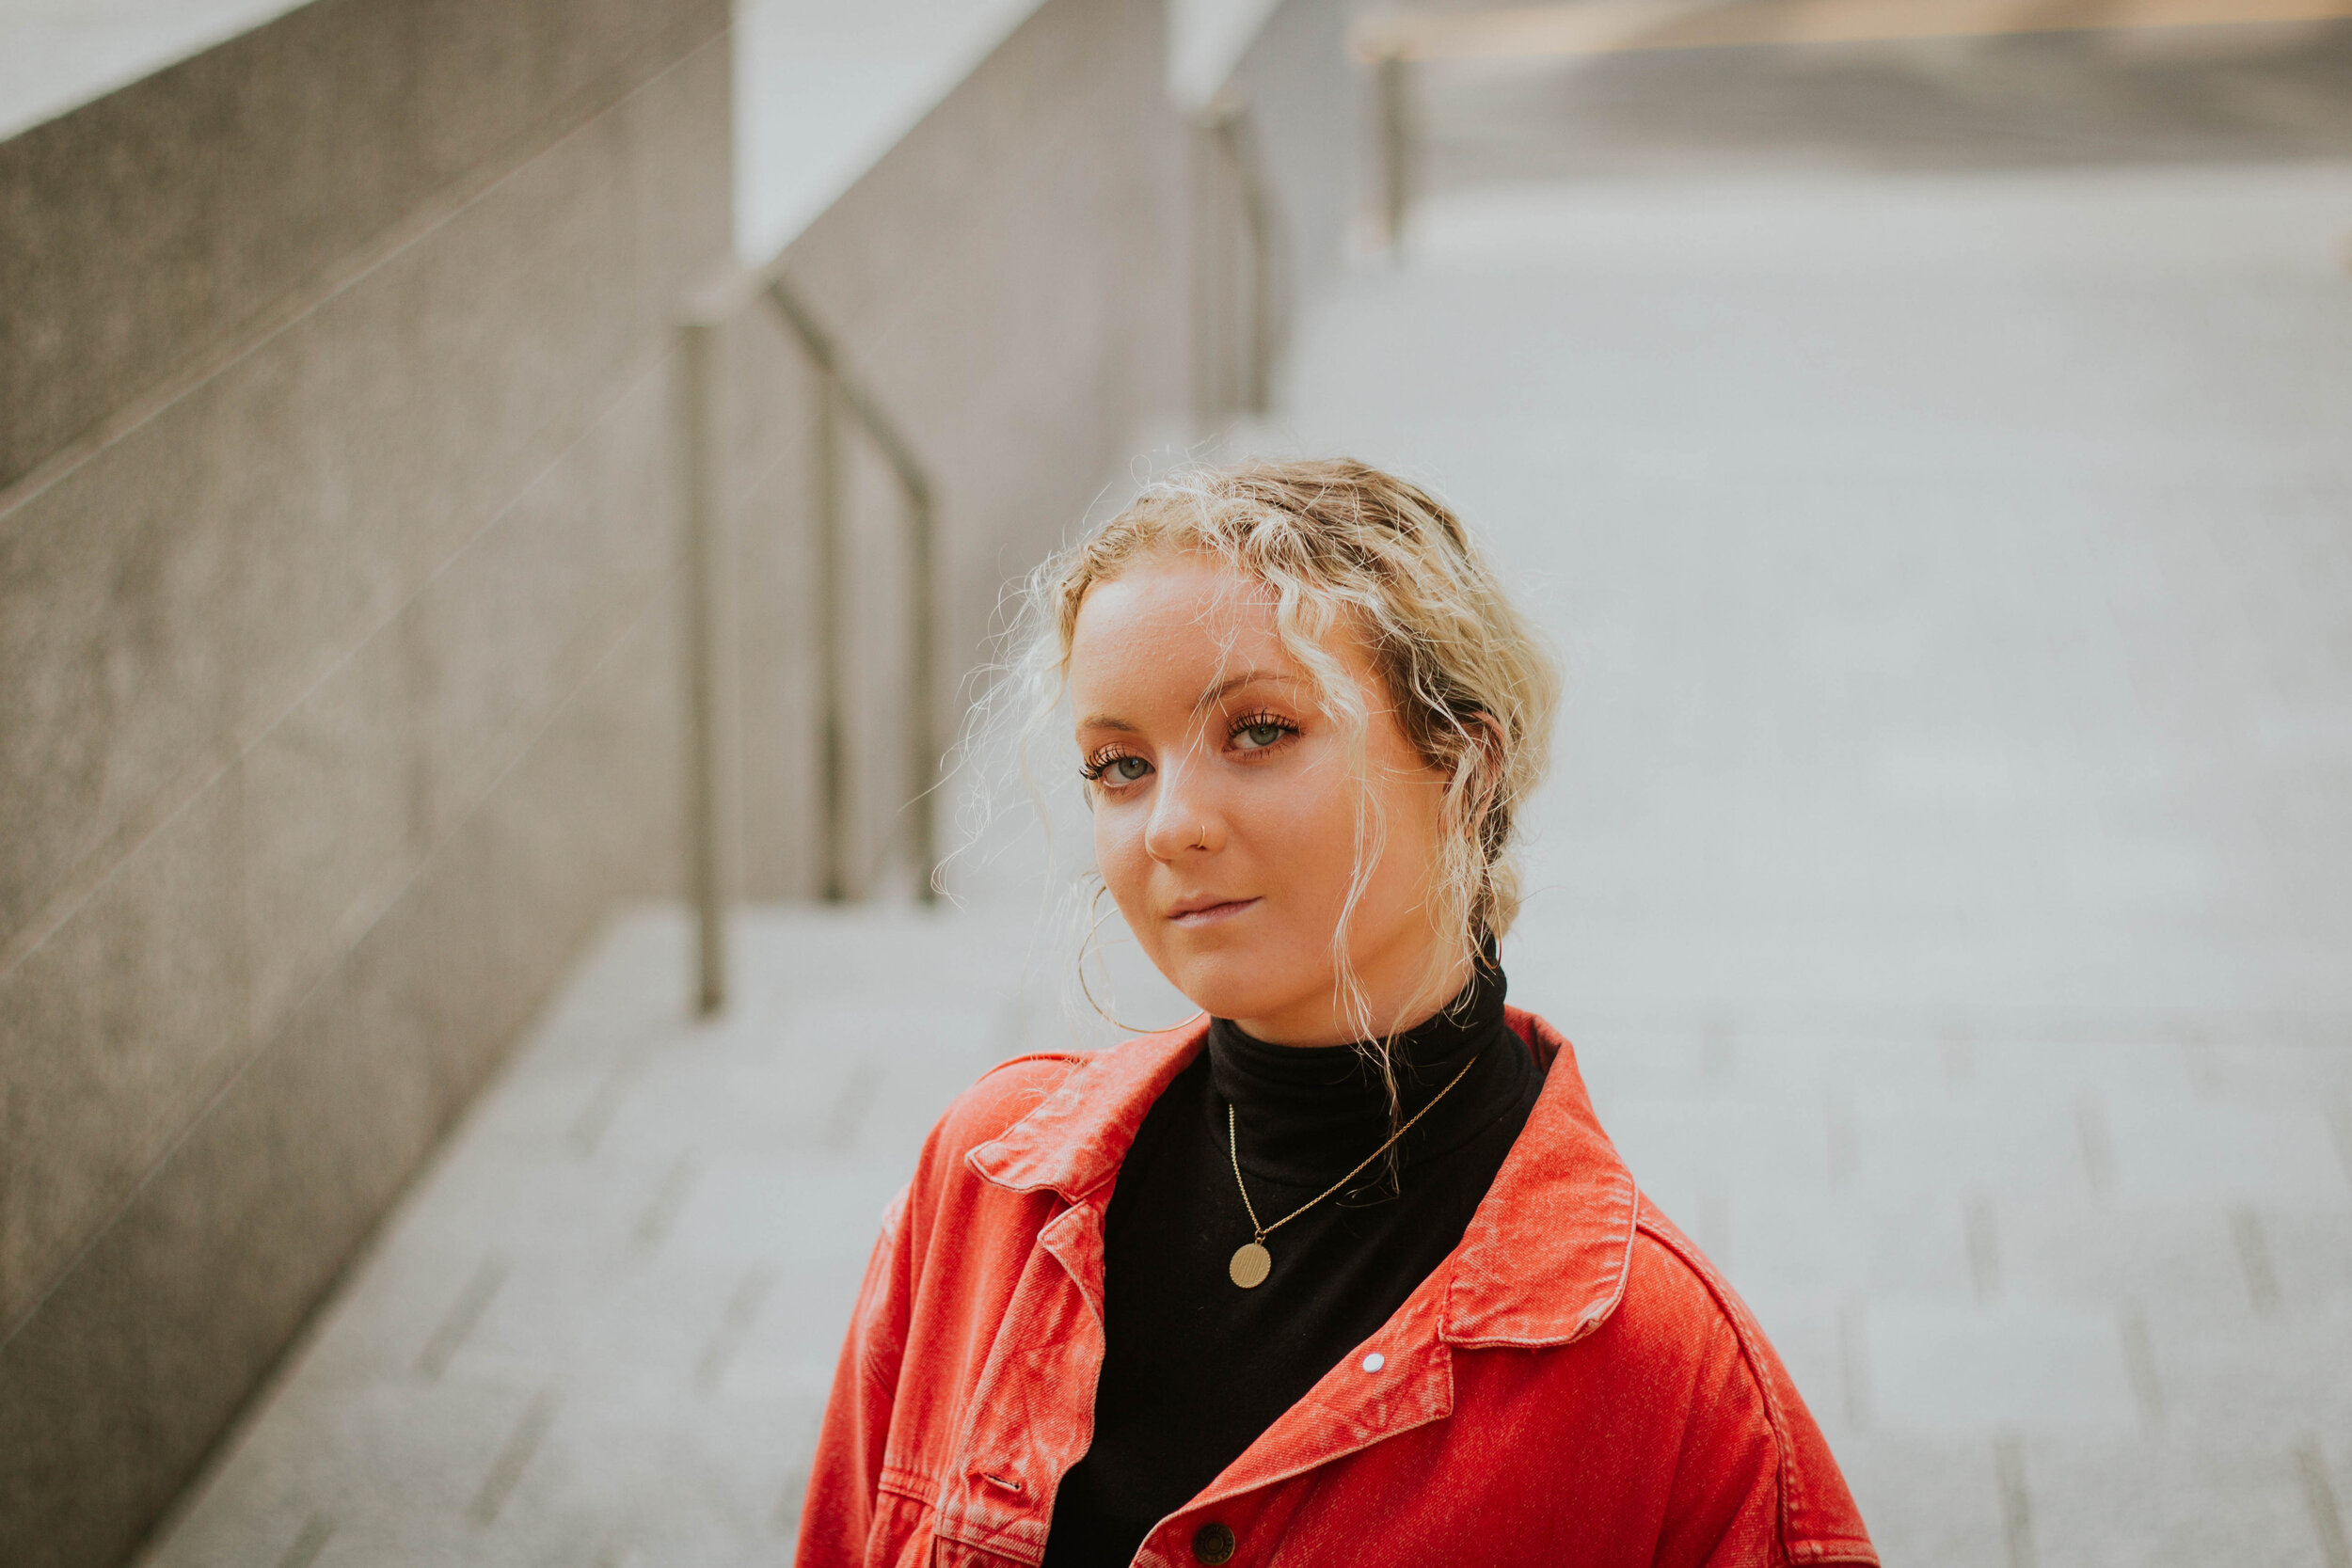
These photos inspire me. Phelan is a savage, boss, of a women and the photos show it.
But no shoot comes absolutely free of dilemmas and in honor of the growth shown in this shoot, I figured I’d share some problems I, as a photographer, faced and how I handled them.
Problem 1: Lighting
This shoot wasn’t really a shoot. It was more of a “I’ll bring my camera for the hang” . Sometimes this is what produces the best photos, no stress involved.
Had I planned to shoot I would have tried my best to avoid shooting at 1pm on a bright, sunny day. Shooting under direct light can often produce a number of problems, harsh lighting and weird shadows being two examples. But, especially during busy seasons, you will eventually be faced with the dilemma of mid day lighting .
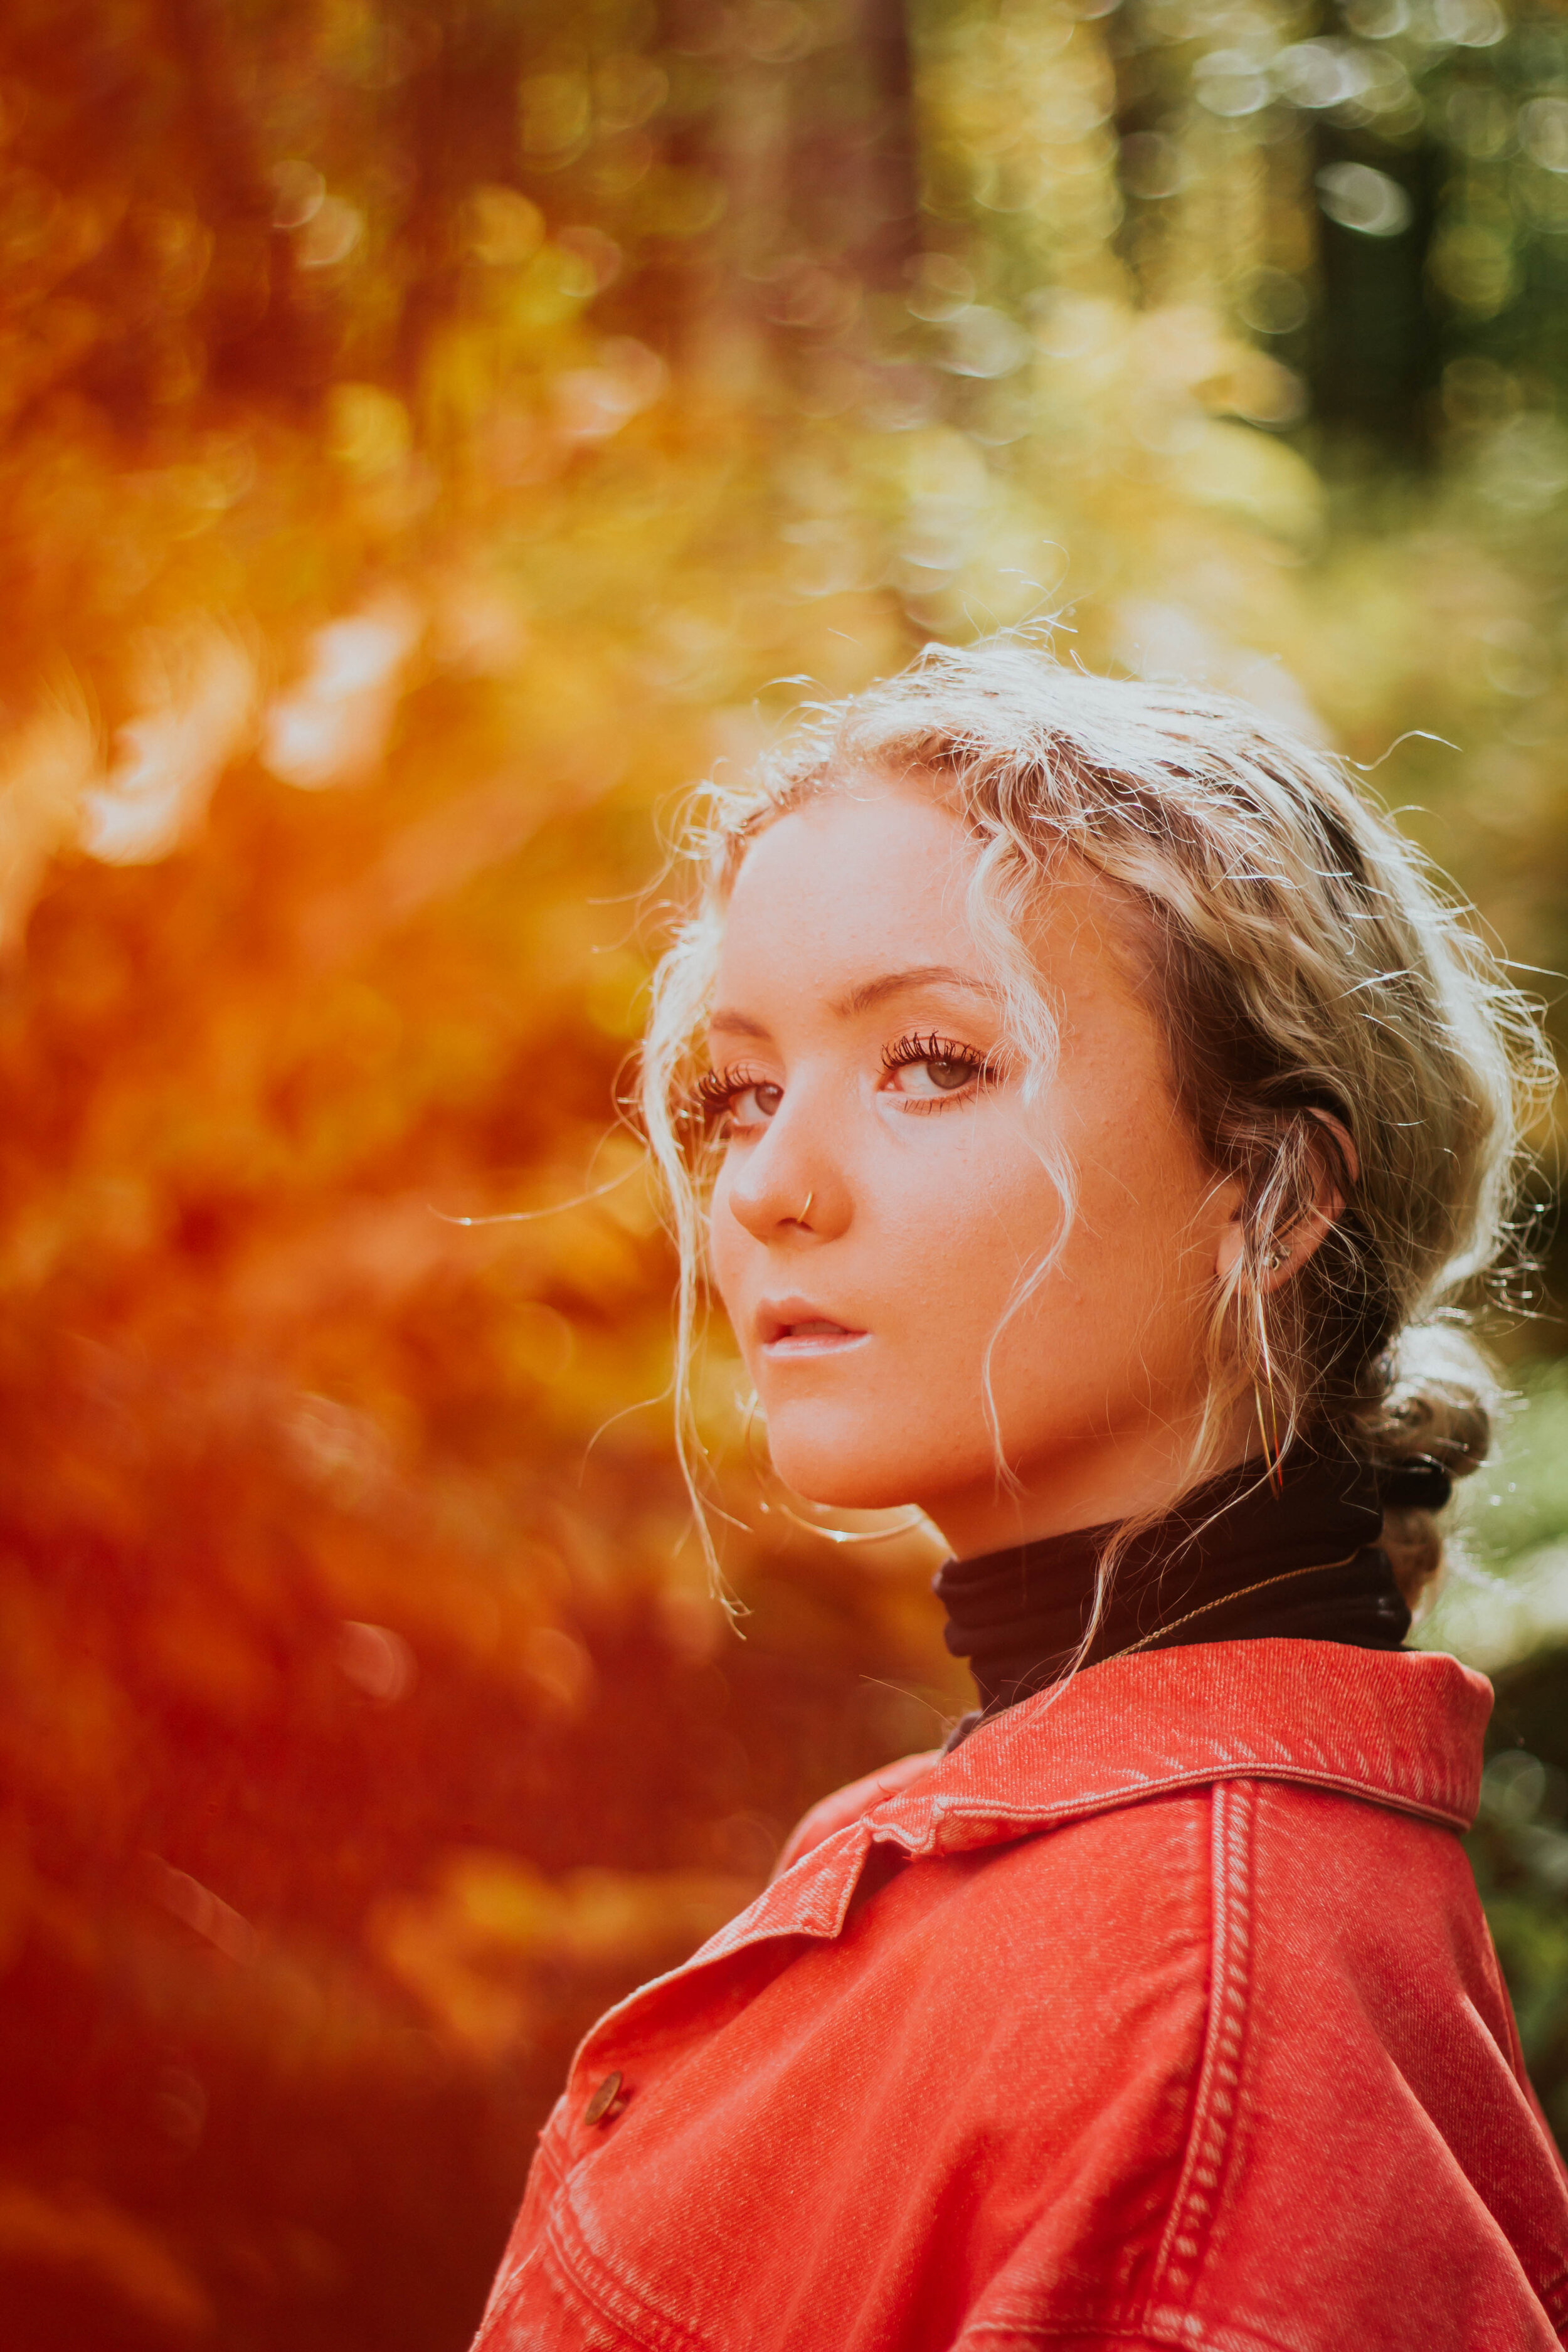
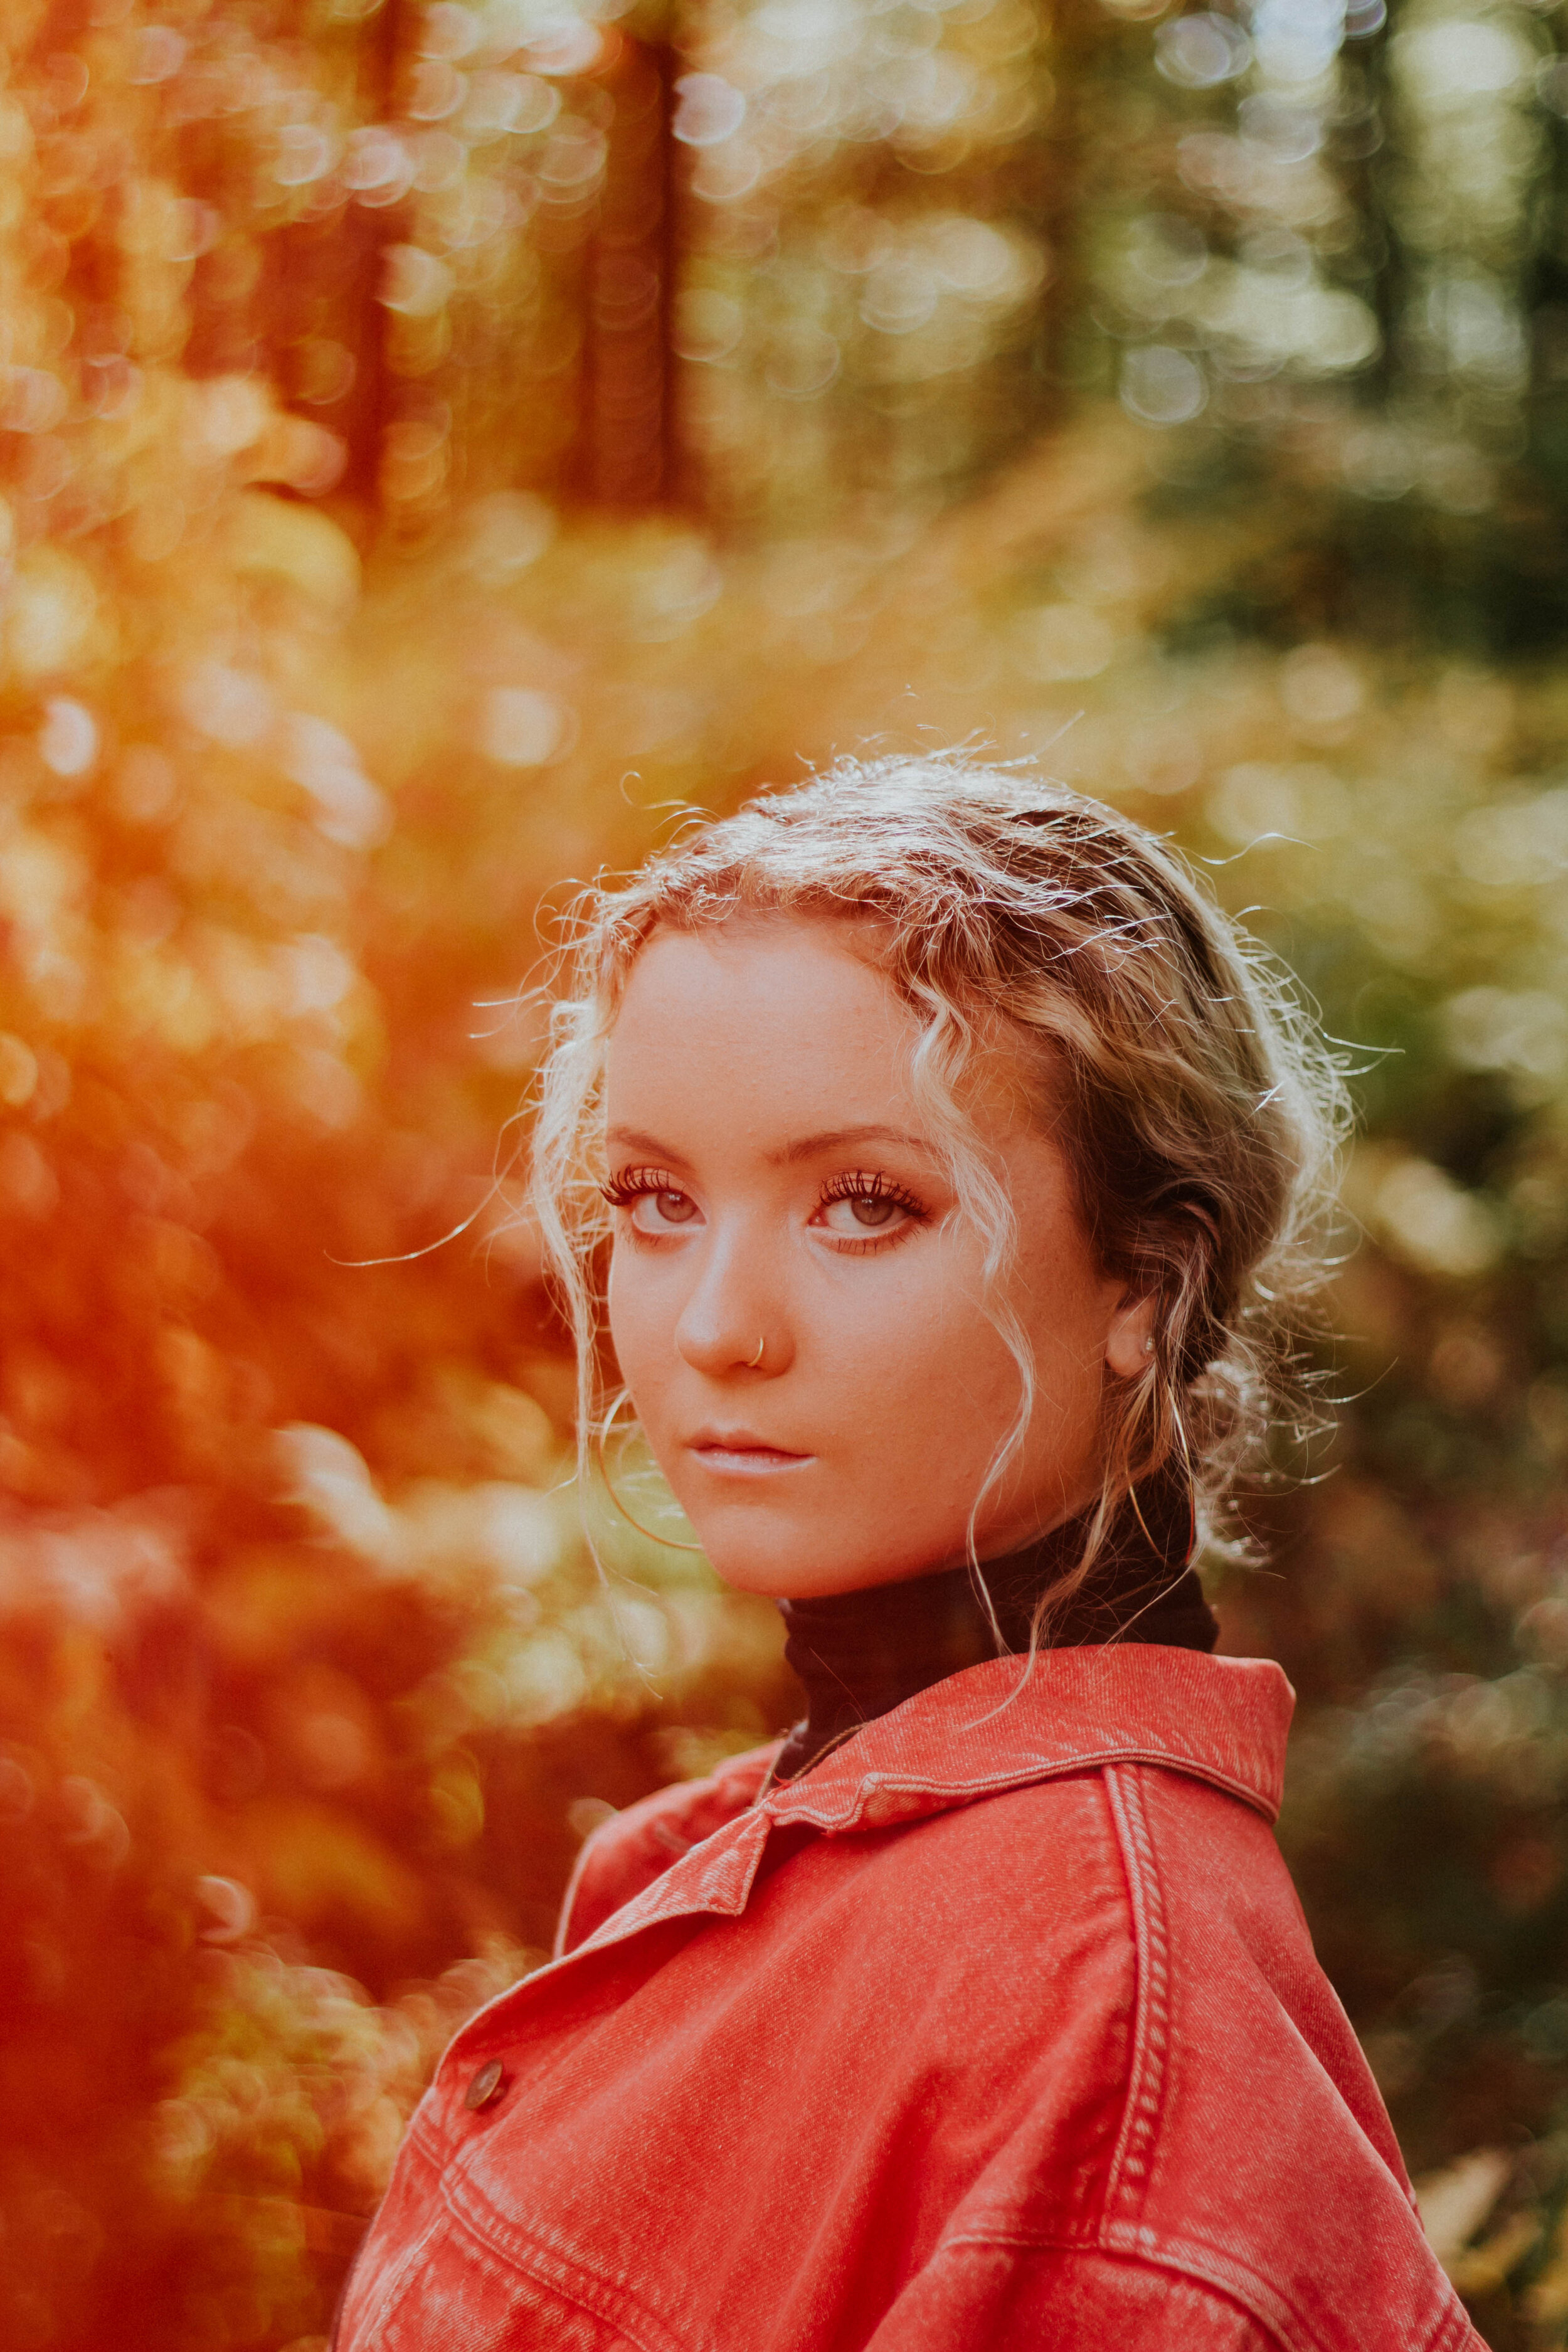
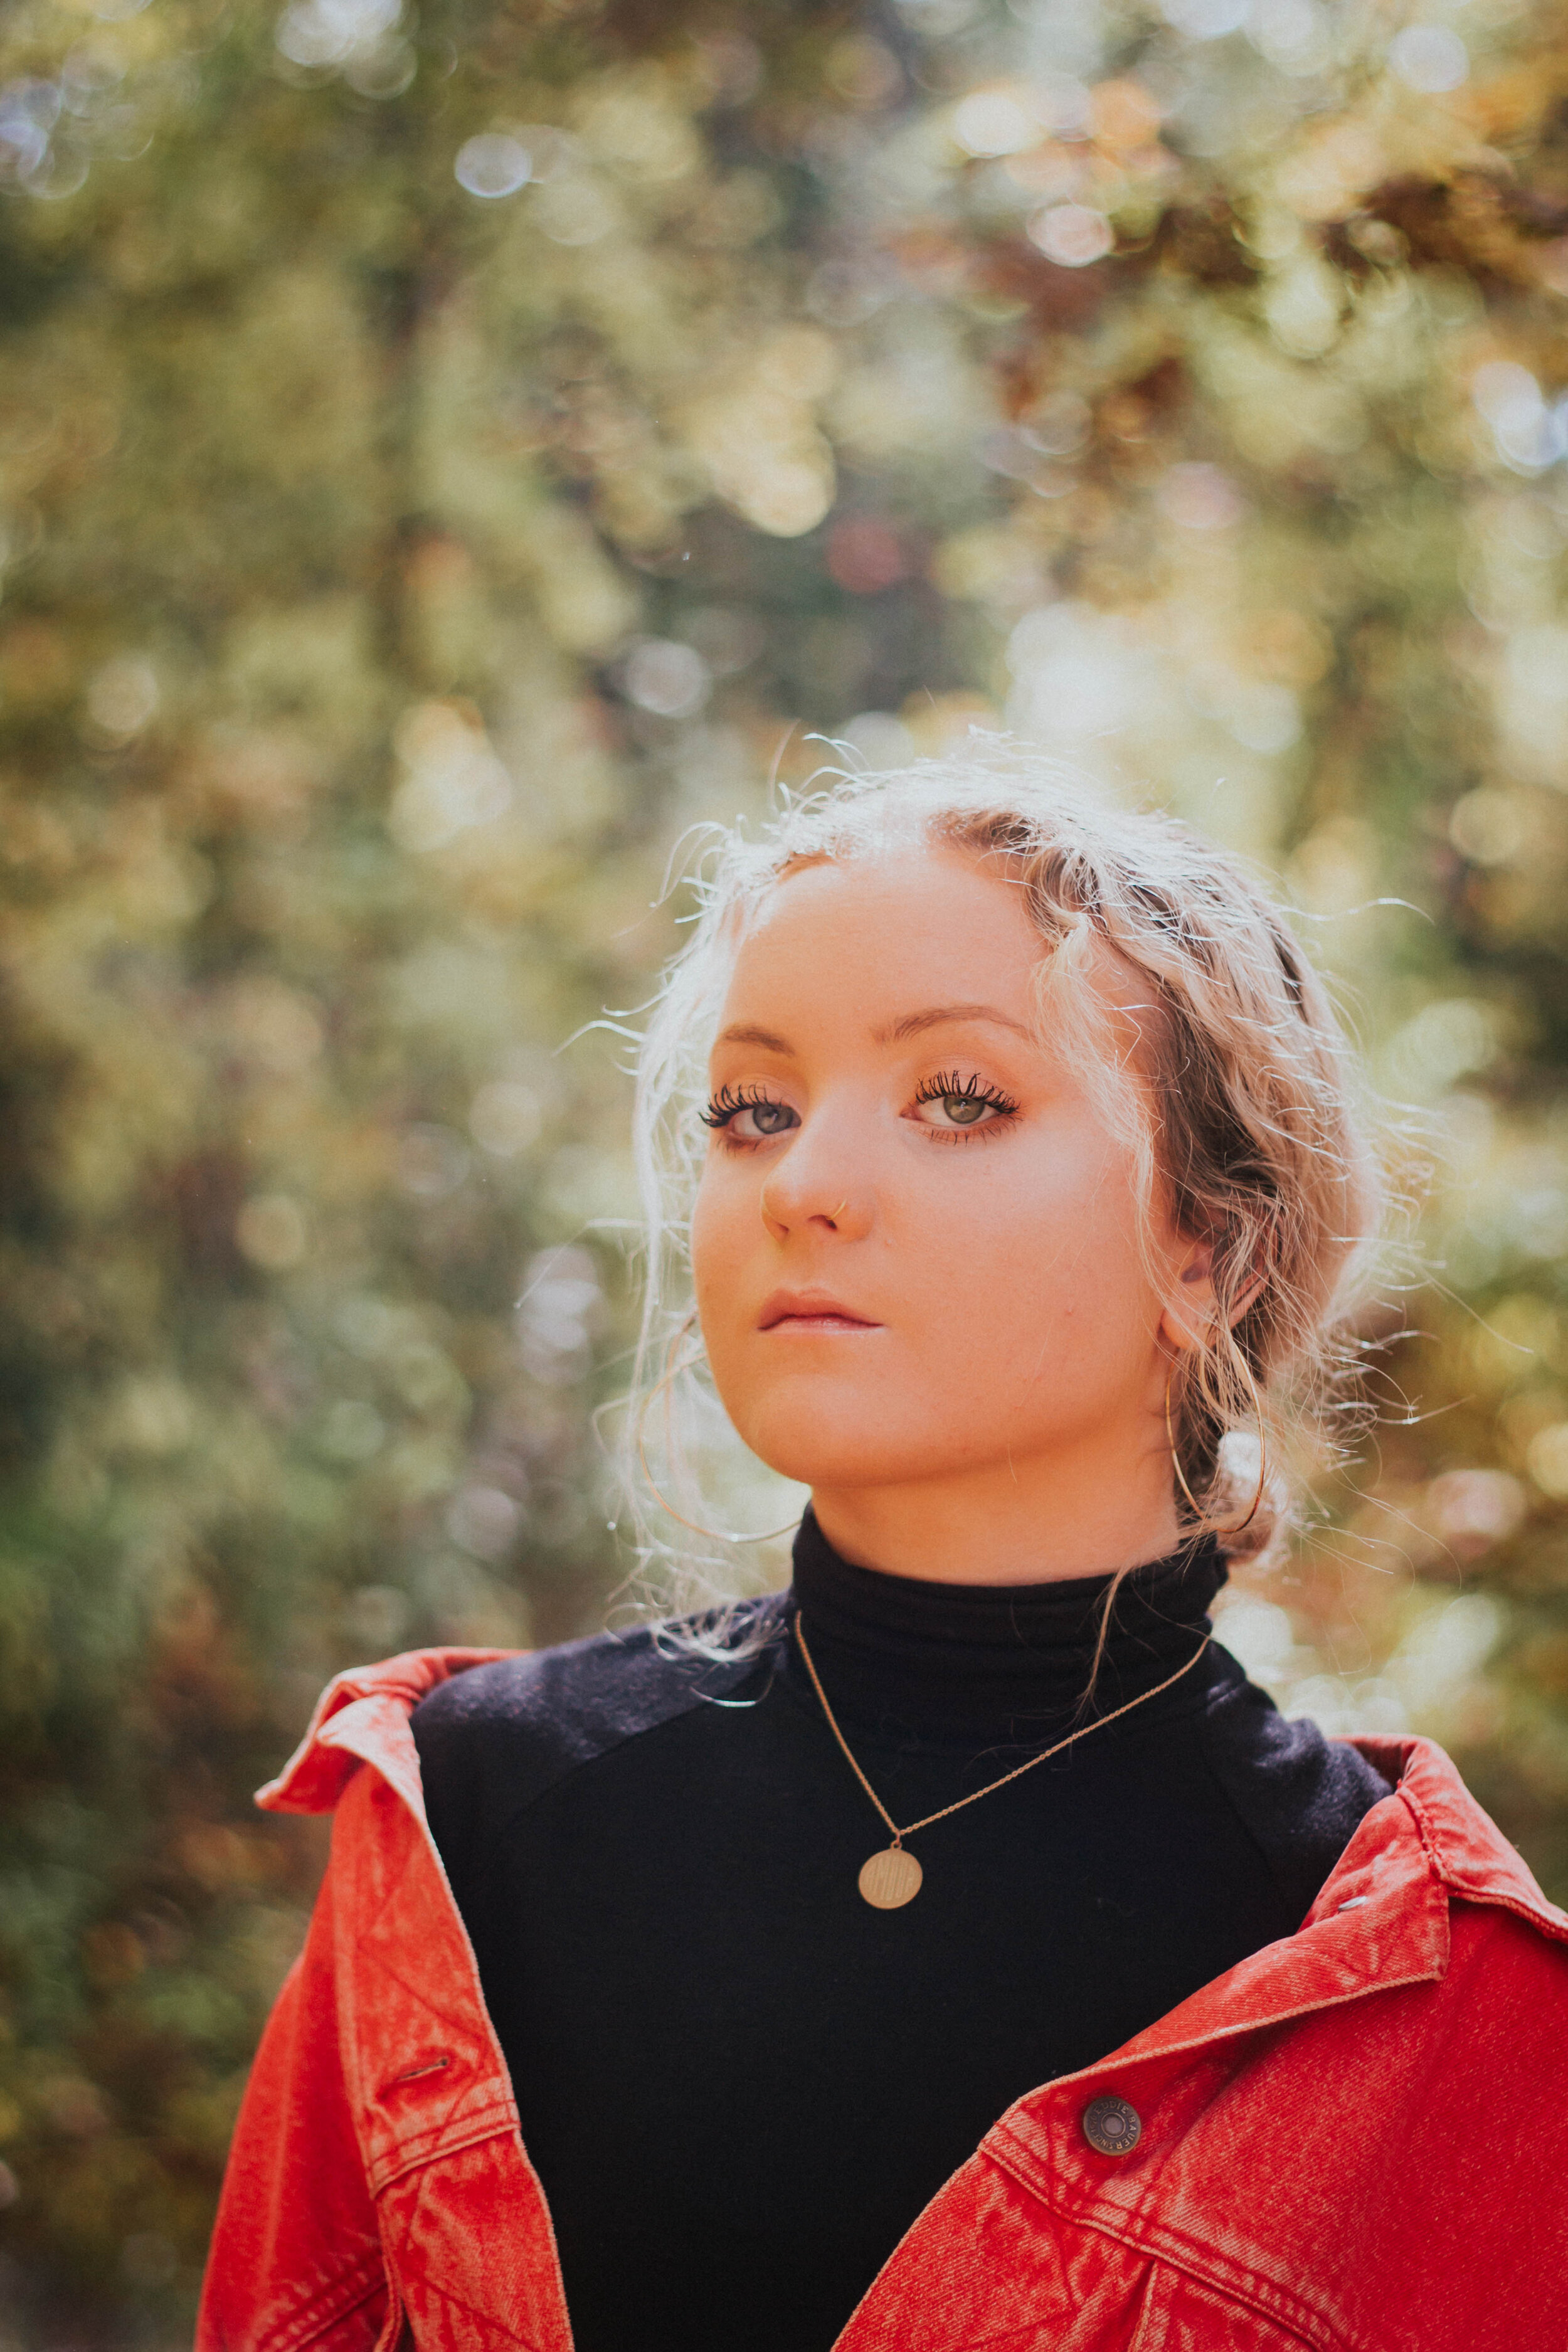
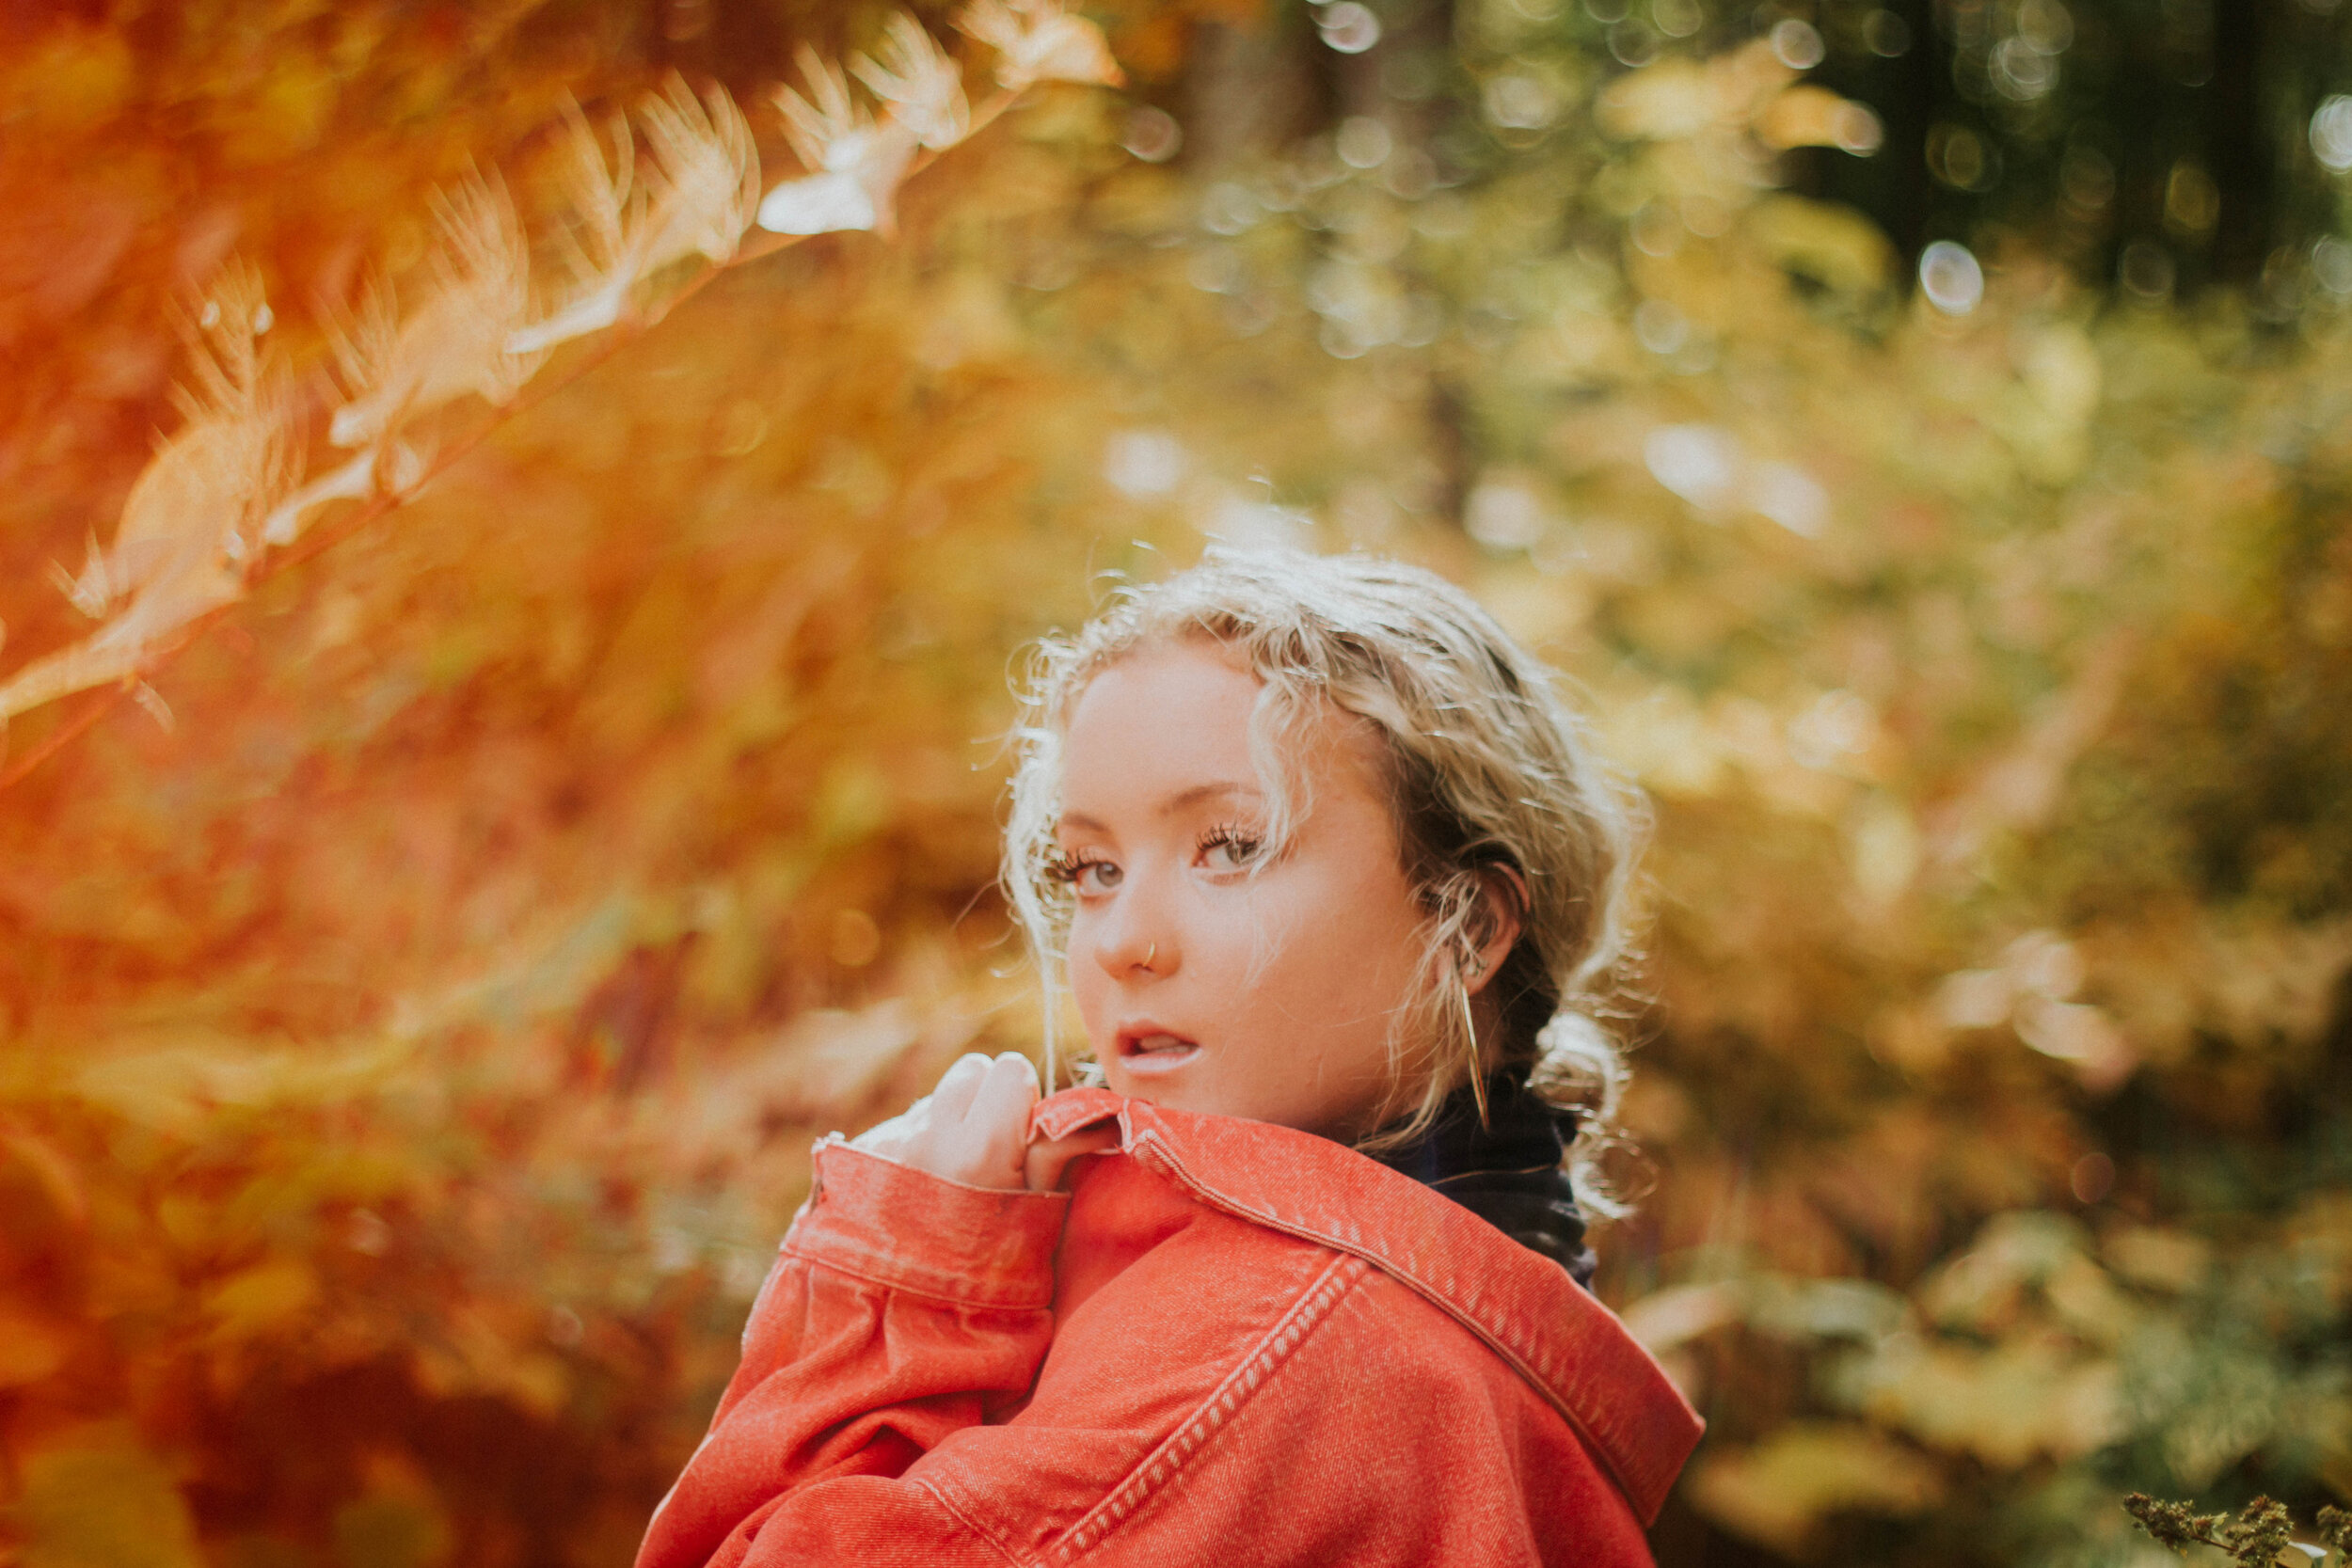
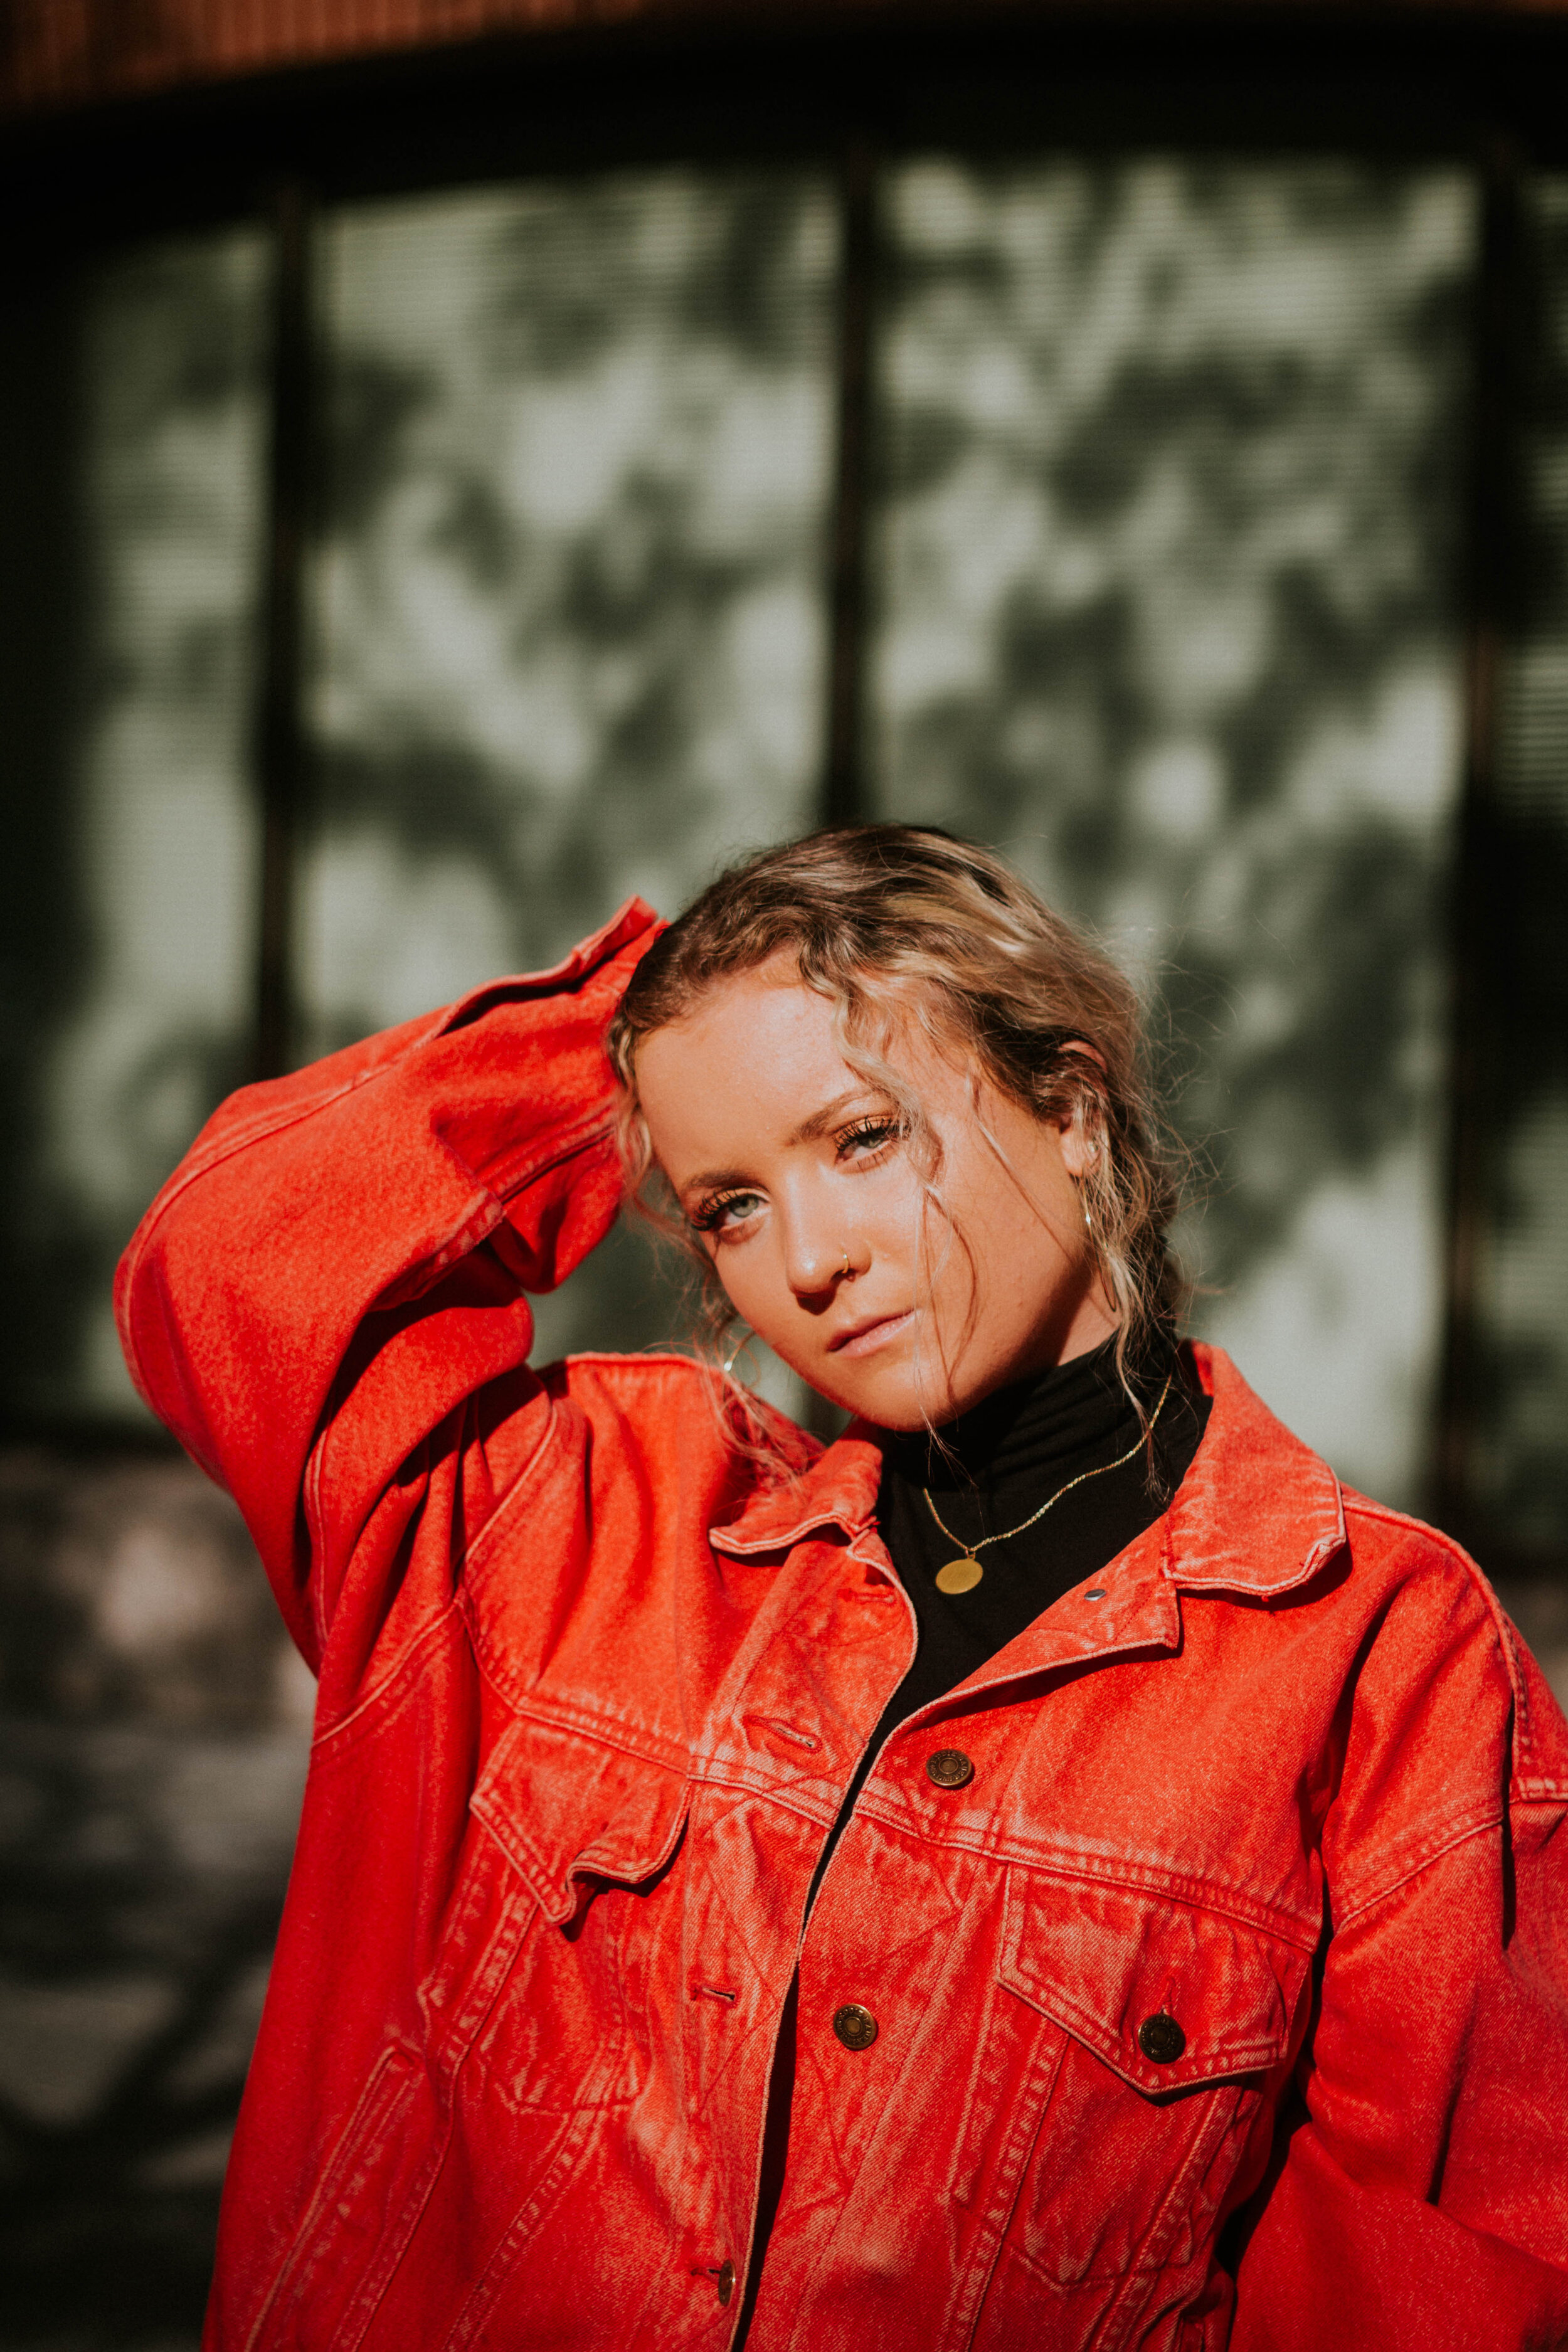
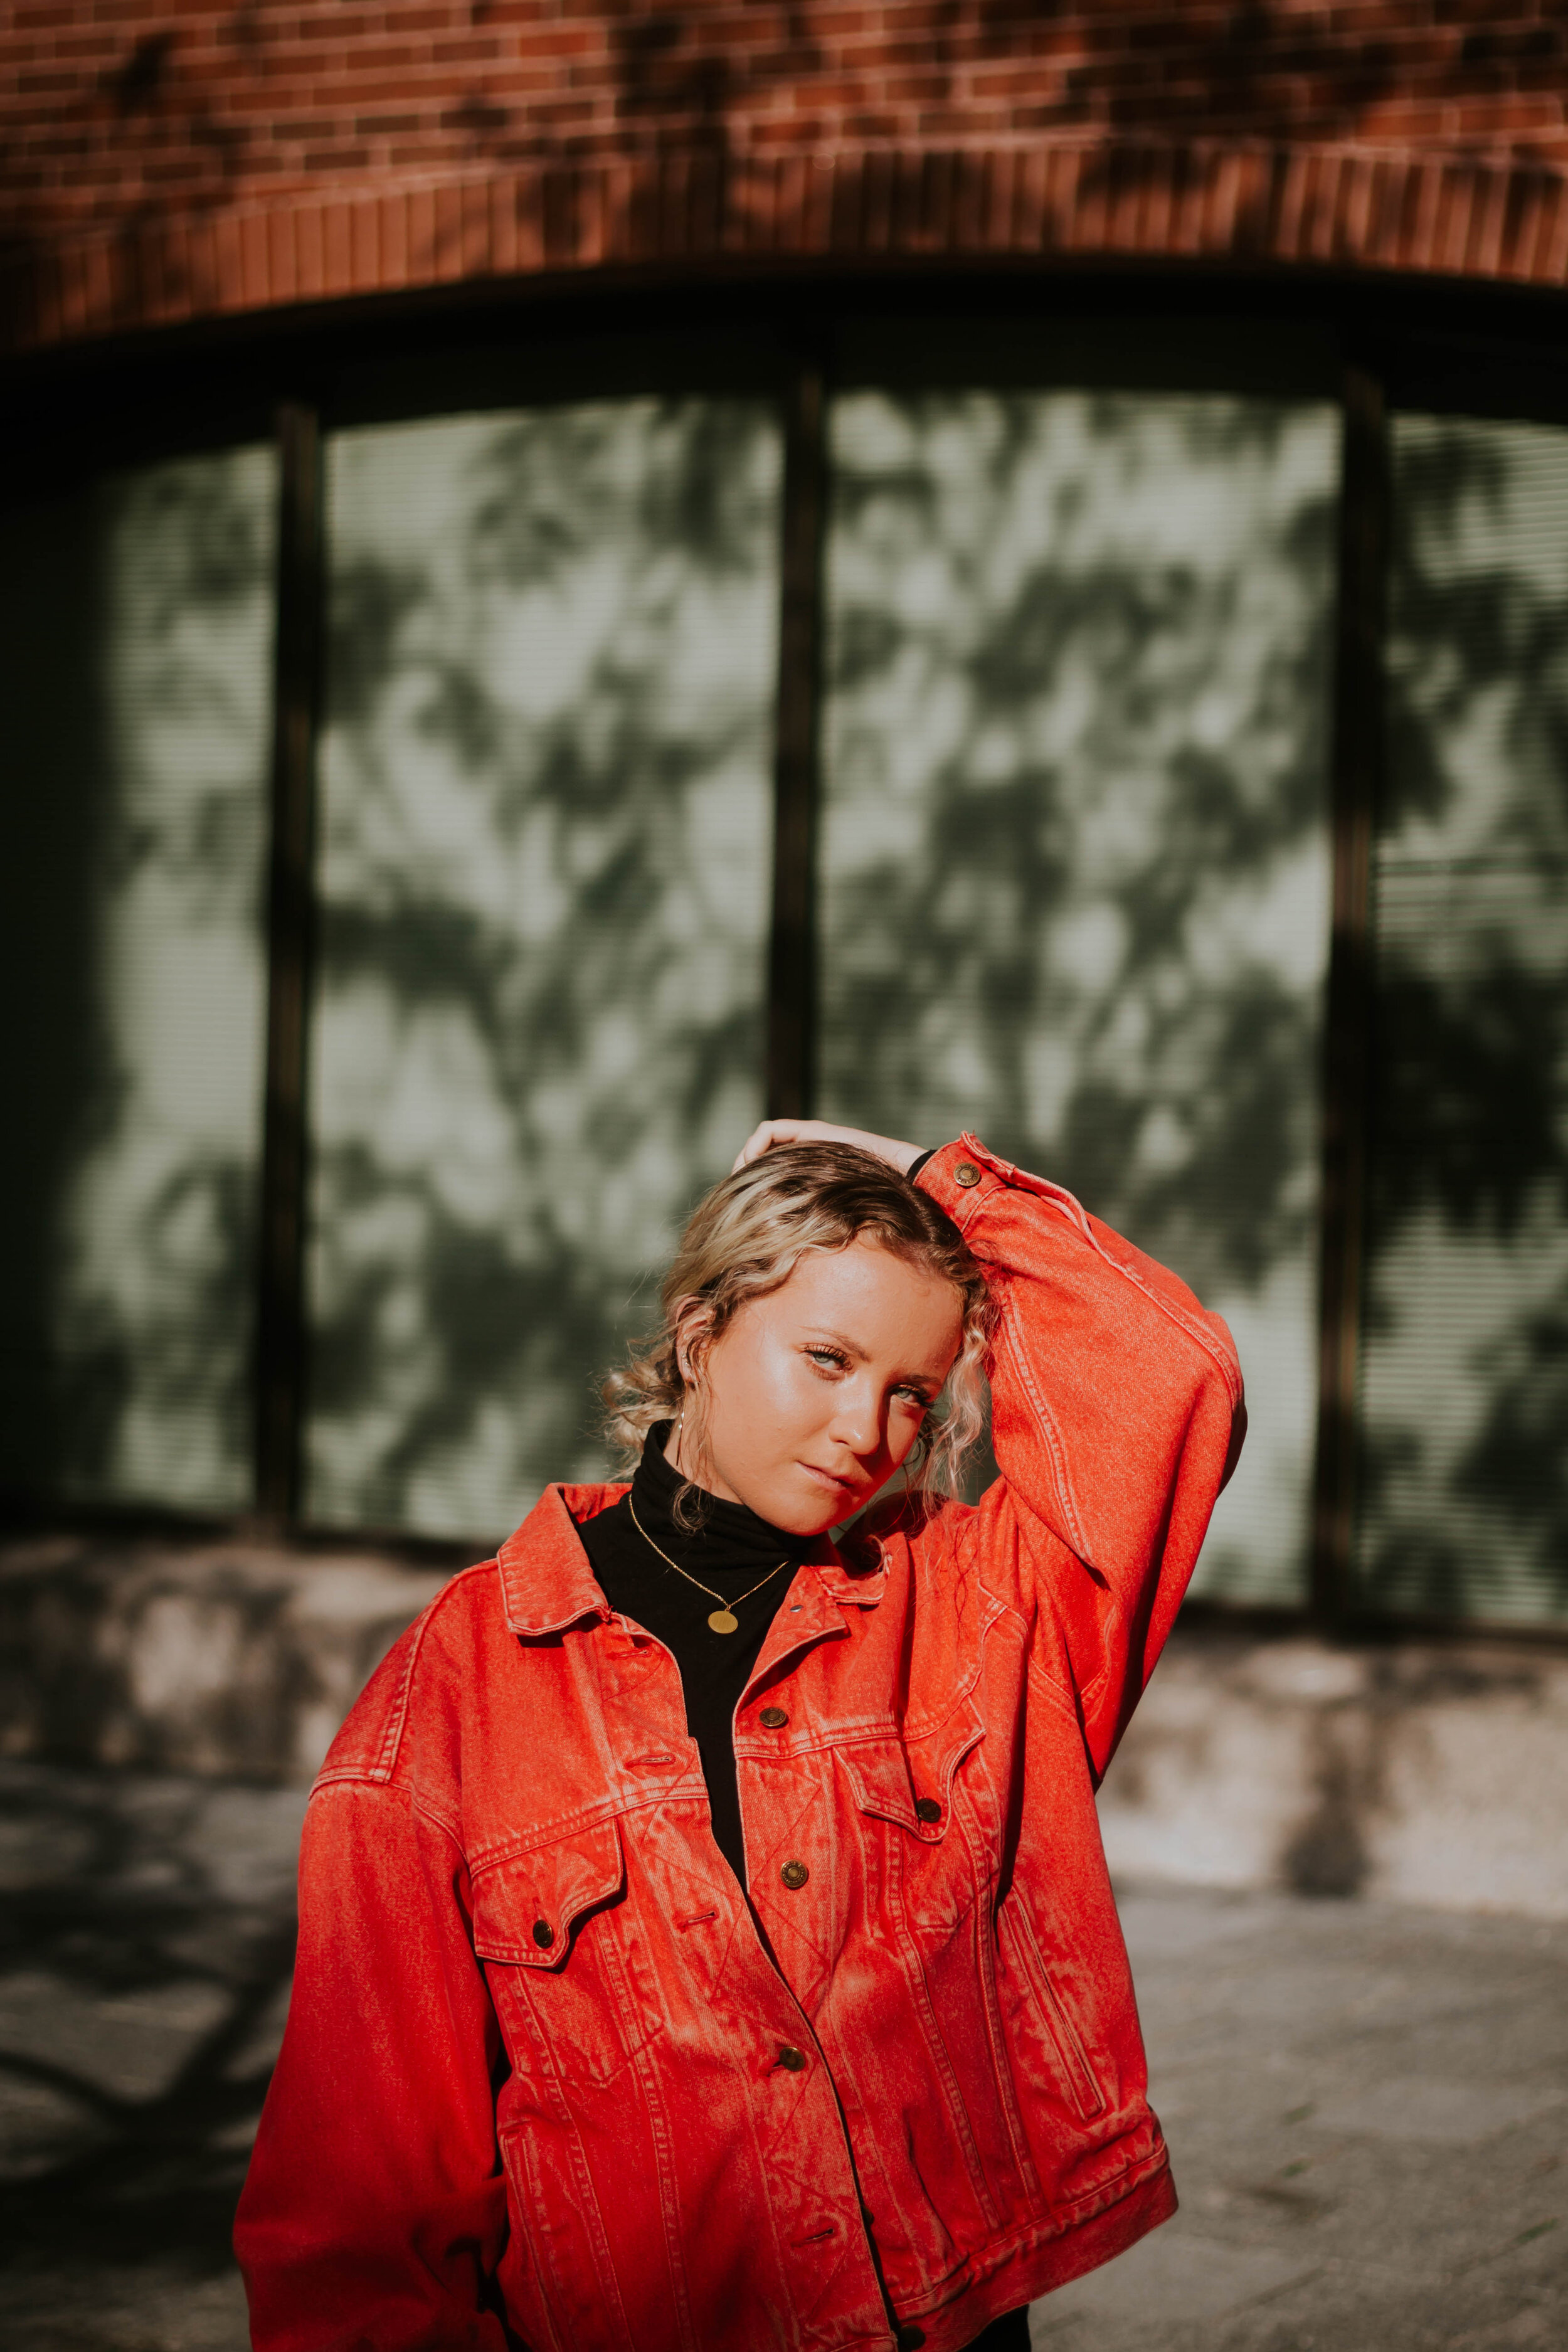
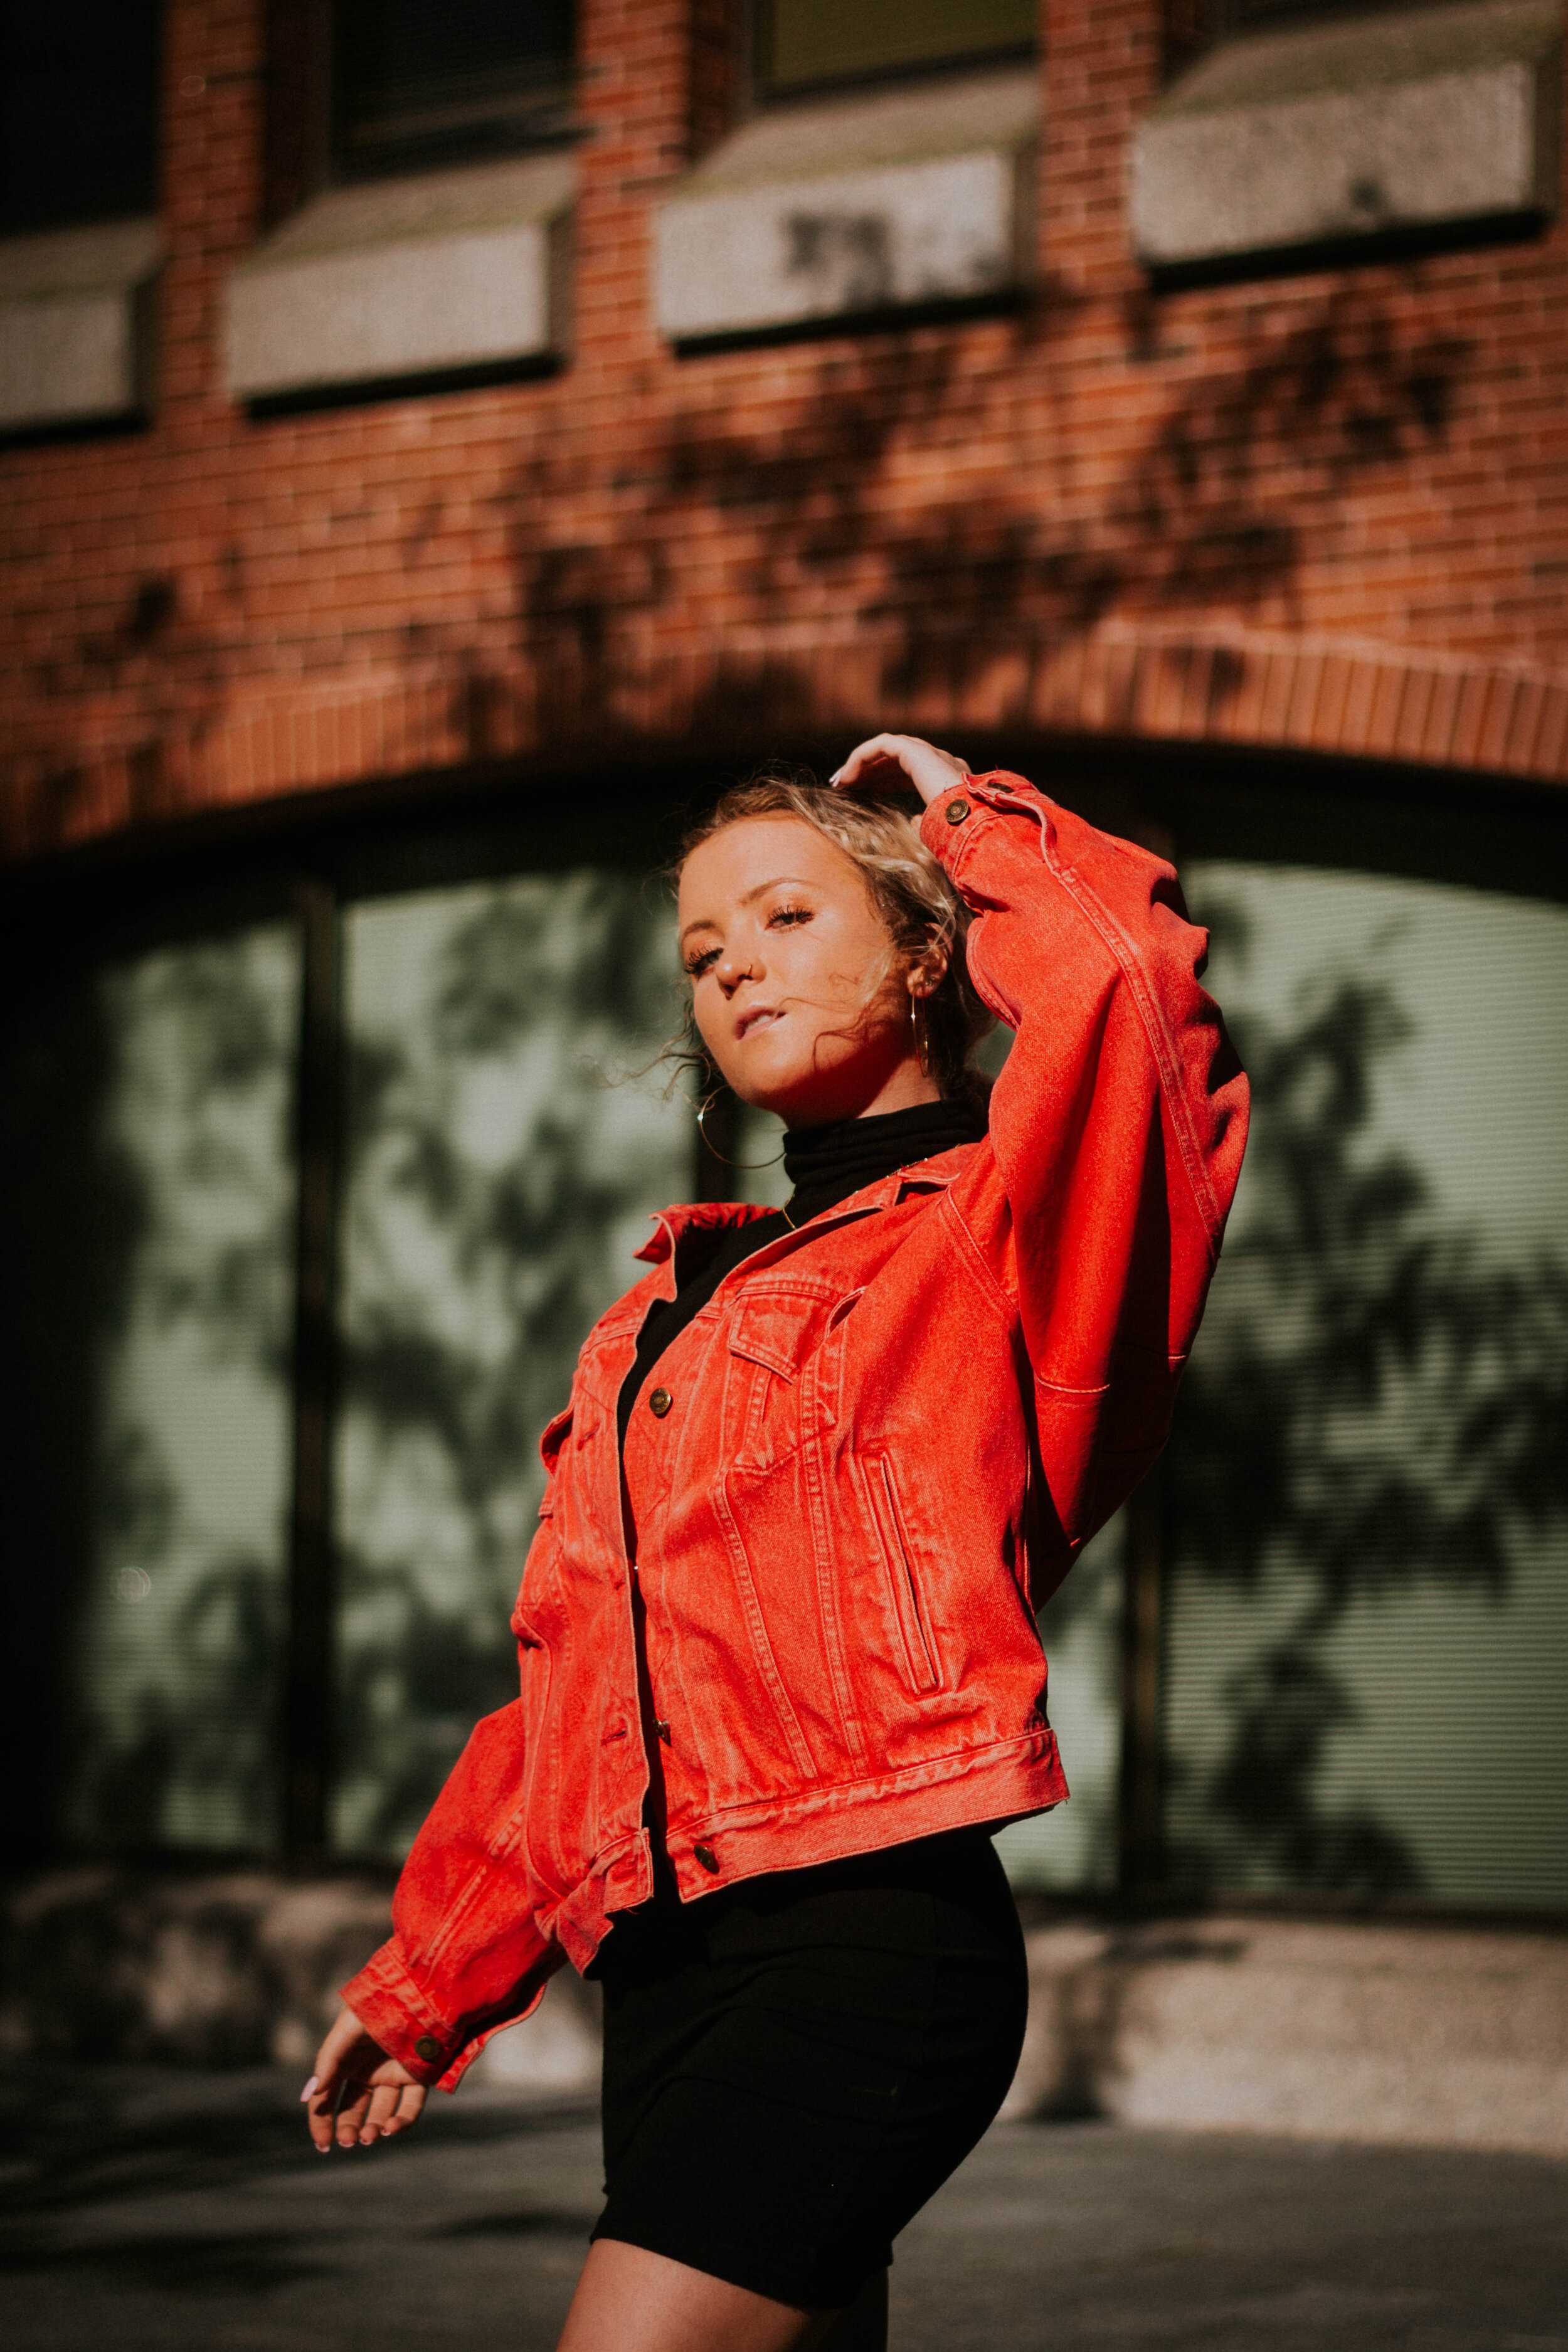
We started off shooting in a patch of woods in our town. The lighting was really harsh and seemed at first to wash everything out, making it difficult for Phelan to see. When we moved under the shade of trees, the leaves casted shadows across her face, and the bright light gave off a green hue. These are common problems I’ve faced while photographing, even during the “perfect” hours of shooting.
Here Are MY Tips:
Move Around
Don’t be afraid to move around to find the best lighting. Try different angles and positions. It can seem a bit intimidating to ask your model to switch sides or move around a lot but as long as you communicate well and keep it fun, it’s no big deal. They want good photos too!
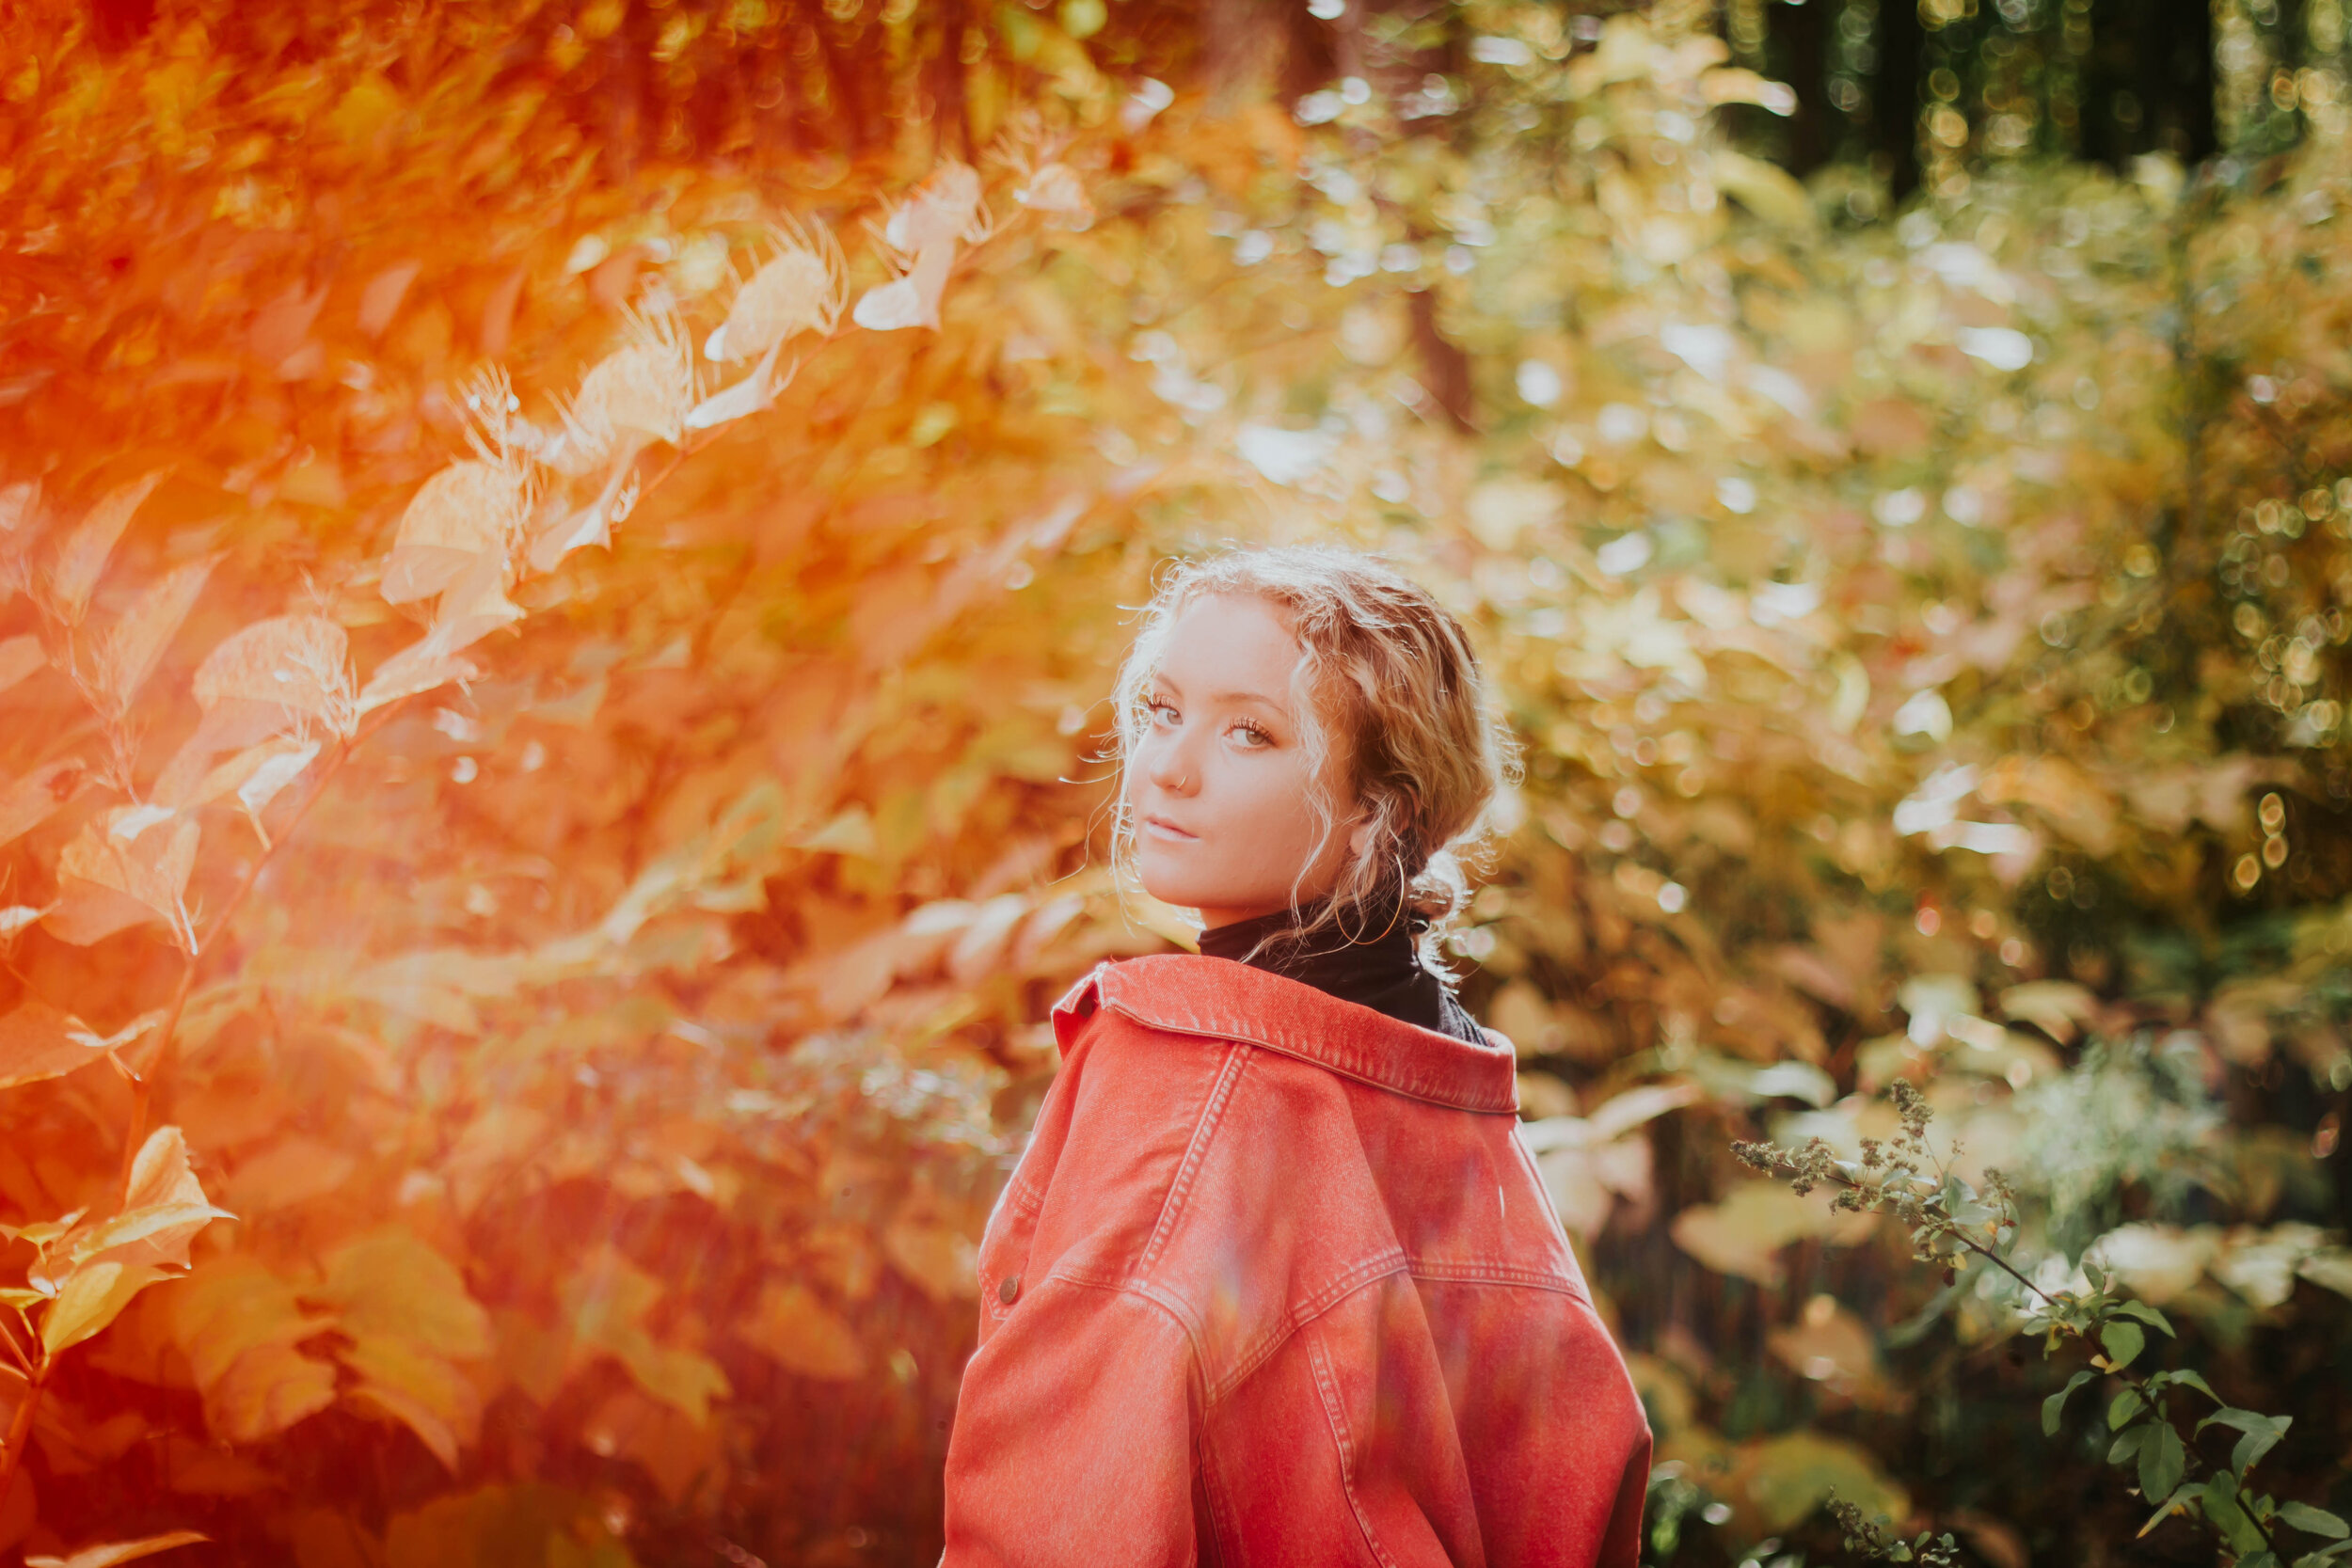
I find that having your subject back lit creates beautiful soft lighting during midday.
It is important to note however, that some spots might not work. That’s ok too, you can move on or try to circle back around later in the shoot.
Find Shade
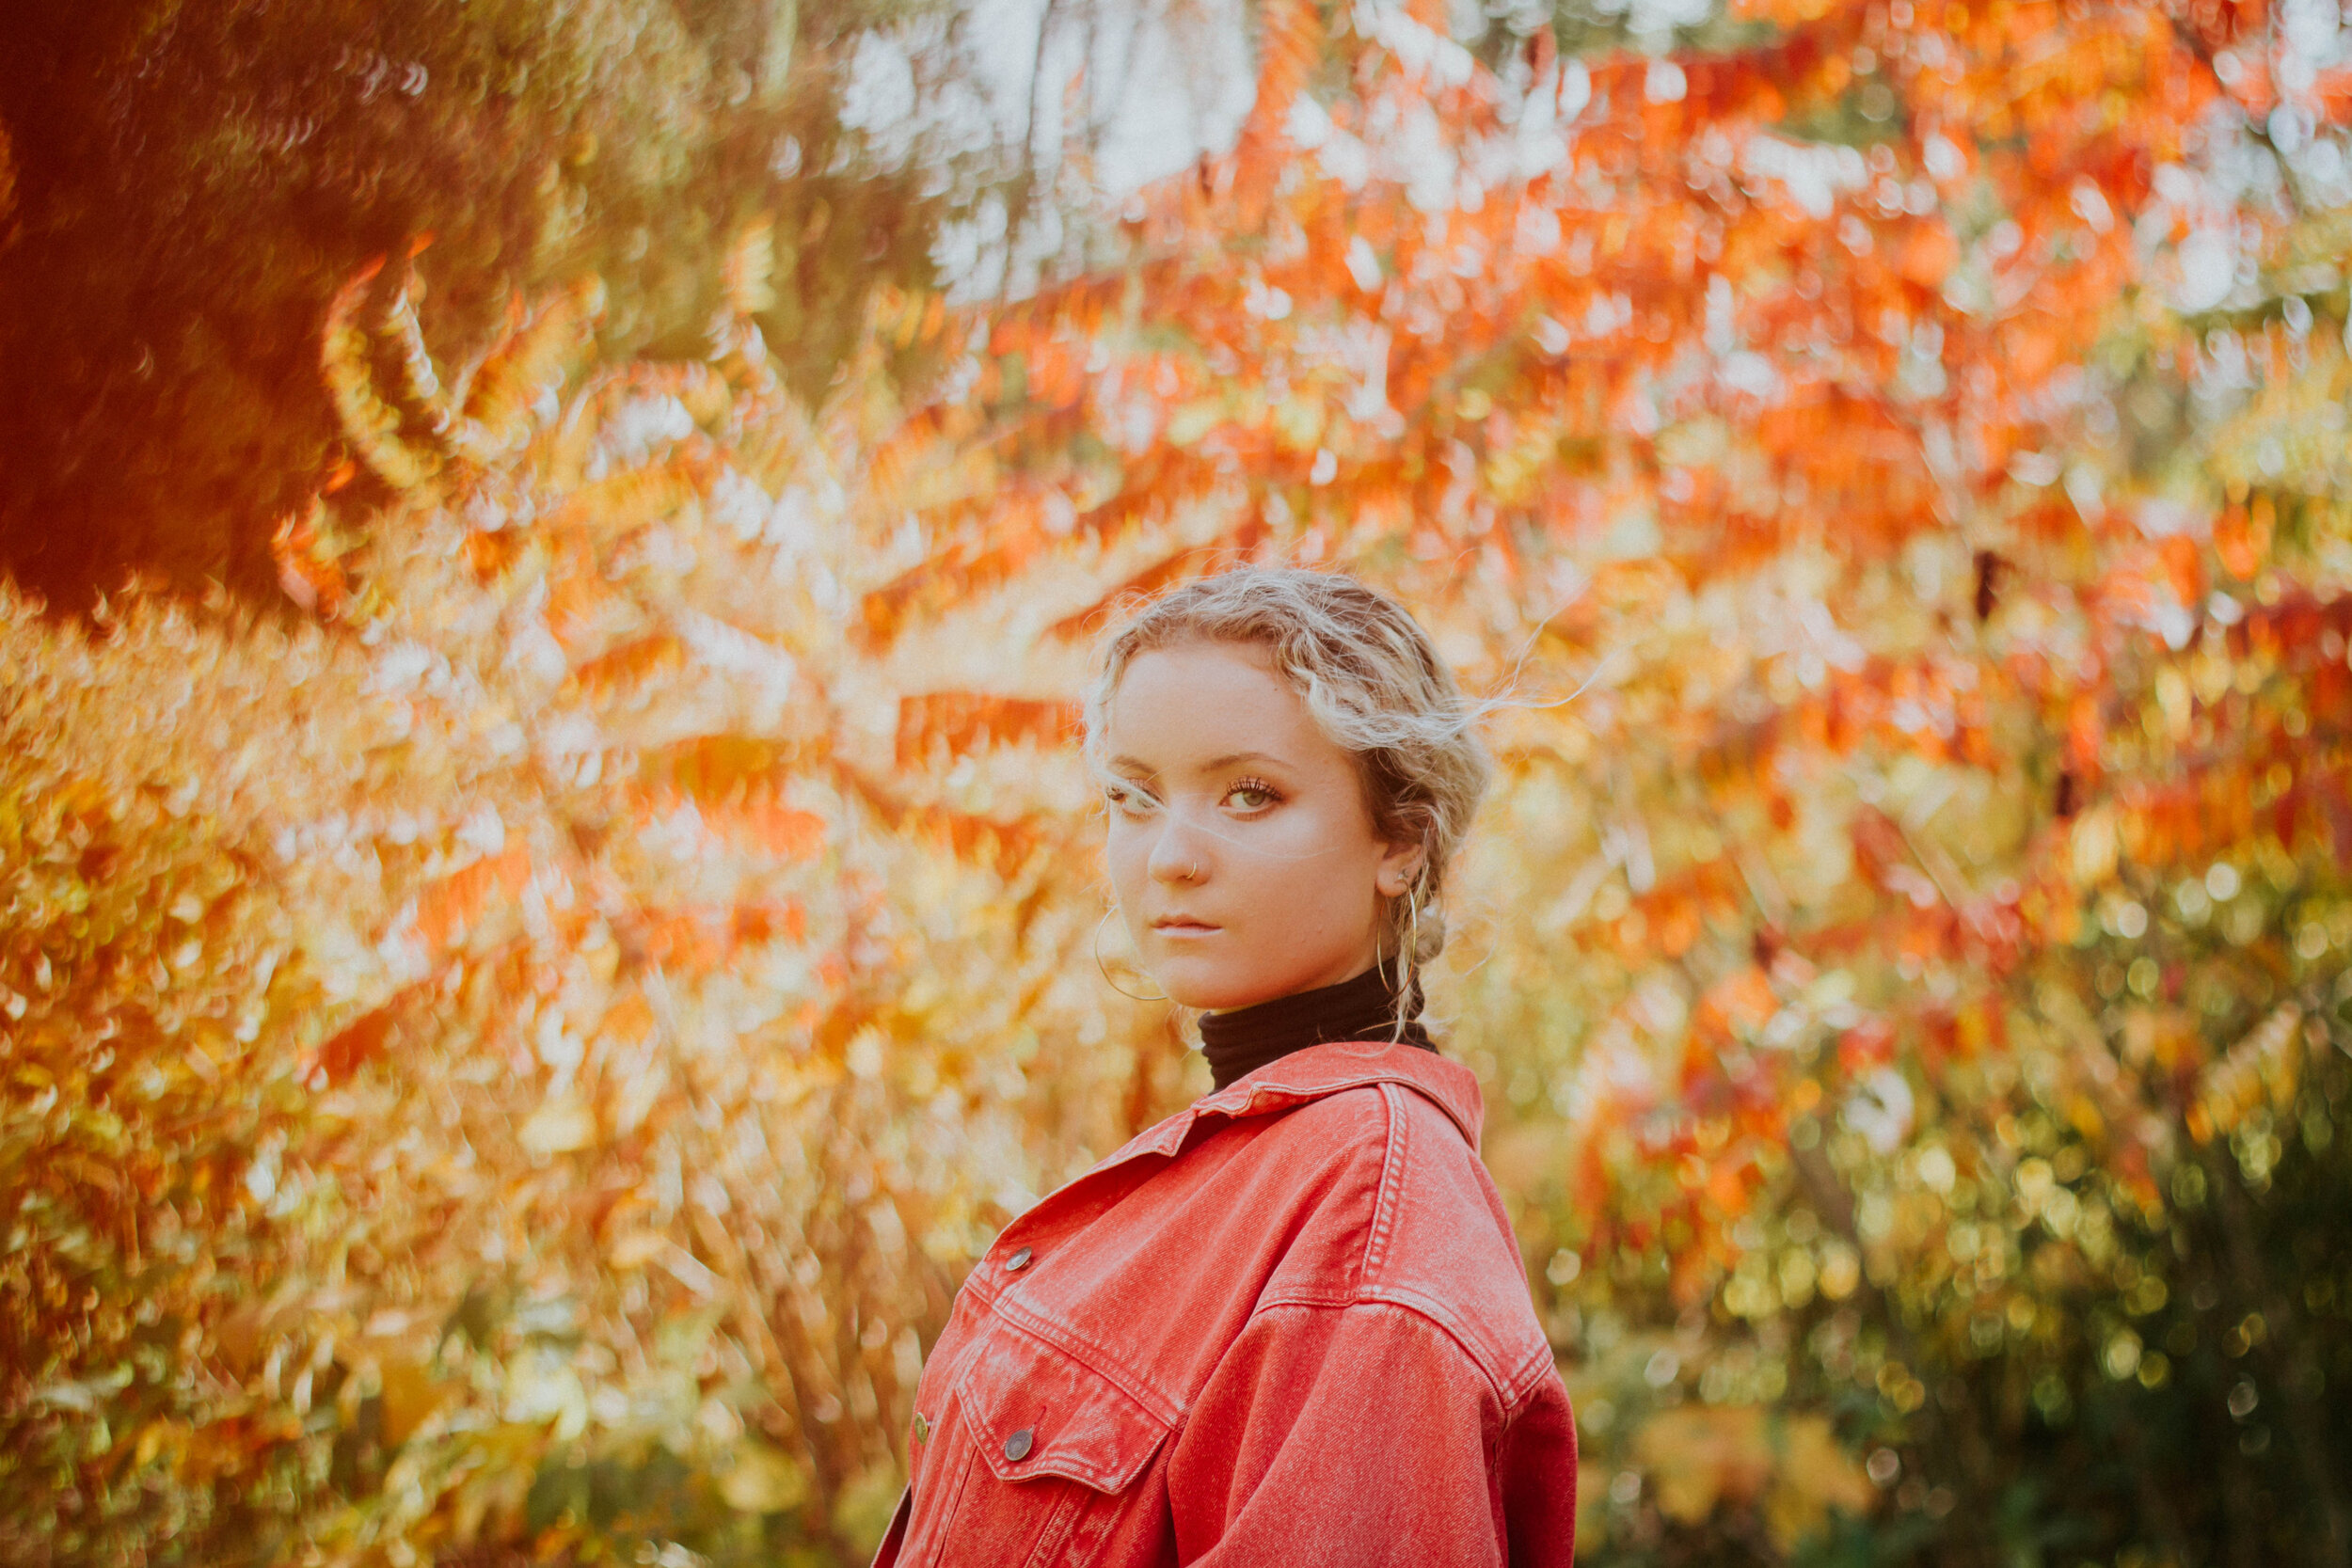
If the lighting is super harsh, I always recommend finding shade. Not super dense shade, you still want there to be light, but enough so that the sun is not casting strange shadows or fading out tones. This is especially helpful mid day.
Bring in “Help”
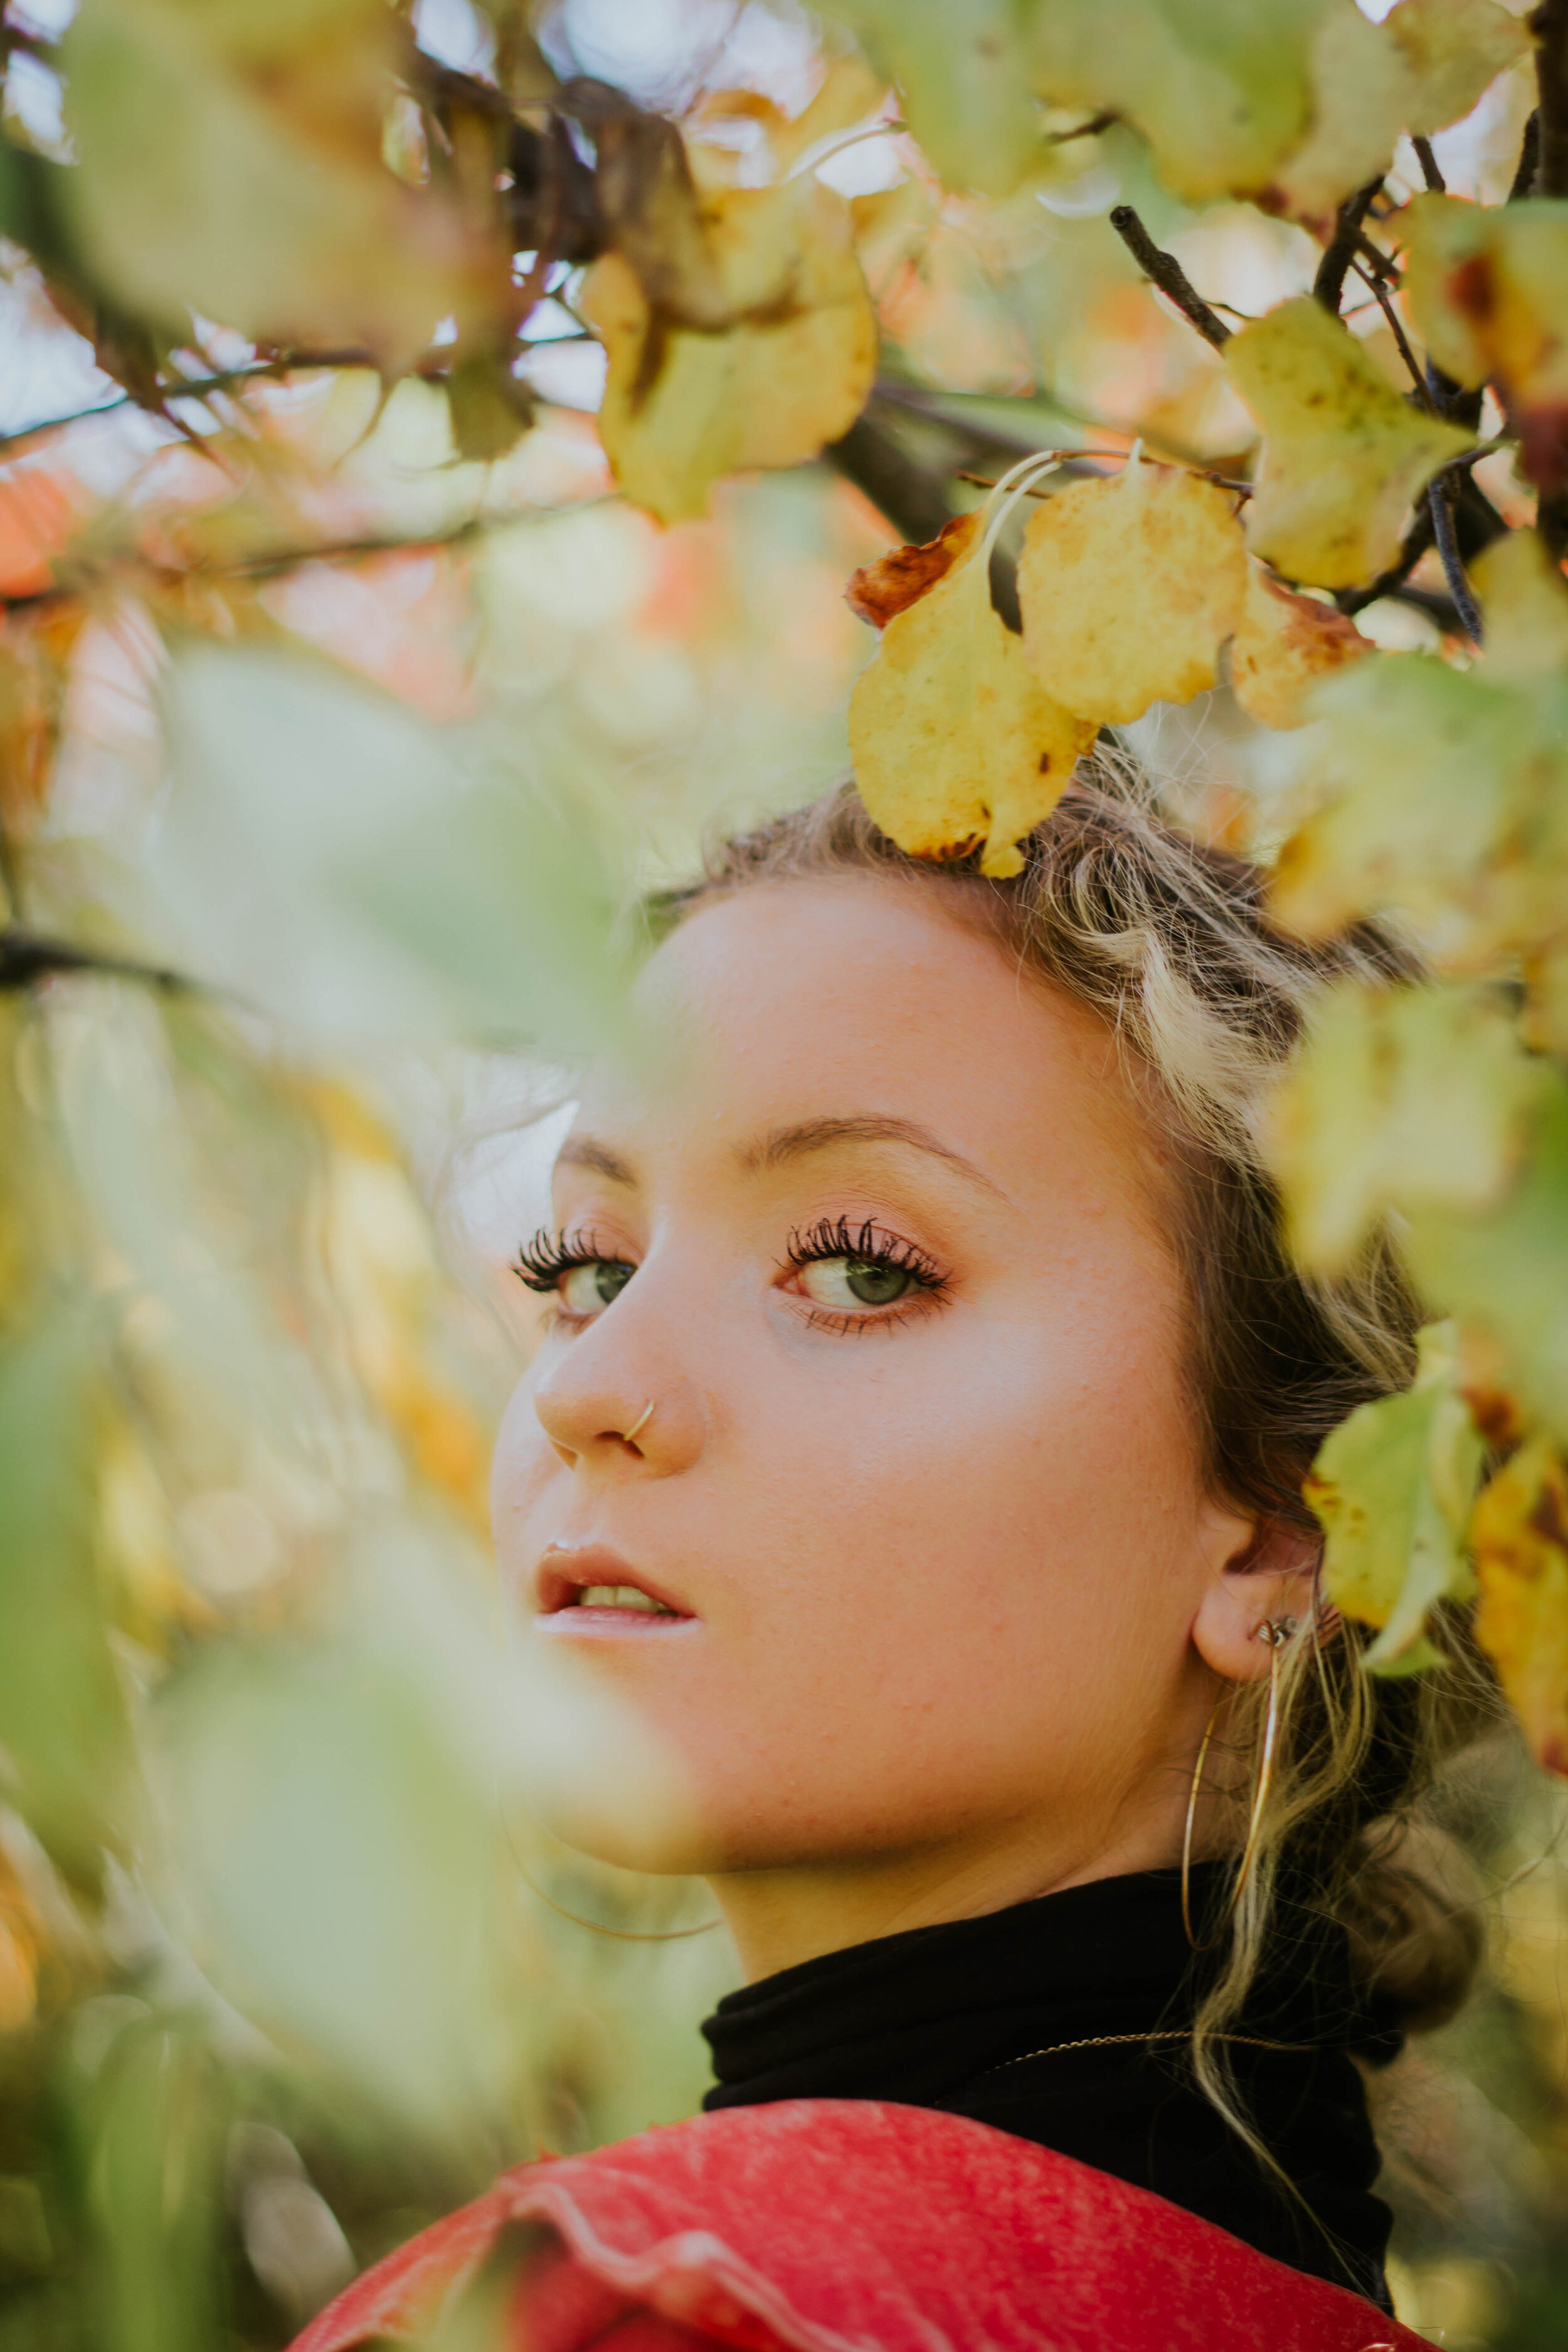
When shooting in bright light it can be beneficial to use other tools to work with the light. I personally don’t use reflectors but know they can be of great service when it comes to lighting (the only downside is that you will likely need somebody to hold it while you shoot). There are other creative ways you can “bring in help” though. My favorite trick? Nature! I love taking leaves, flower petals, rocks, etc… and shooting with them in front of the lens. It can help to manipulate the lighting and creates a unique photo.
Shoot Lots
This can be tricky if you are shooting on film or with limited storage (though I suggest you always bring back up memory cards) but I find that taking a good amount of shots saves my butt in the long run. Even if you don’t love the lighting, take a few more photos just incase. It’s not a great feeling going back to photos in post and realizing that you wished you’d taken more photos in one location.
Be Creative and HAVE FUN!!!!
When you can’t change it you gotta learn to work with it. Don’t be afraid to play around with different posses and lighting, find creative solutions to the issue of lighting. I like playing with shadows when I can’t get rid of them, creating and emphasizing contrast by using the harsh lighting to my advantage. Shoot around with it! Encourage your model to do interesting poses that will captivate viewers and work well with the lighting to create a large story. Have fun!!!!
Problem 2: Obstructions
As much as we wish it was so, the world doesn’t stop just because we are taking photos. This is especially true in cities where people crowd the sidewalks, and tourists fill the most popular areas. So how do you take photos in front of a cool wall while people scurry past, trash bins crowd the sides, and a man walks back and forth behind you? These are some of the troubles we faced.
Here Are MY Tips:
Frame Well
You don’t need the whole location to be clear, just where you are taking the photo. This is why framing is so important. Once you see a good spot its all about positioning. Move the model (and yourself) around so that they are framed well and with the backdrop you like. If there is something interfering with your photo you can always move to get it out of the frame or use a prop (like a leaf or cloth) to put in front of your lens and cover it.
Move Around
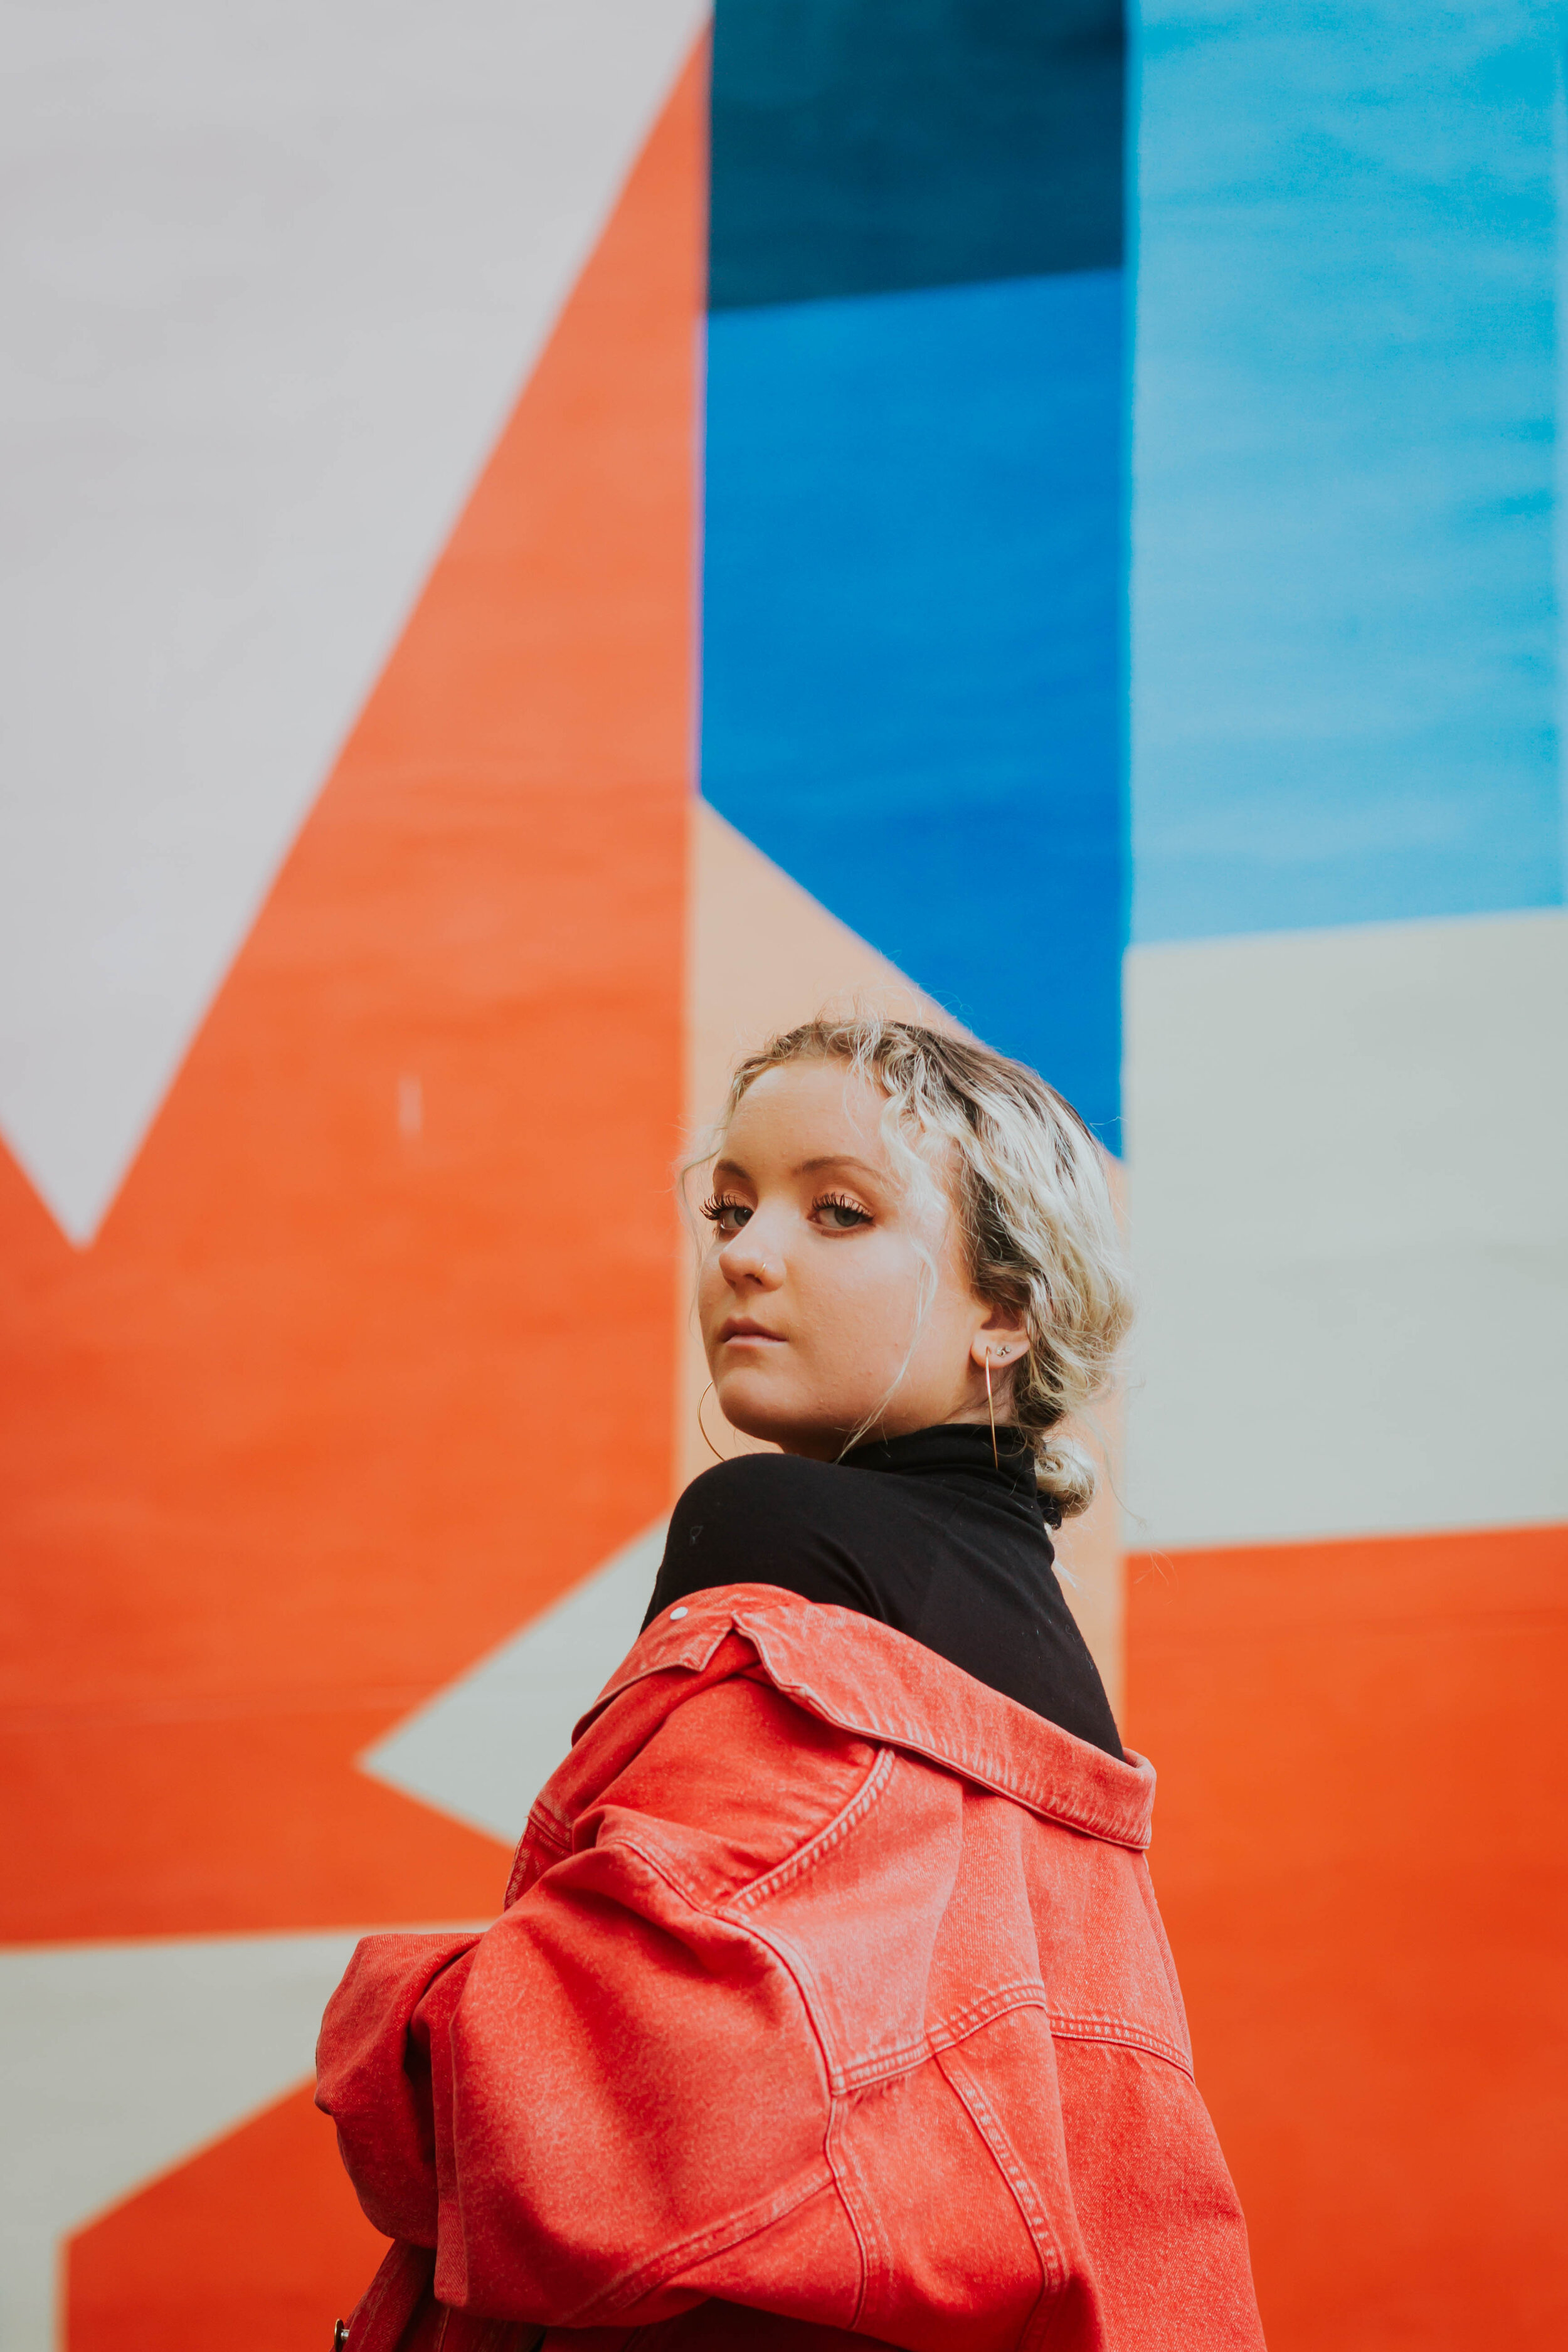
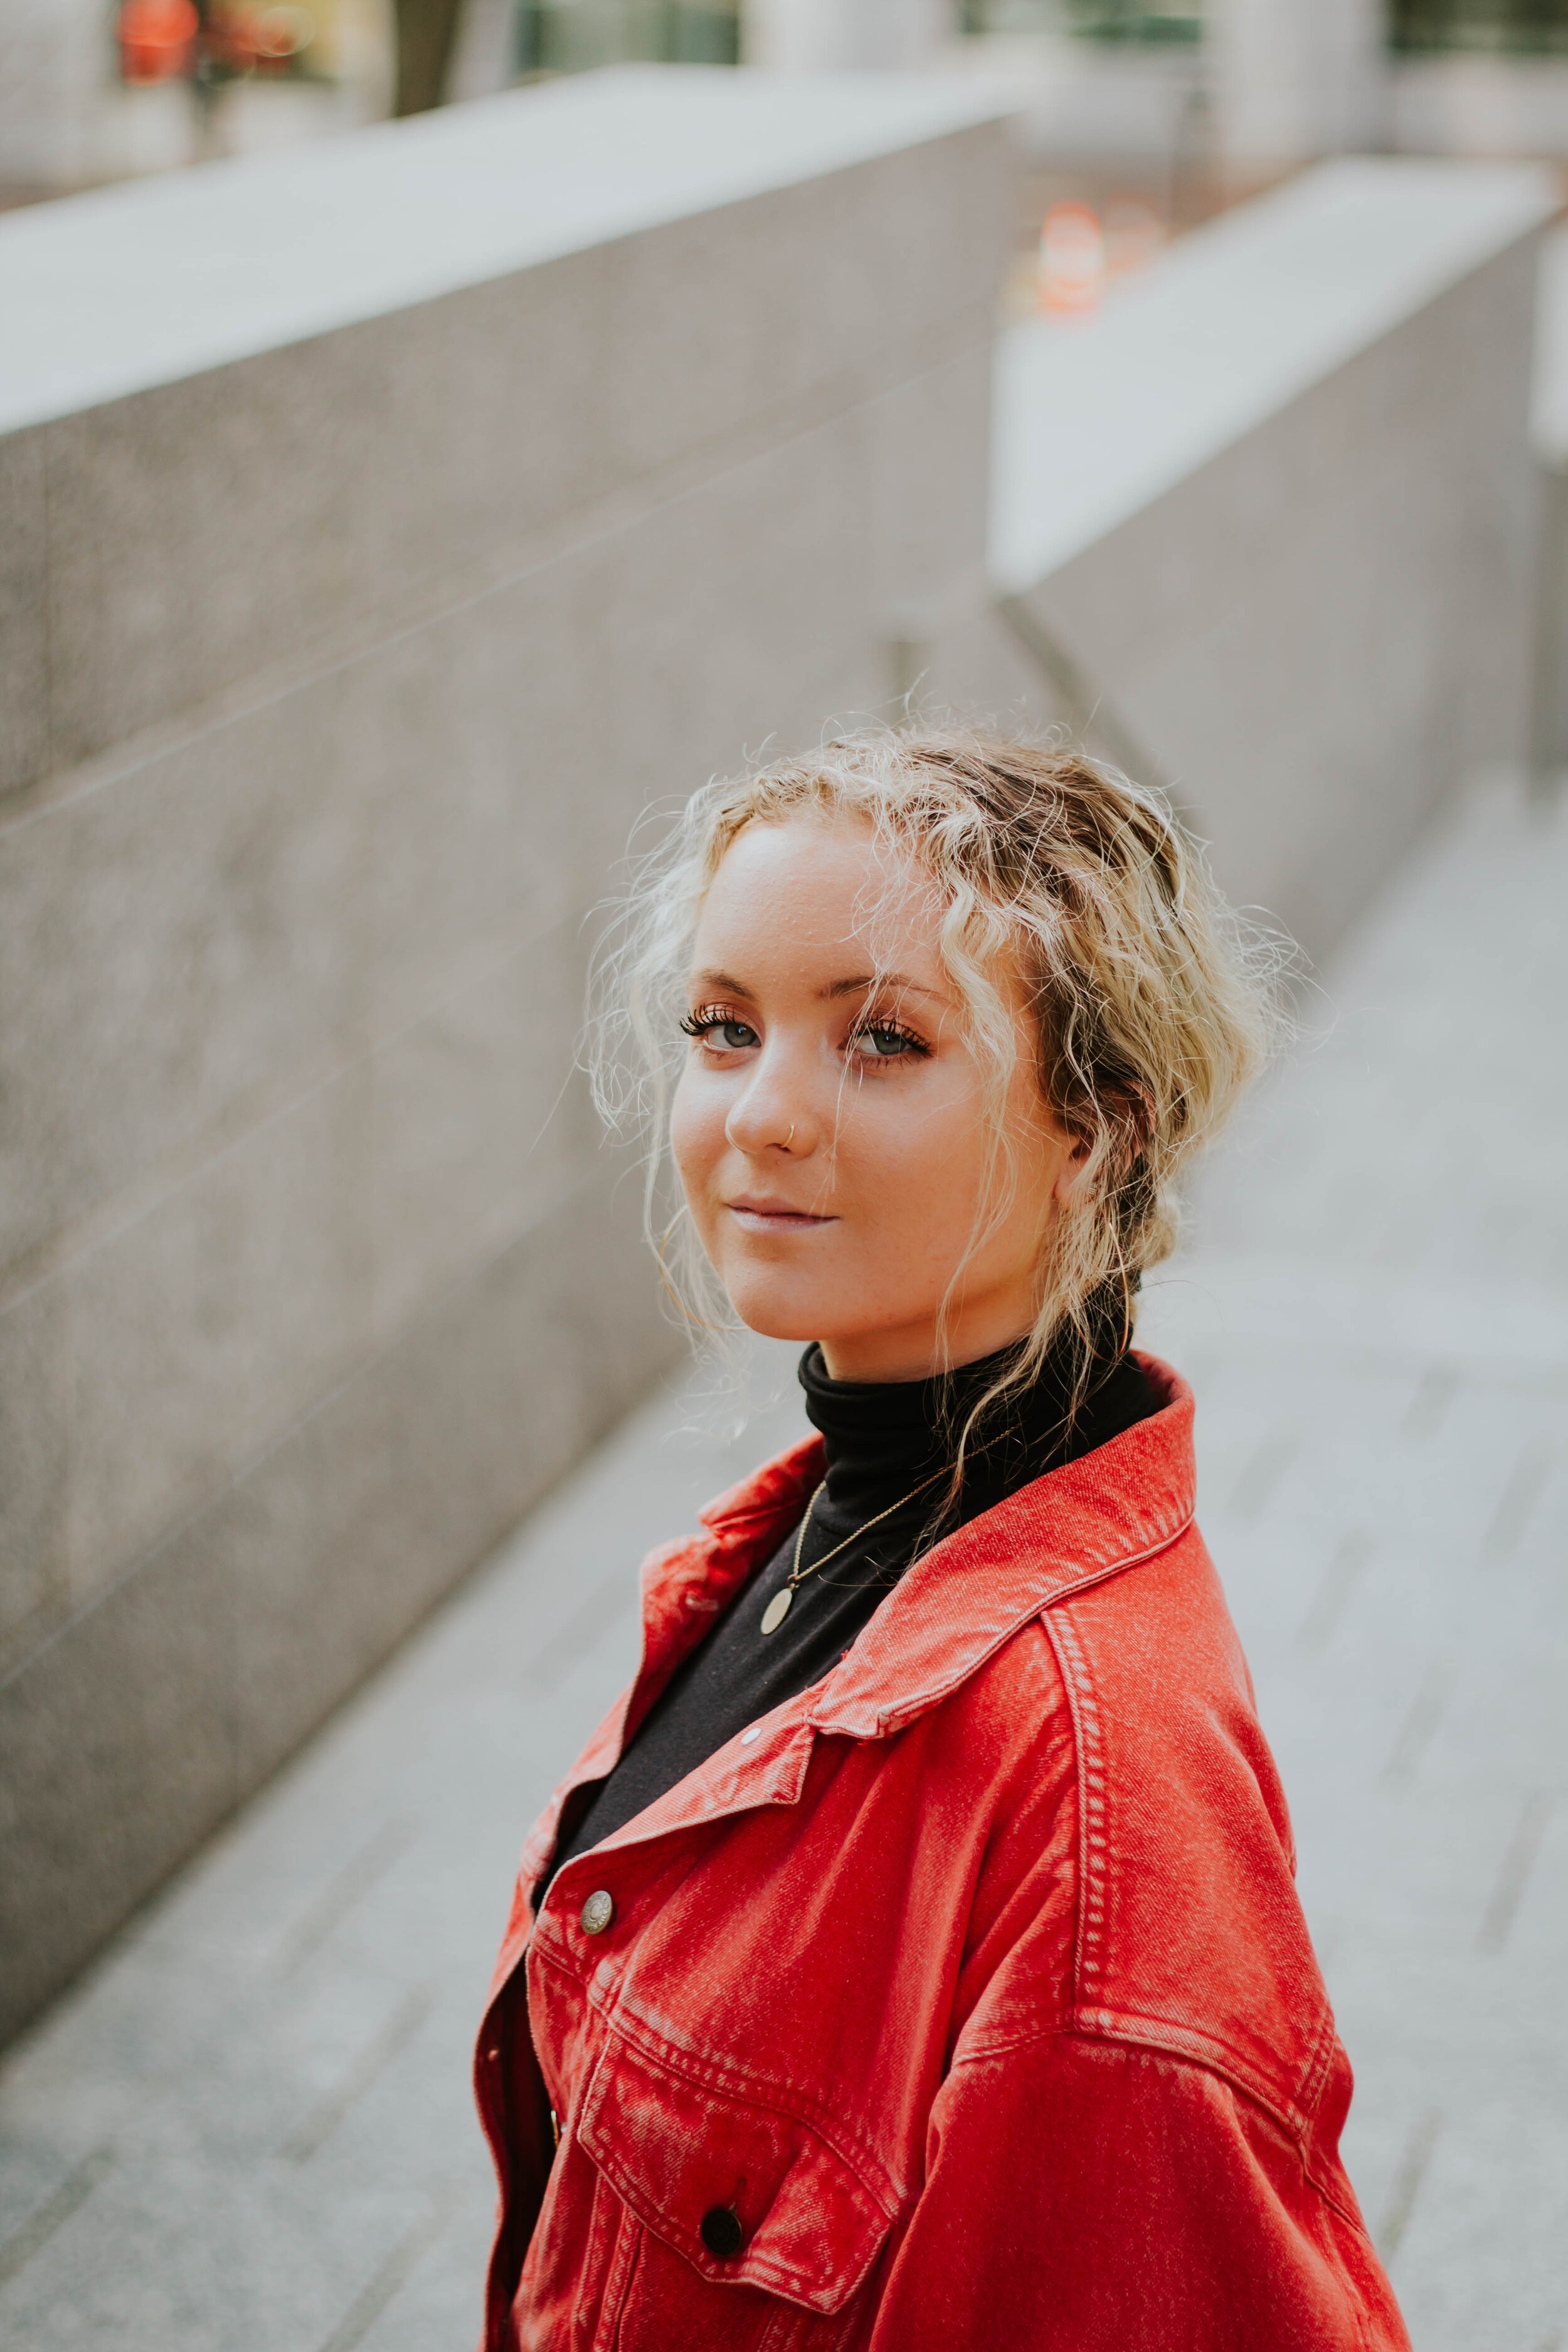
This is similar to my previous tip but it’s really important. Move around to get the best angles, often you will end up with more original photos doing this. I don’t just mean move side to side or around the location, I’m telling you to get higher and lower and diagonal and all over the place. I had Phelan stand on a bench, and I shot from below, so that you couldn’t see the garbage laying against the wall.
Be Patient
Sometimes you have just have to wait for somebody to pass or for an area to clear up. it’s okay to move on to another spot and come back or to wait 30 seconds for someone to move.
Be Respectful
I encourage people to keep shooting, even if it’s busy but it’s important to be aware that other people are trying to get through their day too. Be mindful of how much space you are taking up. While I often keep shooting and let people move around us, I also think it’s important to be aware of when this might not be appropriate. I, personally, try not to block sidewalks, and always let people pass. For instance, Phelan and I made sure to stay out of someone’s way as they moved their tools from the side of this building to his car. He was clearly just trying to do his job and I don’t want to make it any harder than it needs to be.
Problem 3: An Unwanted Audience
There’s the problems that may exist by people just scurrying by and accidentally photobombing, then there is the gross discomfort that can come from strange men (or women) stopping to watch, comment, or approach you and/or your model. This happens frequently to me, especially in cities, and can be a huge bummer. Phelan and I just ignored it and moved on but it can prove more complicated at times.
Here Are MY Tips:
Be Safe
This is the most important thing. Trust your gut. If someone is getting too close, too interested, or you are just getting an off feeling, walk away and try to go to a more public setting. I carry pepper spray with me, especially when shooting by myself. It shouldn’t be necessary but it is. Keep you and your models safe.
Ignore It
This is honestly my best tactic, especially for guys walking by. Don’t give them the satisfaction of your attention. You have a job to do, so keep doing it
Stay Engaged With Your Model(s)
It can be easy when faced with an uncomfortable situation to forget that you aren’t alone in it. Really, you should be doing the opposite. I find that when a shoot attracts unwanted attention it can isolate me and the model from one another. Don’t let this happen. Engage with your model, roll your eyes at the annoying men (they tend to be men from my experience), make a joke, and gage how they (your model(s) are feeling. Be supportive of one another, even as those around you are disruptive and negative.
Overview:
Have fun. That’s what this should all be about and I’m blessed to have people like Phelan in my life to remind me of it. Strive for growth and do so by really challenging yourself to make the best out of every situation (with or without a camera). The last tip I’ll leave you with is to simply click that shutter button and to keep clicking. You get better with practice, a lot of practice. Take it from me, you won’t get better if you don’t try.
Now go take some pictures!
Check out my Instagram for stories, posts, and sales!
@aliviasobeyphoto

